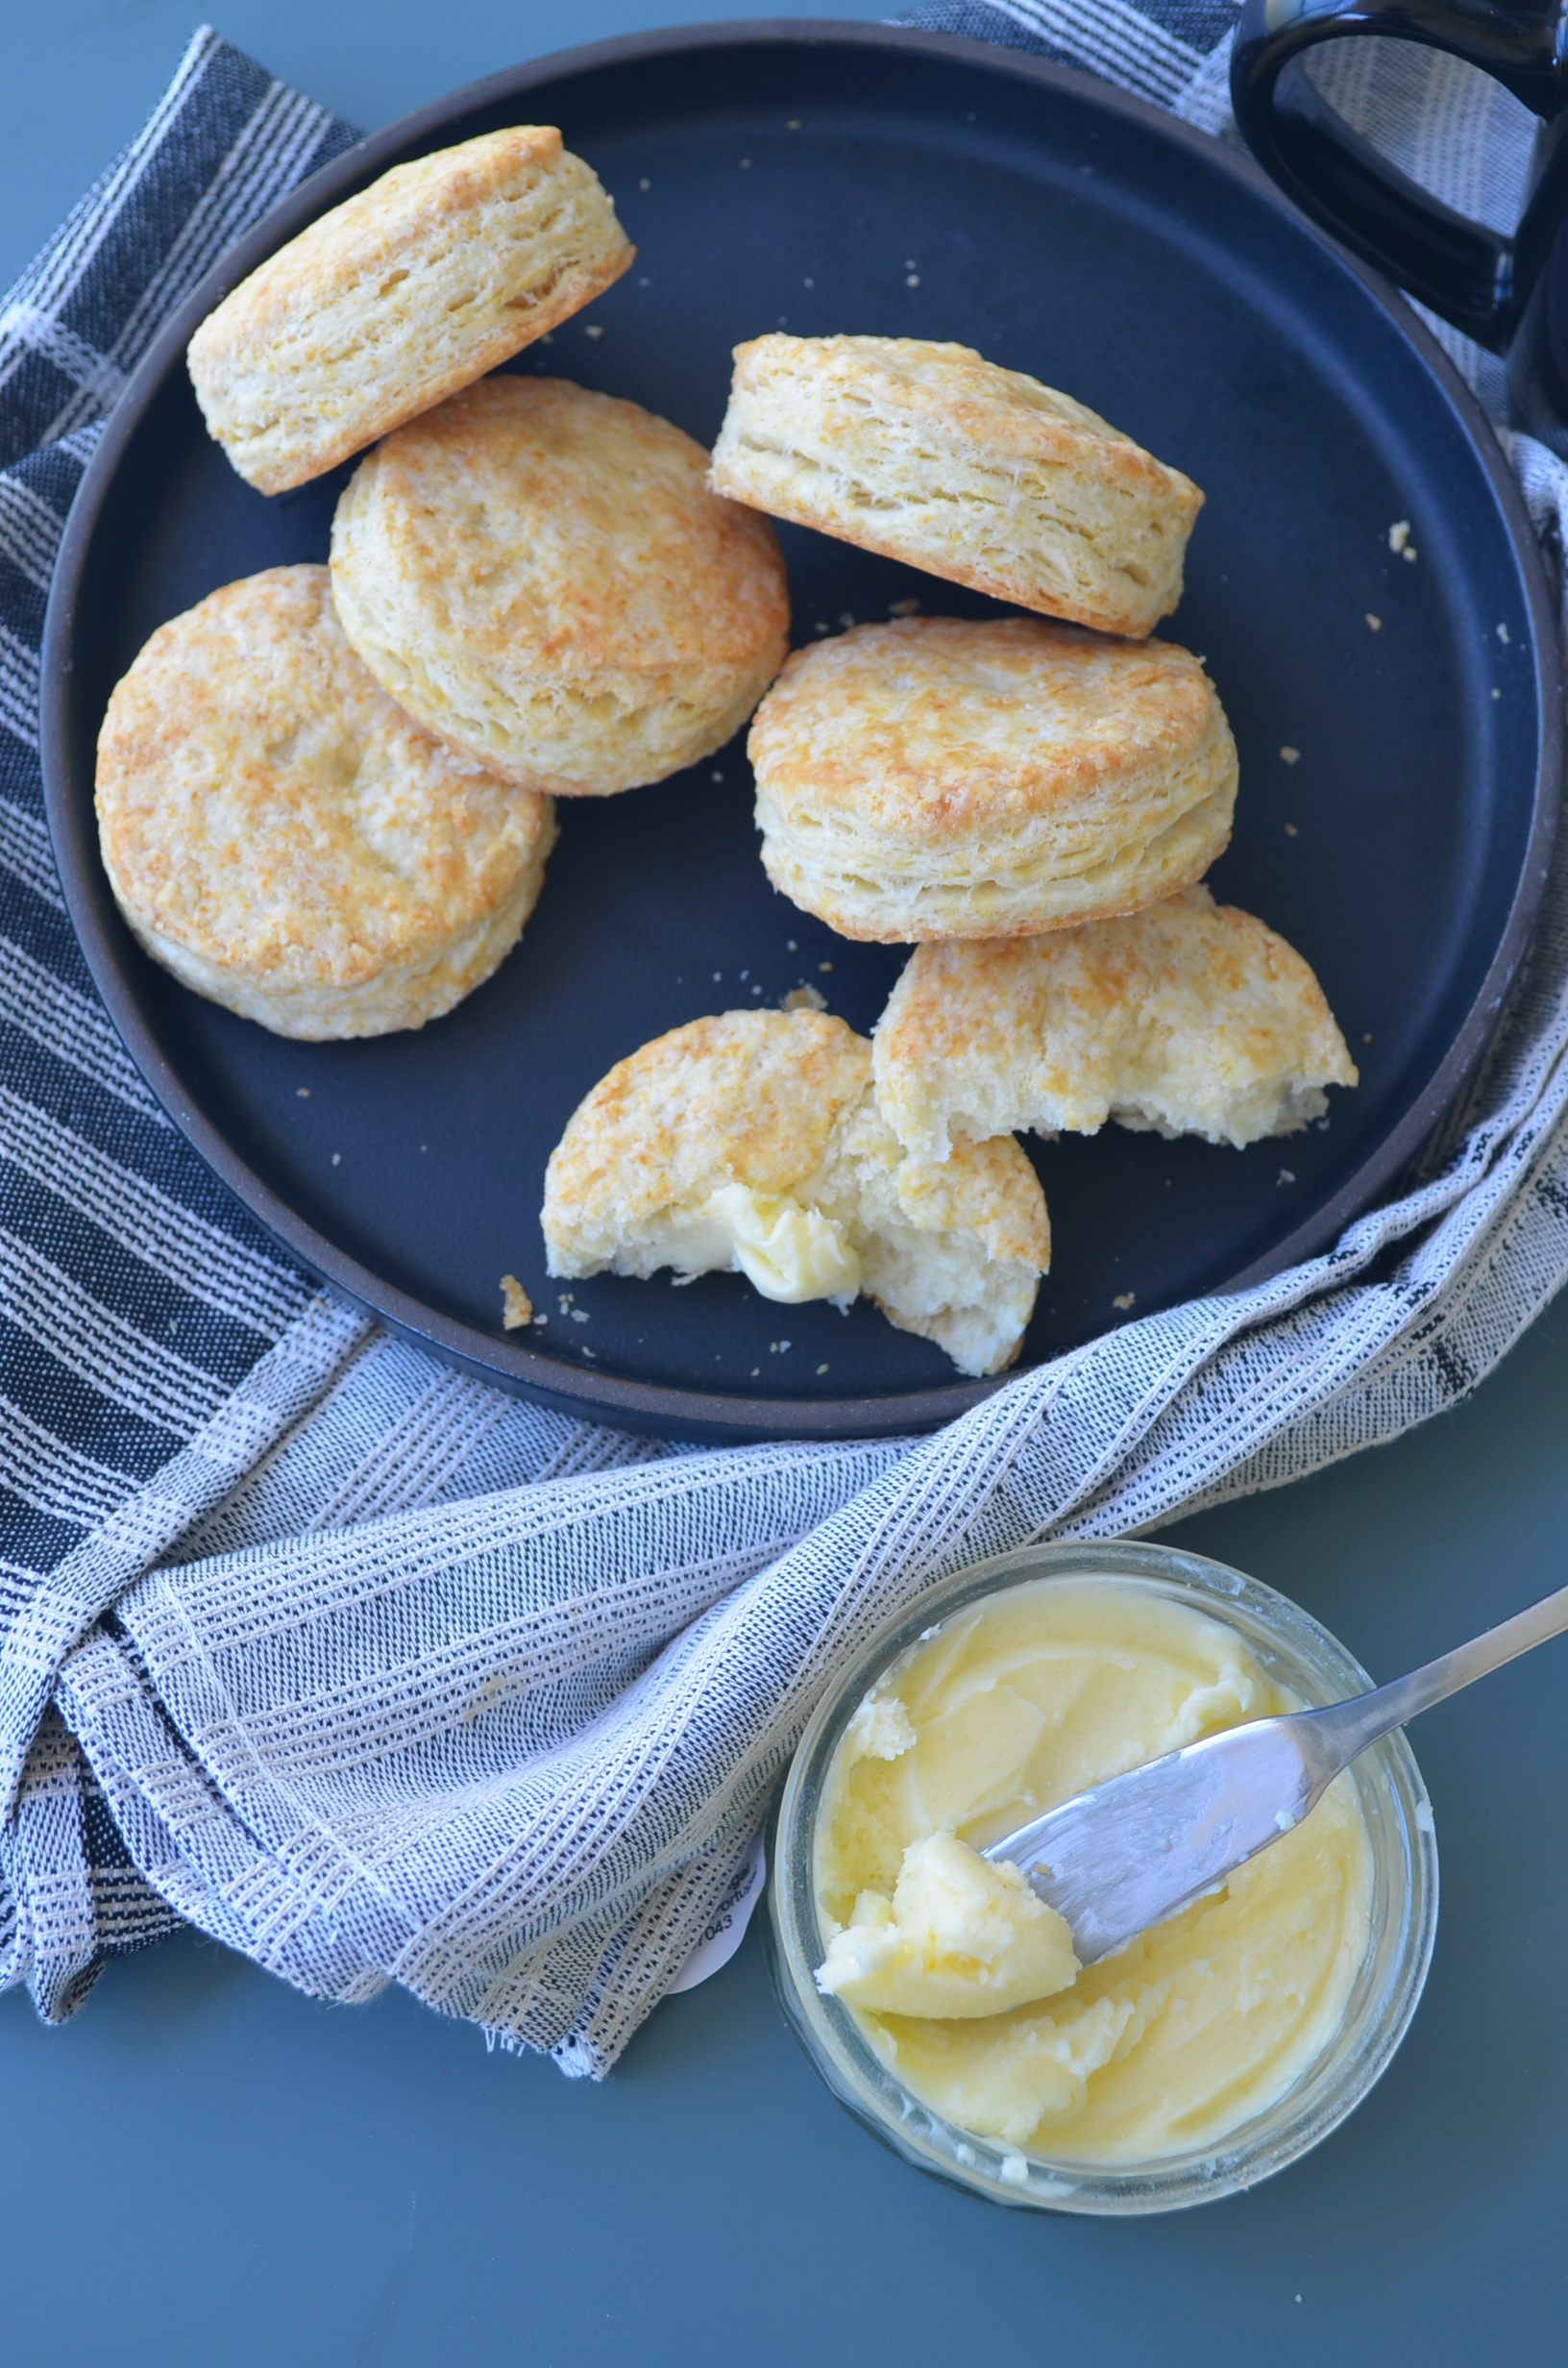
Biscuits, Scones, Soda Bread are my favorite alternative to yeast bread. They can be made ahead of time, they freeze well but most of all they are quick and easy to make. No long hours of wait for the dough to rise, as soon as the dough is done it is ready to go in the oven. You can make this in just 1 hour (or maybe less), it is that easy. Although Biscuit uses very few ingredients and have very simple steps to follow, there are some tips and tricks that I want to share with you to achieve a tall and flaky biscuit. After all, who wants a flat biscuit? Not me, and I’m sure not you too. So, let me share you some of the things I’ve learned and some mistakes that you should avoid in making Biscuits. The tips and tricks can also be applied to making Scones.

Why Biscuit?
Biscuits are easy to make, the dough itself can be prepared and baked in 1 hour or less. Yes, that easy! This is almost like a Soda Bread. Since this is not a yeast bread, there is no need to rest the dough. No leaving it for 1 or 2 hours in a warm place, just make the dough and bake it immediately. If you want to serve a homemade bread but you are short of time, turn to biscuit, scone or soda bread instead. Another good thing about Biscuits is that they freeze well, how does 2-3 months sounds to you? Long enough? Although I have to admit when I make my biscuits, it doesn’t even last a week. But still, I find it very convenient to make a big batch (double size of this recipe 12 pieces) and have it in the freezer for future baking. It’s so comforting to know that I can have freshly baked biscuit in the morning without having to wake up at 5 am to prepare the dough.

Tips in Making Tall and Flaky Biscuit
Although Biscuits are easy to make, not all biscuits are created equal. Biscuit have a way of driving people crazy when it turn out flat and dense. It happened to me quite a few times before and so I came up with some do’s and don’t that we can follow to achieve a tall and flaky Biscuits. Here are few tips based on my experience in making them, and some as a result of my research and reading. Check them out.
Cold Ingredients
I would suggest go for freezer cold butter, not just refrigerated cold butter. The harder the butter, the slower it will melt especially while you are working on it and when it gets into the oven. I normally freeze my butter overnight before using it or if short in time, at least 1 hour should do the trick. If you are going to use a food processor to mix the flour and butter, cut the butter into cubes before putting it in the freezer, this simple step will make your life easier. Since not every one of us have food processor, you can also use a cheese grater. Freeze the butter whole and use a cheese grater. This method gives a very even size of butter and will not need that much effort to mix. I’ve tried this technique before when I made my Homemade Puff Pastry and they came out really nice and flaky.
Not only cold butter, we want all the other ingredients cold too. Mix all the dry ingredients, transfer it in a bowl and put the bowl in the fridge 30 minutes to 1 -hour before beginning. Of course, make sure the buttermilk is in the fridge as well. Take it out only when you are ready to use it.

Hot Oven
Hot oven is another key to producing tall and flaky biscuits. This is why most recipes will say 425F when baking biscuits. A hot oven will make the biscuit rise faster and taller. So hot oven = tall biscuits, got it? Heat up your oven and don’t go easy on it.
Leave Pea Size Butter
Using Food processor
I often remind myself about this every time I used my food processor to prepare the dough. Always use the “pulse” setting when and do not leave it continuously processing. This could result in a tough dough, and tough dough means goodbye flakiness. So when using food processor, don’t leave it running on it’s own. You need to baby sit it for few minutes, but it’s totally worth it.
Using dough cutter
You can do this manually by using a pastry cutter. I find the butter easier to work on if it has been cut into cubes. Use a knife of a fork to mix the flour and butter, avoid touching it with your hands. The heat from your hands could soften the butter. You want a pea size butter so watch out for that.
Using a large cheese grater – My preferred method
On the other hand, if you are using a large cheese grater, it is easier to monitor and feel the texture of the dough. Always use the butter wrapper to handle the butter when grating it, this way your hands is not in direct contact with the butter.I like this method because it produces small pieces of butter with almost even size, plus it requires less effort. I’ve used this method all the time when making Empanada Dough, Scones and Homemade Puff Pastry and I always get a flaky bread.
There’s a pros and cons in using food processor and manually doing it, but regardless of what method you decide, just watch out for the texture and those half pea size butter. The small size butter is important because once the biscuits hits the oven, those pea size butter will burst and start to melt thus creating a steam. That process creates a flaky adorable biscuits.
Handle The Dough with Care, Light Touch Please
You worked hard to monitor that the butter is not fully crushed and that there is half a pea size butter in the dough, don’t let this effort get to waste by kneading the dough too much. Handle the dough with care, just a light touch is needed when folding and mixing it. Stop when the dough starts to form or clump together. You don’t have to make the dough smooth, lumps and bumps are ok as this ensures that the pea size butter are intact. Remember, TLC (tender loving care) please.
Fold, Fold, Fold
Do you noticed how flaky Croissant is? This flakiness is attributed to lots and lots of folding. The more you fold it, the more the layers will form. It’s like a pages in a book that had been arranged in layers. The same concept applies to biscuit. We want to fold it gently at least 2 times before cutting it. The extra fold will give the layers in the biscuits. Layers + flakiness = awesome biscuits!
Do Not Twist When Cutting
I never paid attention on how I cut my biscuit, and I’m pretty sure quite a few times I did the twist when I’m cutting the biscuits. I never knew that this could actually affect the rise of the biscuit until I read quite a lot of bakers mentioning it, and so I gave it a try. Whenever you twist the cutter when cutting the dough, it somehow seals the edges of the biscuits. This means that when it’s time for the biscuit to rise, the seal is holding the biscuit from rising and becoming tall. No twisting means taller biscuit because the biscuit could rise to the fullest without being held by anything. So you asked, how then is the proper way to cut it? Simply press down the biscuit cutter, that simple. The end product is a tall biscuit which shows the beautiful layers and flakiness of the biscuit. So no twisting from now on, ok?
6 simple tips to a tall and flaky Biscuit, that’s all you have to remember. Now that you know them, why don’t you put them to use and let me know how it goes. Let’s get started!

Ingredients:
- 2 cups All-PurposeFflour
- 2 teaspoon Baking Powder
- 1/4 teaspoon Baking Soda
- 1 teaspoon Salt
- 7 tablespoon unsalted Butter, cut into thin slices, chilled in freezer
- 3/4 cup cold Buttermilk
Instructions:
- Preheat oven to 425 degrees F (220 degrees C). Line a baking sheet with a silicone baking mat or parchment paper.
- Dry Ingredients: Whisk flour, baking powder, salt, and baking soda together in a large bowl.
- Cut butter into flour mixture with a pastry blender or cheese grater until the mixture resembles coarse crumbs.
- Wet Ingredients: Make a well in the center of butter and flour mixture. Pour in buttermilk and mix until just combined.
- Gather and Fold: Slightly work the dough and transfer in a floured surface. Gather and pat the dough into a rectangle, about 2 – 2/12 thick. You can make it thinner or thicker if you want to. Fold the rectangle in thirds. Imagine a book, then the pages (right and left) towards the center. Lightly flatten the dough into 1/2-inch thick rectangle again.
- Cut: Roll dough on a floured surface to about 1/2 inch thick. Cut out 12 biscuits using a 2 1/2-inch round biscuit cutter. Gather any leftover dough and cut with Biscuit cutter.
- Transfer biscuits to the prepared baking sheet. Press an indent into the top of each biscuit with your thumb.
- Brush the tops of biscuits with buttermilk. Optional but this will give a nice browning.
- Bake in the preheated oven until browned, about 15 minutes.
Makes 10 Biscuits of size 2 1/2-inch
Now or Later?
To Bake Right Away:
1. Transfer the biscuits to a greased or parchment lined cookie sheet, brush the tops of the biscuits with buttermilk. Put the tray in the oven and bake for 15 minutes, rotating the pan front to back halfway through baking. When they are golden brown, delicious looking, and lofty. Remove them from the oven. Let stand at least 2 minutes before eating or transferring to a towel lined bowl. Baking time varies depending on how thick of thin the Biscuit. Adjust baking time as needed.
To Freeze Biscuits for Later:
Transfer the unbaked, cut biscuits to a parchment lined cookie sheet. Cover lightly with plastic wrap and stick the cookie sheet in the freezer. When the biscuits are frozen solid, stack them in a resealable freezer bag, label the bag, and keep frozen until needed, or for up to 3 months. If you store them longer than that, they will still be bake-able after that, but not quite as high-rising and tasty!
To Bake the Frozen Biscuits:
Preheat the oven to 475°F. Line a cookie sheet with parchment paper. Arrange the frozen biscuits on the sheet leaving at least 2 inches between each biscuit. Brush the biscuit tops with buttermilk and bake the biscuits for 5 minutes. After 5 minutes, lower the heat to 425°F and continue cooking for 10 minutes or until the biscuits are golden brown, delicious looking! Remove the Biscuit from the oven and let stand at least 2 minutes before eating.

Nutritional Information
Nutritional Information was calculated using Veryfitwell Recipe Calorie and Nutrition Calculator. For details about Nutritional Information in this website, please read the Disclaimer page.

My Latest Video
Featured Posts:
- Glazed Orange Scones
- Blueberry Streusel Scones
- Small Batch Cream Scones (Makes 4)
- Coconut & Raisins Cream Streusel
- Potato and Cheeddar Scones
- Green Onion and Cheddar Drop Biscuits
- Pumpkin and Raisins Biscuits


Thank You for visiting my website. Please don’t forget to click the “Like” button below if you like this recipe. Lastly, did you know that I have a YouTube Channel? Please support my channel by clicking on the “Subscribe” button in my video and the “Bell” icon to get notification of new videos.

FOLLOW SWEETNSPICYLIVING ON SOCIAL MEDIA
Facebook | Instagram | Pinterest | Twitter | YouTube


All important tips for a good biscuit.
LikeLiked by 1 person
Thanks Dorothy 😉 some lesson learned from my previous mistakes
LikeLiked by 1 person
The best teacher!
LikeLiked by 1 person