It is almost Summer, the weather is getting warmer and there is already an abundance of fresh Summer fruits in the market. Today I want to share with you this amazing Blueberry & Peach Custard Buns, a great way to use fresh or canned fruits if that is what you have on hand.
This is a yeast bread which means it will take sometime to make it but trust me it is worth it. This buns requires 2 rise period of 1 hr each, I would say 3 hrs on total end to end. It does sound scary, but trust me it is not. Making yeast bread is not as scary as you think it is. I used to be scared in making homemade bread but once I tried it and made it over and over again, I came to like it, not just eating it but the baking process itself.
How to Make Peach & Blueberry Custard Buns


Make Ahead-Tips
There are 3 major parts in making this buns. Making the custard, the jam/compote and the bread dough. I suggest that you make the custard and jam (if using) at least a day ahead to allow the consistency to thicken. If you are only using custard then just opt for fresh fruits as toppings.
You can make the bread dough and leave it overnight in the refrigerator covered after the first rise. Simply roll the dough into a ball and put it in a large covered container. The cold temperature of the refrigerator will slow down the yeast action. The following day, remove it from the refrigerator and let it come to room temperature. Shape, fill, roll and then leave covered in a warm place for 1 hour to rise. This will significantly cut the time during the day that you want to make and serve it.
In my case, I had time so I made the bread dough the same day but I made the filling and jam ahead of time.

Sticky & Wet
One thing I have to point out here is that the buns once filled with custard is going to be wet and sticky. Unlike the cinnamon roll or other bread rolls that you can bake out of a muffin tin, this one I highly recommend using a muffin tin to hold the dough. This will help contain the filling from overflowing and the bread from overspreading. If you want to bake it as individual roll outside of the muffin tin, then significantly decrease the amount of custard so you can roll the dough tightly.

Keep an Eye on it
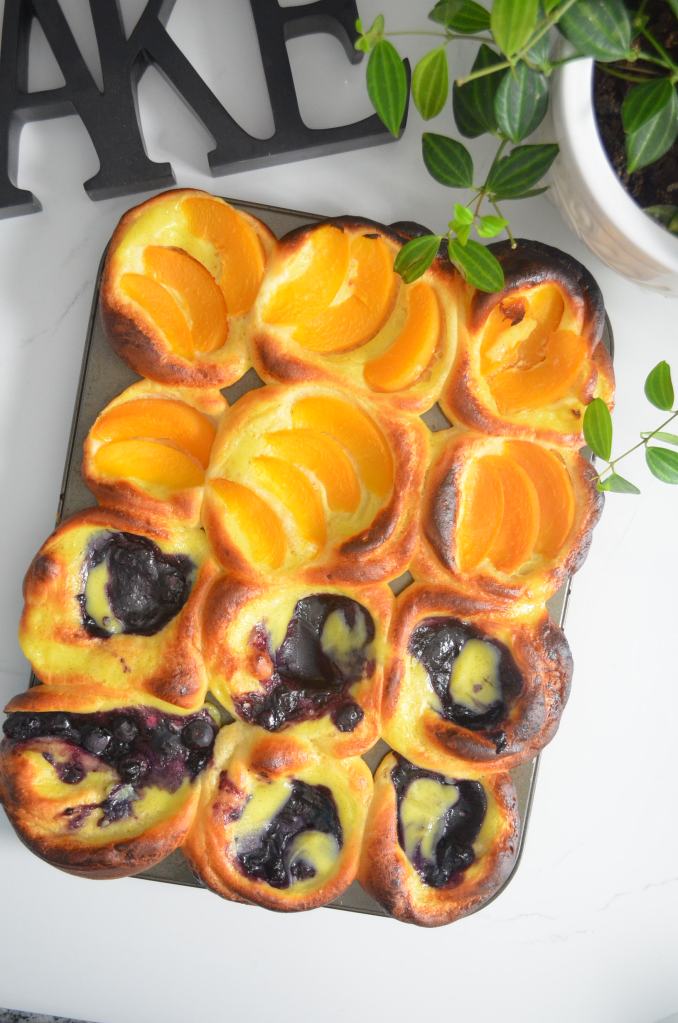
So that you do not commit the same mistake as I did, I have to remind you to please keep an eye on it when you are baking it. Because of the custard, this buns could get burn easily. Rotate the pan halfway through baking and cover the top as needed to prevent side burning. You can see from the photo some of the buns have burnt side and that was because I forgot to check on it half way. It still tuned out great but it would had been better without the side burns. Lesson learned from me to you.

2 in 1
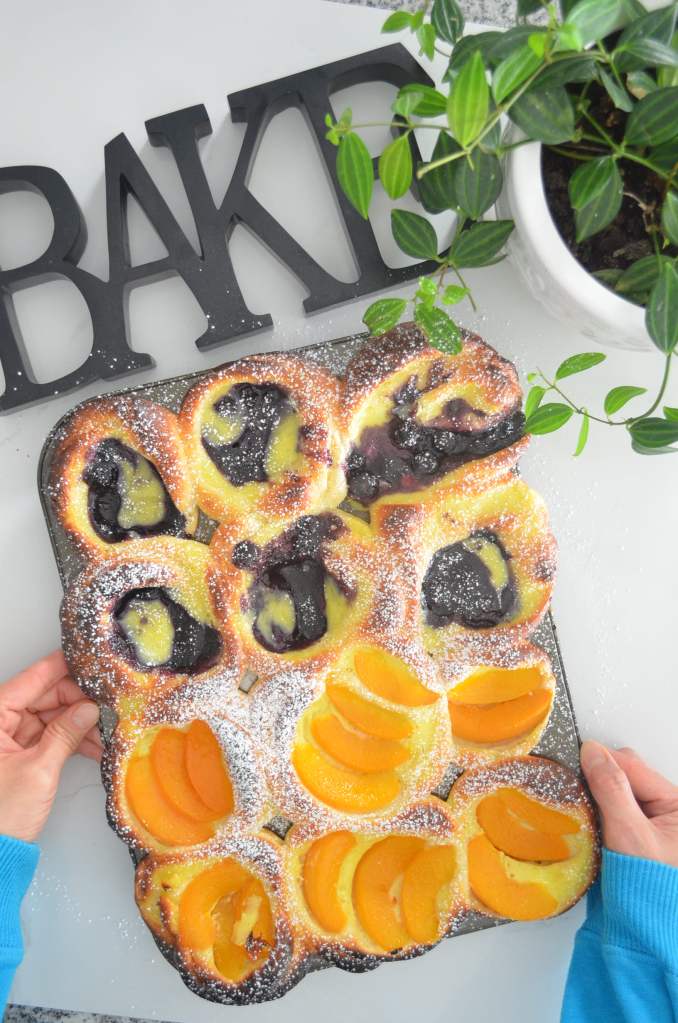
This custard buns comes in 2 flavor, Peach & Blueberry but you can certainly change things up. These 2 were the ones I had the time I was making it and they are both my favourite. You can make all blueberry or all peach if that is what you prefer but I find that making 2 variations made this even more attractive.
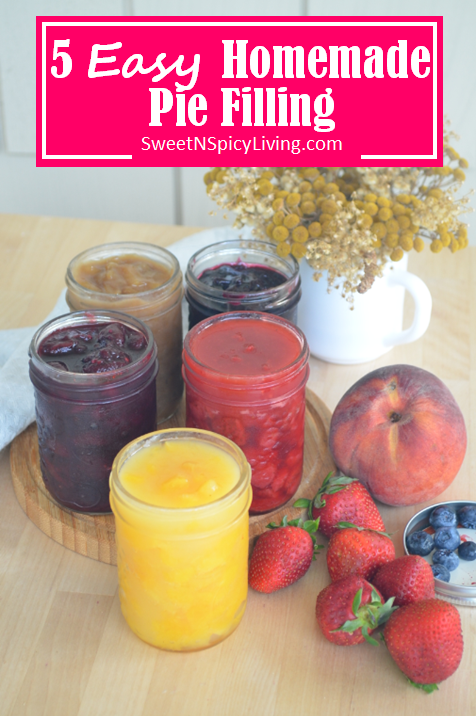
There are several toppings that you can use if you do not like these two options. You can use any of these 5 pie filling and mix with the fresh fruits. Apple, Cherry, Pineapple, Mango & Strawberry are good options to choose from. You can also just opt for sliced fruits on top since the buns already have custard. Th peach variation only uses sliced peaches while the blueberry one used a combination of compote and fresh blueberry.

Tips for a Successful Soft Homemade Bread
- Liquid Temperature – Yeast grows in temperature between 105 – 110F, so its important to have the water that you are using to “proof” it in this range. If you go lower or higher, the yeast might not proof properly. That means the bread will not rise as much, resulting to a flat and tough bread.
- Check Yeast Expiry a Date – you might be wondering how come the bread did not rise when you followed exactly the recipe. Well, first thing first, make sure the yeast is not yet expired. Expired yeast is the common reason for flat and dense bread. If your bread did not expand or rise during the rest period, it is most likely that the yeast is not fresh or the water temperature is too hot or cold.
- Amount of Yeast – Just because you want a tall bread doesn’t mean you have to put as much yeast in the mixture. Sometimes adding too much yeast can cause the bread to collapse during the rest period. Just imagine putting more air than what is needed in a balloon, the balloon will explode. The same case with bread.
- Right Type of Yeast – We’ve discussed the 3 types of yeast above. Make sure to use the right one for your recipe, and make necessary adjustments if you want to swap one from another.
- Rest Period – Yeast bread needs time to rise. There are bread that uses less yeast but requires more rest time, the likes of No Knead Bread or Artisan Bread which usually require 8- 16 hours rest period to get the volume and to develop the flavor. There are 1 hour bread like my Rosemary Dinner Rolls like a 1 proofing only bread. The point is, give it time to rest, don’t touch it just leave it in a warm place. The first rest period will normally tell you if your dough is good or not. If it rise and almost double in size, then your on the right track.
- Expiration and Quality of the Flour – The quality of the flour greatly affect the texture of the bread. All-purpose flour could differ from country to country although they are all called as all-purpose flour. Sometimes it depends on the brand too. The closer the flour to expiration date or if it is already expired, the flour could tend to be drier, which means it would require more liquid than mentioned in the recipe. This is a common issue of way sometimes the dough tend to be tough and dry. This is why sometimes you have to add few more tablespoon from the suggested flour measurement to get the right texture. The dough should be soft, smooth and elastic. If it is too wet, add a bit more flour until it is no longer to sticky to handle. If it is too dry, a small amount of liquid helps provide moisture to the dough. A clean side of the bowl, with the dough slightly sticking at the bottom, a soft, smooth and elastic dough is what You are aiming for.

How do I Know if I Made the Bread Dough Correctly?
- Activating the Yeast – This is the first thing that you should get right, otherwise do NOT proceed. After 5 – 10 minutes you should see a foam forms on top of the water, this is an indication that the yeast is alive. If you do not get this, either the yeast is old or the liquid temperature is too hot or cold. The temperature should be 100F, lukewarm but not hot.
- Clean Bowl After Kneading – The sides of the bowl should be clean, while the bottom is slightly sticking to the dough. This means that amount of liquid to the flour is correct. Enough to make a clean bowl and still make a slightly wet dough.
- Soft Dough – Soft dough means the amount of flour to liquid is enough. Too much flour could make the bread dense and heavy, and too much liquid could make it too wet. Both will affect how the bread rise in the rest period. Try to push your fingers in the dough, it should leave a “dimple” on the dough and should gradually disappear.
- Smooth Dough Surface – Again, this is a sign of correct flour to liquid ratio. A “bumpy” surface could mean that the dough is dry and tough.
- Elastic Dough – A soft dough is usually elastic. If your dough is dry and tough, it wouldn’t be as elastic when you pull it apart.
- Rest Period – The dough should almost double in size. This is a sign that the activation of the yeast work which is crucial to making a soft and fluffy bread. This also means the yeast is alive (not yet expired) and the liquid temperature is correct. I always use baking thermometer to check the temperature of the liquid. The bread dough should be really puff up and should fill in the gaps between each bread. This is crucial and the final state of the bread before baking. If you are able to make it puff-up, that is a good sign that there are air trapped inside which will make the bread fluffy.

Why is My Dough too Wet or too Dry?
Don’t get frustrated if your dough did not turn out immediately as what you see in the photo or video. Most likely It is not because you did not follow the recipe. When it comes to bread making, the amount of flour and liquid is not always 100% precise. This is why often times you will encounter recipes that says, if your dough is dry, add a bit more liquid. If your dough is too wet, add a little bit more flour. This instructions are not meant to confuse you, they are meant to guide you on how to adjust as you work through your dough. The reason for this is that although the measurement of water and flour are specified in the recipe, it still could slightly vary depending on many factors. For instance, all-purpose flour could very from country to country, or even from brand to brand. Don’t be surprise if you find that some brand tends to require a bit more liquid as the others. On top of this, the amount of liquid is also affected by the state of your flour. How old is the flour that you are using? Older flour nearing expiry tends to be drier and this requires more liquid. Humidity also affects baking. The more humid it is, the more likely the dough will be sticky and wet. Bread making requires patience, and practice. Once you learn how to feel the right texture of the dough, everything will be quick and easy. You can instantly tell if you need to add more water or flour to get the dough in right state.
Let’s Make the Blueberry Jam

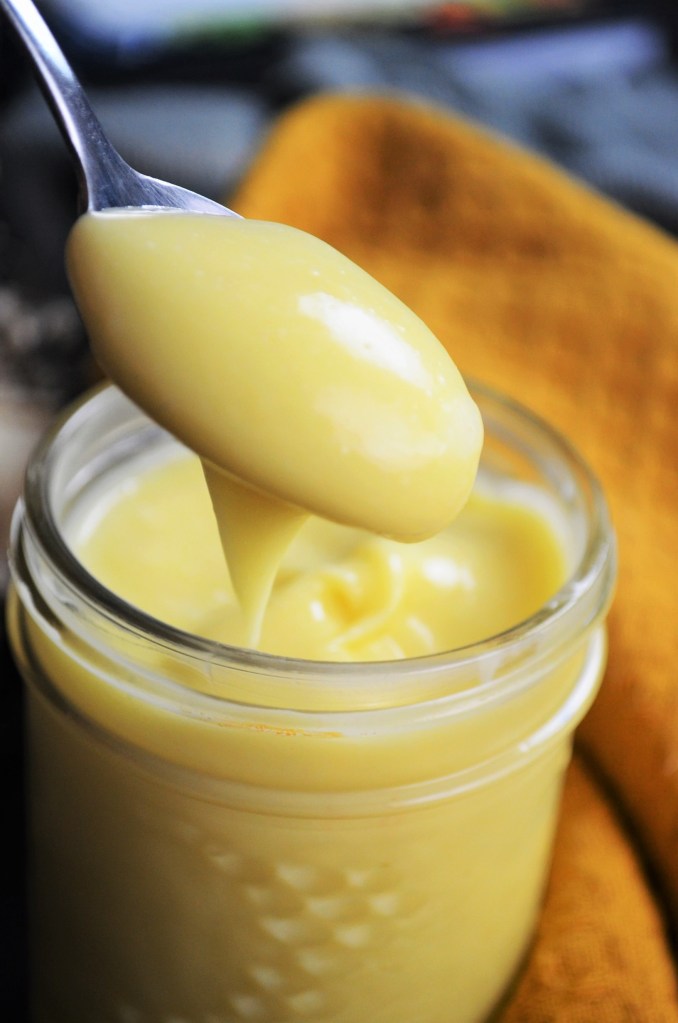
Let’s Make the Custard
You can use custard of your choosing but my favourite ones to use for this bread are these Vanilla Custard pastry Cream and The Cardamom Custard Pastry Cream. The process of making them are the same, the only difference is the flavouring. Vanilla is the more common flavor of a basic pastry cream.
Vanilla Custard Pastry Cream
Cardamom Custard Pastry Cream
If you are open to trying new flavor, try adding a dash of cardamom in your pastry cream. It has a very unique taste and I love how it leaves tiny speaks in the custard which almost look like a vanilla bean seeds. If you are using it for bread filling like this one, you can extend the cooking few more minutes (say 5 minutes) to make the consistency thicker. Either way, thick or thin, pastry cream will always elevate whatever pastry you put it.
Coconut Custard Pastry Cream
If you are a coconut lover like me, Coconut Custard is a nice option for a tropical flavoured buns.
Ingredients:
- 1/3 – 1/2 cup warm Full Fat Milk (110F) – microwave 15 seconds
- 3 tablespoon granulated Sugar (Divided: 1/2 teaspoon for the yeast, remaining for the flour)
- 1 1/4 teaspoon Active Dry Yeast or 1 teaspoon Instant Yeast
- 1 large Egg – room temperature
- 1 1/2 cups Bread Flour or All-Purpose Flour (plus 2 tablespoon ONLY as needed)
- 2/3 teaspoon Salt
- 2 tablespoon softened unsalted Butter
- 1 cup Custard Pastry Cream
- 1/2 cup Blueberry Jam (or Strawberry Jam)
- 18 pieces sliced fresh Peaches
- 1/2 cup fresh Blueberry (optional for toppings)
Instructions:
- Make the Custard Filling: Make this at least a day ahead to allow the cream to thicken. Store in the refrigerator until ready to use
- Make the Blueberry Jam (or any fruit Jam you like). Make this at least a day ahead as well to allow it to thicken. I have recipe HERE
- Activate the Yeast: Microwave a/3 cup of the milk for 20- 25 seconds until lukewarm but NOT hot, aim for 110F. If you have a baking thermometer, use it as it is the best way to be sure of the temperature. Hot milk will kill the yeast and the bread will not rise properly. Transfer milk in bowl of stand mixer (Refer to discussion above for other Methods of making this) and add 1/2 tsp of the granulated sugar and stir. Add the yeast and let rest for 10 minutes until mixture is foamy. If the mixture did not become foamy, either the yeast is old or the milk is too hot. Do NOT proceed until corrected, otherwise you will end up with a tough dense bread
- If using instant yeast, mix the yeast with the dry ingredients. No need to activate it.
- Add Wet Ingredients: Add remaining sugar (3 tbsp) and egg to the yeast mixture.
- Add Dry Ingredients: Followed by the flour and salt.
- Knead the Dough (Speed 2) Using the paddle attachment, mix for about 30 seconds just to bring the mixture together. Replace with the dough/hook attachment and knead for 15 minutes (KitchenAid Speed 2). If the dough is too dry, add 1/2 teaspoon of milk until it reach a smooth, soft and elastic texture. The side of the bowl should be clean, while the dough is slightly sticking to the bottom of the bowl.
- Add the softened butter and knead for another 15 minutes. When you add the butter, you will notice the dough will break apart and it will look like it is too wet. Do not panic, this is expected. Continue mixing (even if longer than 15 minutes) until the dough comes together completely (it will), the side of the bowl is clean and the dough is slightly sticking at the bottom of the bowl. Do not stop mixing until you get to this stage. It takes time to fully incorporate the butter to the flour mixture, be patient.
- To Check: The dough should be smooth, soft, elastic and slightly sticking to the bottom of the bowl
- Let Rest: Transfer in a greased bowl and cover loosely with plastic wrap or warm towel, and then let rise in a warm place for at least 60 minutes to 90 minutes, or until doubled. (Rising time is dependent on the temperature of the room; let rise until the dough is doubled). I find 60 – 75 minutes my sweet spot, perfectly fluffy.
- Trick: Pre-heat the oven to 110F then turn it OFF. Put the covered dough inside.
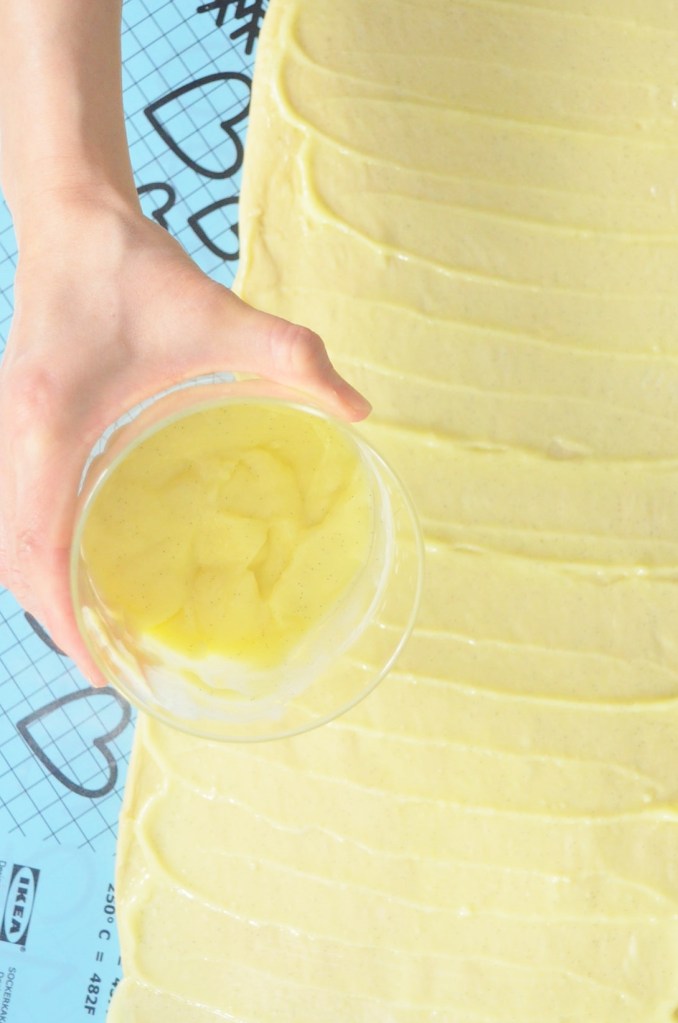
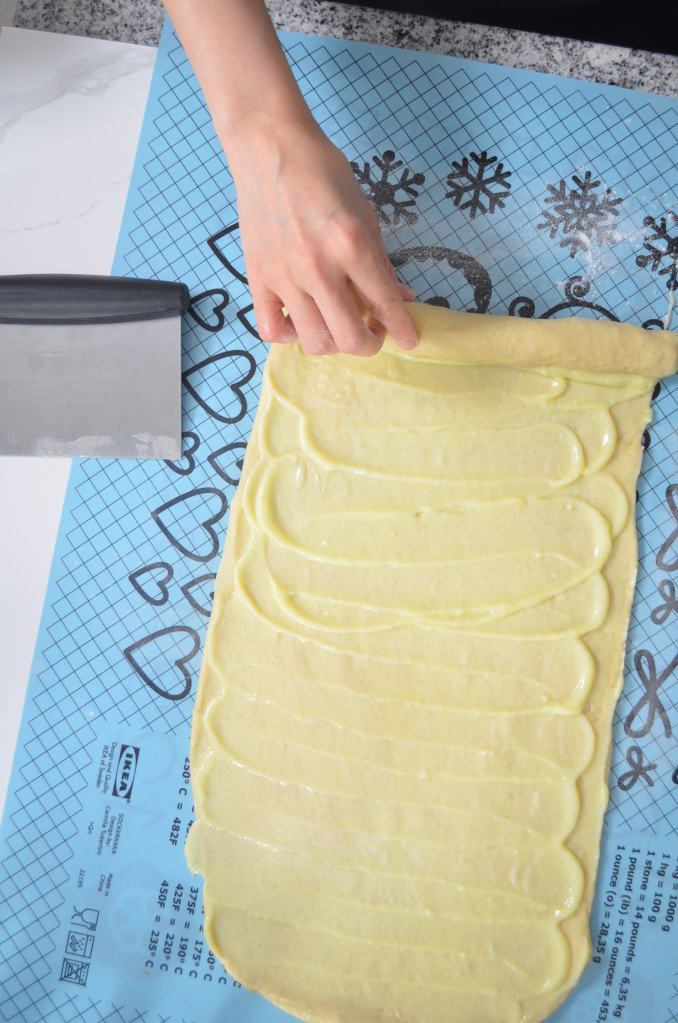
- Shape the Dough: Roll the dough to a 9 x 20 inch rectangle. Spread custard cream on top. Roll starting from the end close to you until the end. Because of the wet sticky custard, rolling could be a bit tricky and challenging to make it really a tight roll. That is fine, this is why we are using muffin pan to bake the buns.
- Portion the Dough: Divide the dough into 12 portions. It might look small but it will expand as it bakes.
- Transfer in a Muffin Pan: Spray each cavity of muffin pan with oil. Transfer the portion rolled dough into the muffin tin. Use a spoon to press the center to create a hollow center. Add 1 teaspoon of pastry cream in the center.
- Let Rest Second Time: Let rest for another 60 minutes until puff-up.
- Pre-heat the Oven: Meanwhile, preheat the oven to 350F in the last 15 minutes of rest time, or however long it takes to pre-heat your oven. If you are using the oven to rest the dough, do NOT forget to take the dough out before pre-heating.
- Add Toppings:
- Peach: Top 3 slices of peach on top of the 6 buns.
- Blueberry Jam: Top 1 tablespoon on Blueberry Jam top of the 6 buns. Add 4 pieces of fresh Blueberry on top (optional)
- Other Options: Any fruit Jam, fresh sliced Apricot, Pear, Raspberry, Mango.
- Bake for 35 – 40 minutes, until the top is golden brown. Rotate the pan halfway the baking. Pay attention to the sides of the bread as this could get browned before the center is bake. Cover the sides with aluminum foil as needed.
- Let Cool completely to allow the bread texture to get better.
Makes 12 pieces

Featured Posts:
- Small Batch Dinner Rolls for Two (Makes 4)
- Jalapeno and Cheese Pull-Apart Bread
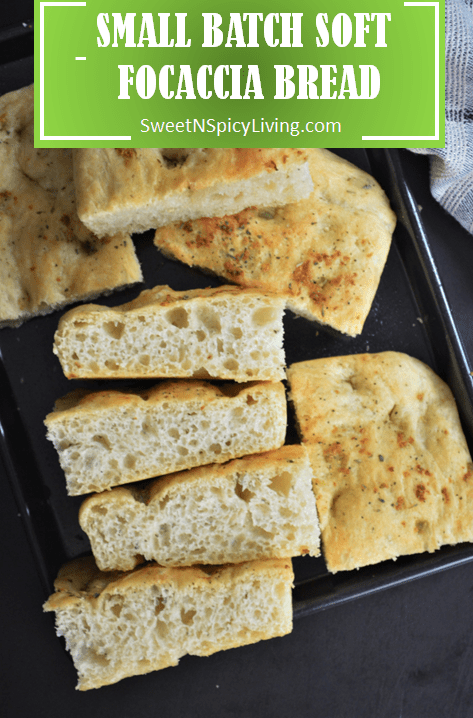
- Kalamata Foccacia Bread
- Herbed Pull-Apart Jalapeno and Cream Cheese
- Brioche Hamburger Buns
- Vegan Dinner Rolls
- Ensaymada
- Coconut Twist Bread
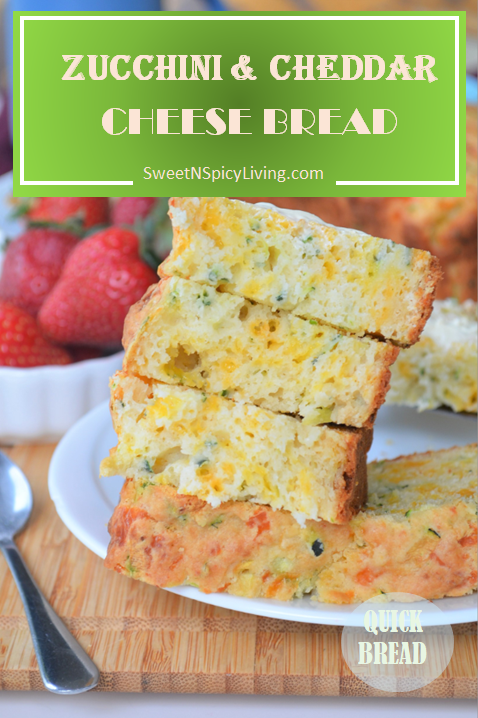
- Zucchini and Cheddar Cheese Buttermilk Bread
- Parmesan Bread Rolls – Just 2 Pieces!
- No Yeast | No Mixer Sandwich Bread
- Sweet Potato Rolls
- [Video] 10 Homemade Bread Recipe Videos


My Latest Video
Thank You for visiting my website. Please don’t forget to click the “Like” button below if you like this recipe. Lastly, did you know that I have a YouTube Channel? Please support my channel by clicking on the “Subscribe” button in my video and the “Bell” icon to get notification of new videos.

FOLLOW SWEETNSPICYLIVING ON SOCIAL MEDIA
Facebook | Instagram | Pinterest | Twitter | YouTube
Share this:

Categories: Baking, Bread, Recipe, Small Batch Recipes, Video, Video Recipes
