
Making bread takes patience, and I understand why people immediately dump the idea of making it at home. It’s always easier to go to a bakery and buy a loaf of bread, then off you go to enjoy them. I did that too a lot of times, until I started making my own bread at home. I have the luxury of waiting for 2-3 hours to have my bread, so I don’t mind making it at home. More than the bread itself what is more rewarding to me is the sense of accomplishment of being able to make my bread from scratch. I often do the yeast bread which requires some time to make, but I also like making quick bread like my One-Hour Rosemary Dinner Rolls. For yeast bread like this. you need to knead the dough and it needs to under go 2 rise at least 1 hour each rest period. The bread needs time to rise to develop air into the dough thus making the bread soft, airy and plump. If you carefully check your bread and you noticed pockets like air bubbles that burst, those are a result of the “proofing” process. The more air it gets, the more soft the bread is.

I often used this dough recipe whenever I want to make my homemade bread. This recipe is very versatile and I had used it for both sweet and savory breads so many times. It never failed me not even once, it always have a consistent texture whatever size, shape and variation I used it for.
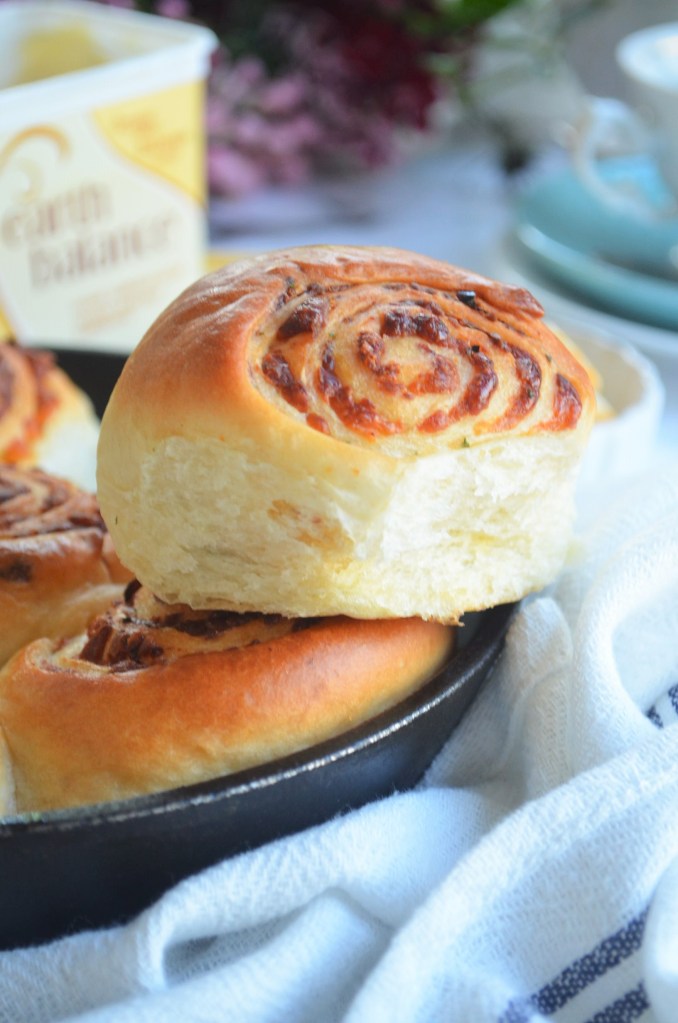
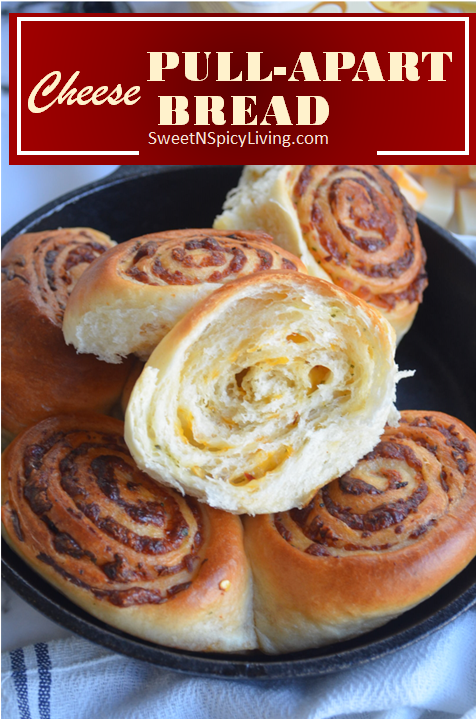
I received a huge block of cheese and I cannot contain my excitement to use it for this bread. My mind was running like crazy thinking of all the type of bread I can use it for. This bread is soft and very cheesy and it smell so good I wanted to eat it immediately after taking it out from the oven. The smell of freshly baked bread itself for me is a reward enough for making it from scratch, and that is just the smell. Wait until you try it yourself and you will definitely agree that homemade bread is worth the wait. Just do something else while you wait for it to rise and bake, don’t keep on checking and peeking as it will just make the waiting feels longer. Leave it alone and come back when it’s ready. If you only have one hour to spare to make a bread, then definitely I suggest you check my One-Hour Rosemary Dinner Rolls . Let’s get started!

Big Batch Ingredients:
- 2 tablespoon granulated White Sugar (1 teaspoon for the yeast)
- 1 teaspoon Active Dry Yeast (I used Fleischmann’s brand)
- 1/3 cup lukewarm Water (110F)
- 1/3 cup lukewarm Milk (110F)
- 1 3/4 cup All-Purpose Flour or Bread Flour
- 3/4 teaspoon Salt
- 2 tablespoon unsalted Butter – melted and cooled
- 1 teaspoon Red Chili Flakes
- 150 grams grated Cheddar Cheese
Small Batch Ingredients:
- 1 tbsp granulated White Sugar ( 1/2 teaspoon for the yeast)
- 3/4 teaspoon Active Dry Yeast (I used Fleischmann’s brand)
- 3 tablespoon lukewarm Water (110F)
- 4 tablespoon lukewarm Milk (110F)
- 1 cup Bread Flour or All-purpose Flour
- 1 tablespoon unsalted butter – melted and cooled
- 1 teaspoon Red Chili Flakes
- 100 grams grated Cheddar Cheese
Note: This recipe can be done without a stand mixer. Mix all ingredients in a large bowl and using your hand, manually mix and knead the dough in a flat surface.

Instructions:
- Activate the Yeast: Pour the warm water in the bowl, then add the sugar and active dry yeast. Stir and leave for 10 minutes until foam start to form on top. If you did not see any foaming, do NOT proceed. This means there is something wrong with your yeast. Repeat and start again. Check the expiry date to be sure that it is still active.
- Wet Ingredients: Add the warm milk to the yeast mixture
- Dry Ingredients: Add the flour, remaining sugar and salt. Mix for at least 8 minutes until it forms into a dough.
- Goal: You are looking for a soft, smooth and elastic dough, slightly sticking to the bottom of the pan.
- Dry Dough: If the dough is still dry, add a little bit more liquid, 1 teaspoon at a time until it becomes soft and elastic. Knead for at least 3 minutes before you add more water.
- Wet Dough: If the dough is to wet, add a little bit more flour, 1 tablespoon at a time. Knead for at least 3 minutes before you add more flour.
- Add softened butter, and continue kneading for another 25 minutes until the dough is not sticky anymore. After adding the butter, the dough will split and separate. This is normal, continue mixing and it will eventually go back into a ball of dough. It will take awhile, so just keep kneading until you get to that stage.
- For small batch: You will need less time, around 15 minutes
- Rest Period 1: Form into a ball and transfer to a large oiled bowl, cover with a warm, damp towel and let rise for 1 hour. (It’s best to let the dough rise in a warmer area of your kitchen).
- To help the dough rise better, pre-heat the oven to 110F then turn if OFF. Do NOT forget to turn if OFF, you only want the oven to warm up for the dough to rise, you do not want to dough to be baked. Some oven has a proofing setting, mine doesn’t, so this is my trick. Put the dough inside the pre-heated oven.
- Knead Again: Take the dough out from the bowl, and manually knead it for 1-2 minutes just to remove the air.
- Roll and flatten the dough then sprinkle grated cheese and chili flakes on top.
- Roll the dough into a log shape(starting from the end close to you, the shorter end) and then cut and divide into 15 pieces.
- If making a small batch: Roll into a 14 x 7-inch log size and divide by 6
- Arrange in an 6 or 8-inch skillet pan, or any 8 or 6-inch round pan. If you do not have a skillet pan, you can also use round, square or rectangular pan of similar size.
- Second Rise: Leave the dough for another 1 hour to rise.
- If making a small batch: Use 6-inch, and 8-inch for big batch
- Bake at pre-heated oven at 350F, for 25 minutes or until the top turns golden brown. If the top turns brown faster, cover the top with aluminum foil and continue baking.

Enjoy! If you make this, share and tag me in Instagram #SweetNSpicyLiving. I would like to see your creations too.
Featured Posts:
- White Bread Loaf
- Small Batch Dinner Rolls for Two (Makes 4)
- Small Batch Hot Cross Buns
- [VIDEO] All Around Bread Dough: Italian Herbed Jalapeño & Cream Cheese Pull Apart
- Small Batch Apple Cinnamon Roll (Makes 4)
- Vegan Dinner Rolls
- Italian Herbed Dinner Rolls
- Sweet Potato Bread Rolls
- Zucchini and Cheddar Cheese Bread
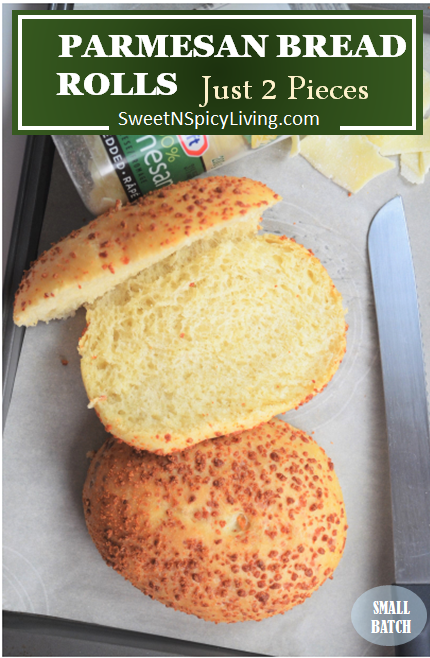
- Parmesan Bread Rolls, Just 2 Pieces!
- Pumpkin Cream Cheese Swirl Bread
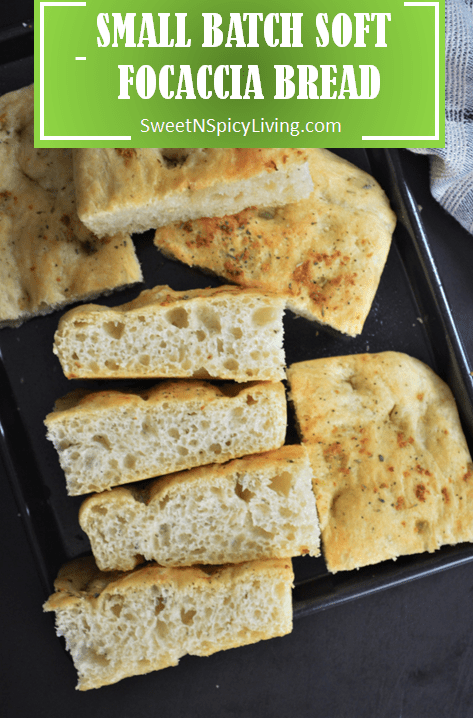
- [VIDEO] Small Batch Focaccia Bread
- [VIDEO] Coconut Twist Bread
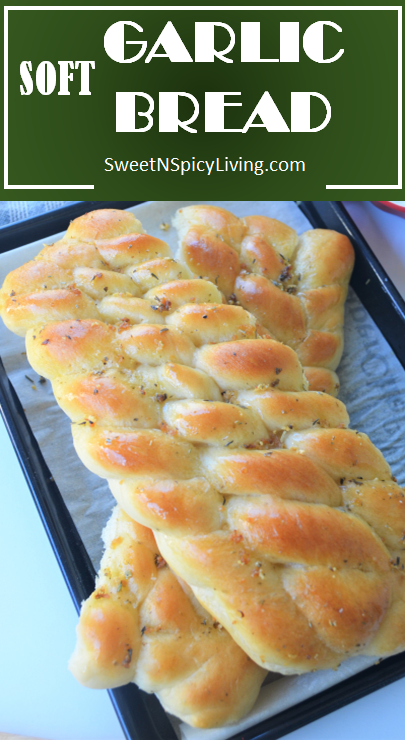
- [VIDEO] Soft Garlic Bread
- [VIDEO] Jalapeno and Cheese Bread
- [VIDEO] 10 Homemade Bread Recipe Videos









My Latest Video
Thank You for visiting my website. Please don’t forget to click the “Like” button below if you like this recipe. Lastly, did you know that I have a YouTube Channel? Please support my channel by clicking on the “Subscribe” button in my video and the “Bell” icon to get notification of new videos.

FOLLOW SWEETNSPICYLIVING ON SOCIAL MEDIA

What a good from scratch recipe. Looks amazing. I bet it is grat with that cheese too.
LikeLiked by 1 person
Thanks! It’w worth making the bread from scratch from time to time.
LikeLike
Looks yummy 🙂
LikeLiked by 1 person
Thanks! One of my favorite homemade bread
LikeLiked by 1 person
looks yummy, we love cheese breads will be giving this one a go too
LikeLiked by 1 person
Thanks! Let me know how it goes when you make it.
LikeLiked by 2 people
Love the look of these, and I’m sure your house smells like comfort zone!
LikeLiked by 1 person
bread heaven 🙂
LikeLiked by 1 person