Hello, fellow bread enthusiasts and baking novices! Today, we’re diving into the wonderful world of no-knead homemade artisan bread—a simple, yet incredibly rewarding recipe that even the most inexperienced bakers can master. This bread is a game-changer, offering the satisfaction of fresh, homemade bread without the fuss of traditional kneading.
Why No-Knead Bread
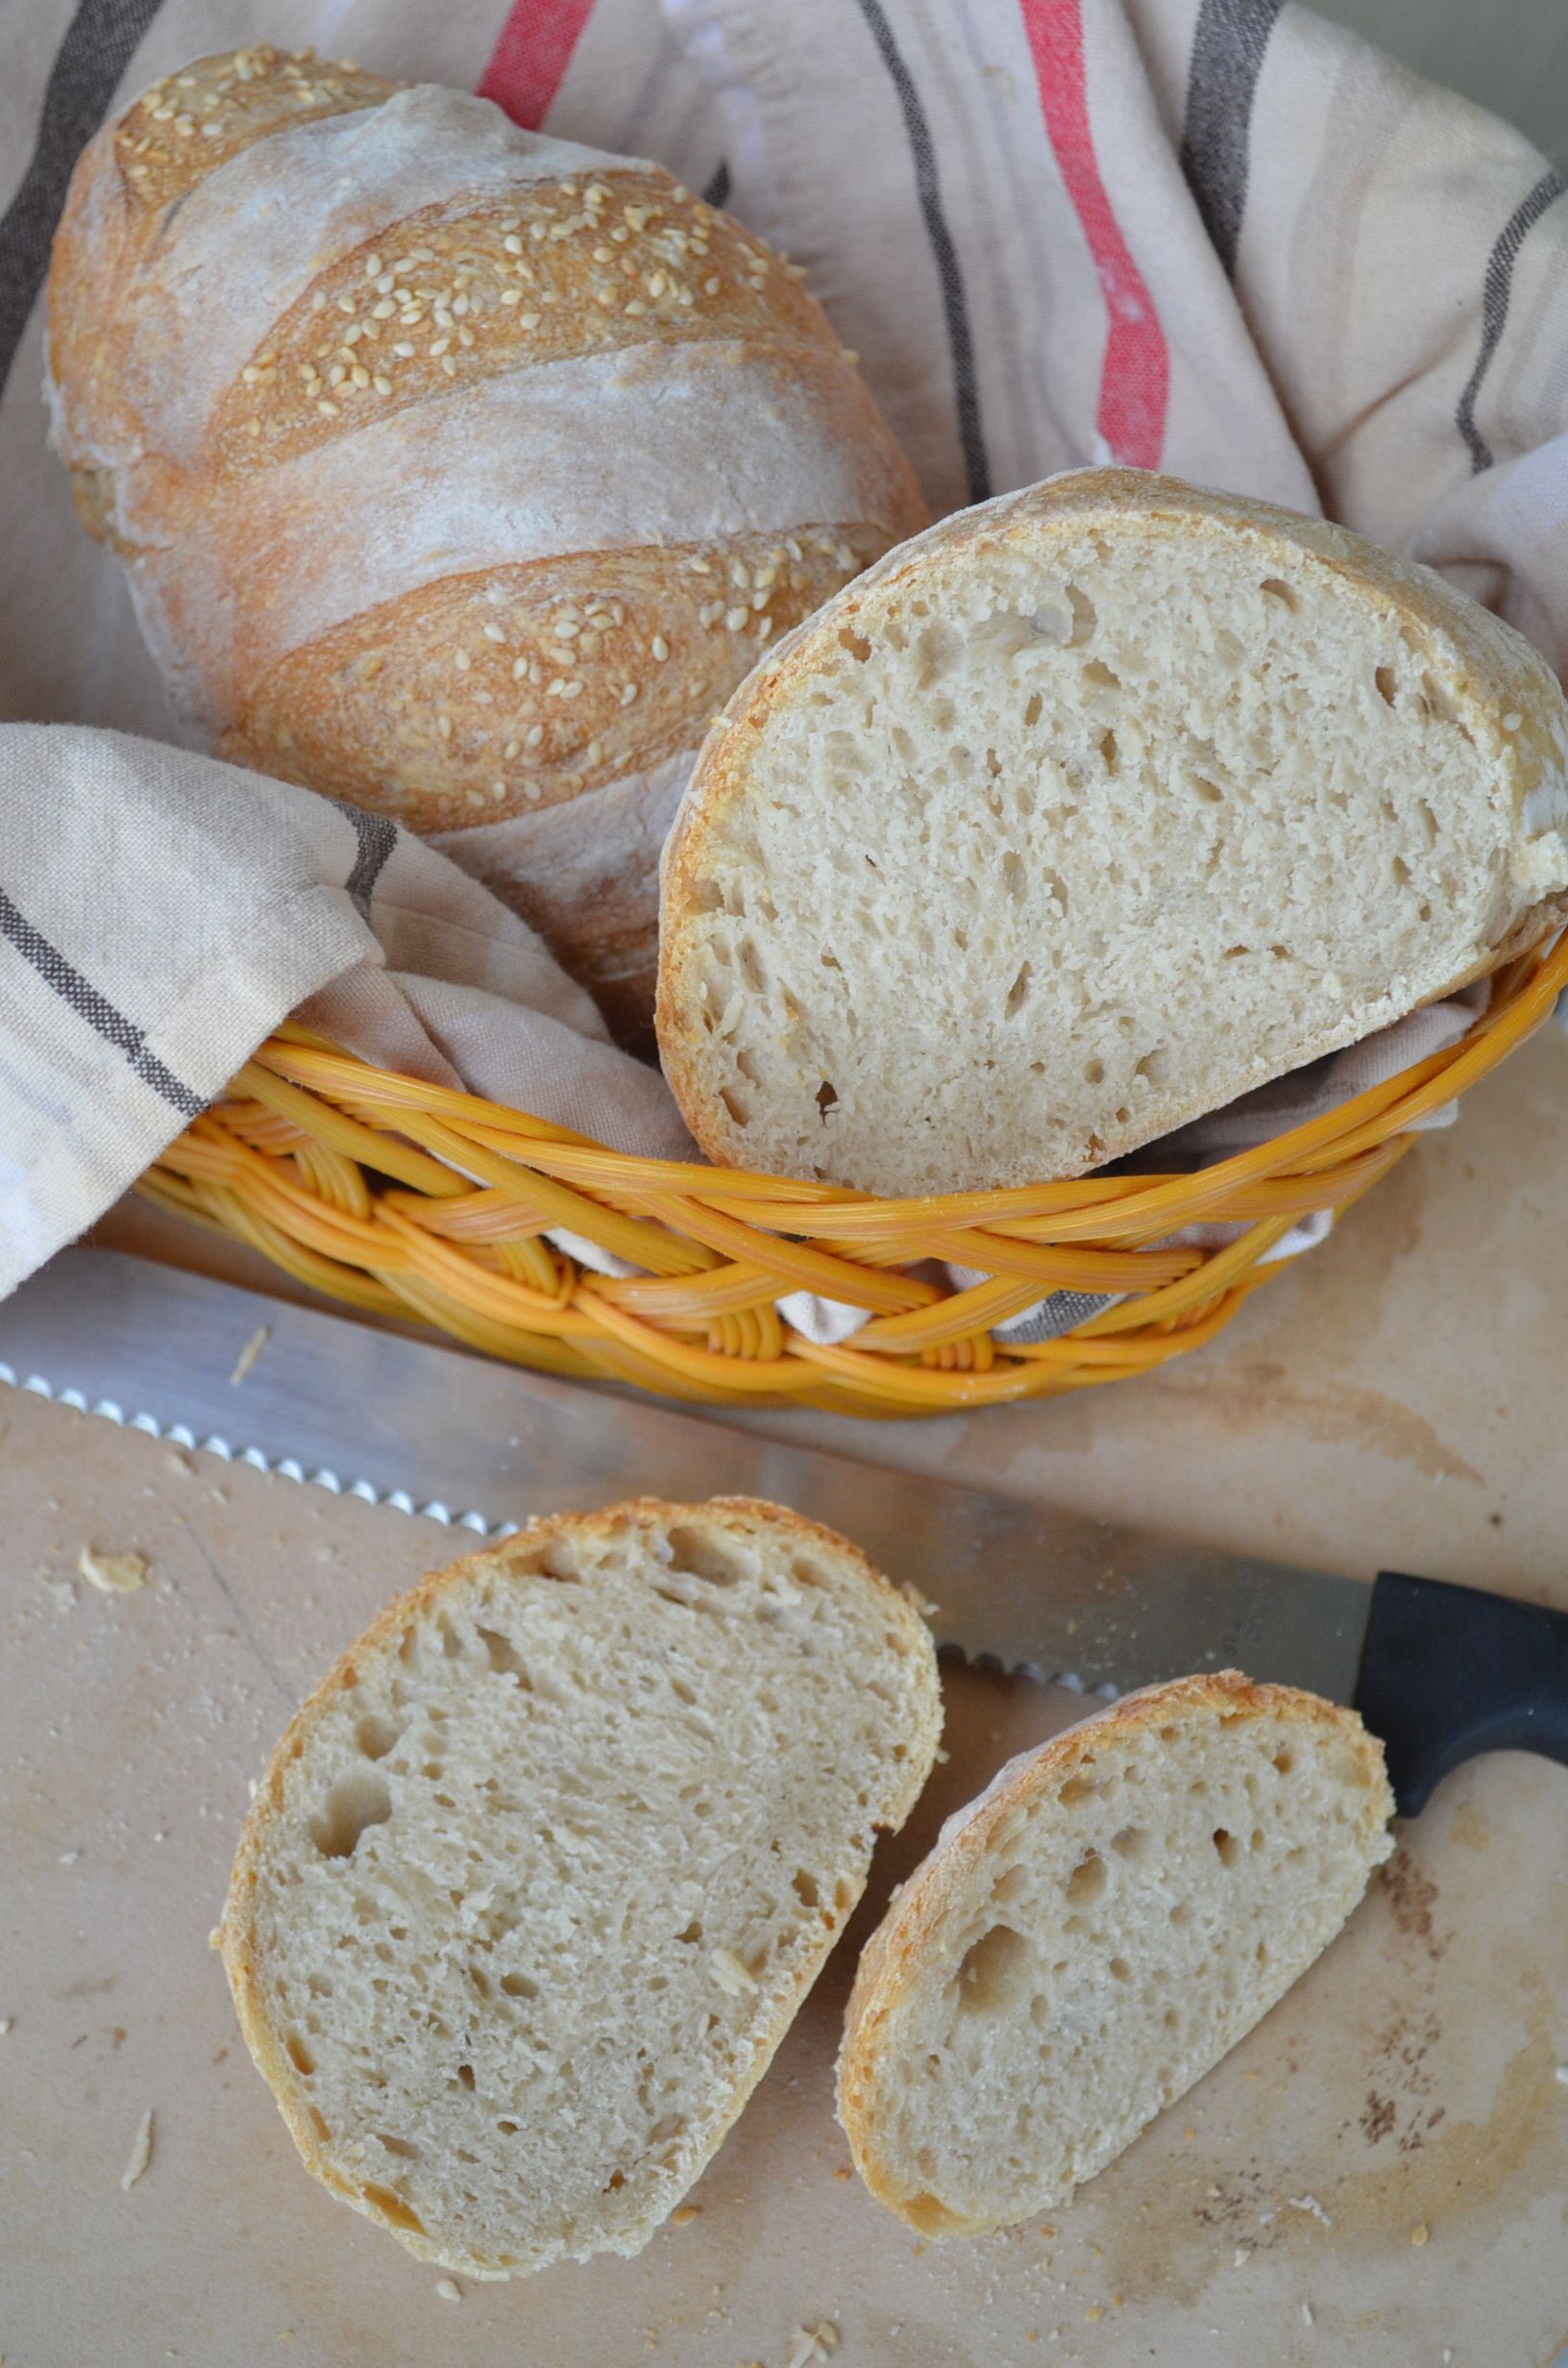
No-knead bread relies on a long fermentation process rather than physical kneading to develop gluten. This method not only simplifies the baking process but also results in a loaf with a perfect crusty exterior and a tender, airy crumb. It’s the kind of bread that looks and tastes like it came straight from a rustic bakery, yet it’s made in your own kitchen with minimal effort.
Every time I post homemade bread, I say this over and over and over again. Bread making is real test of patience because it takes quite a lot of waiting before you get 1 or 2 loaves of bread. This is one big factor why a lot of people (including me few years ago) immediately brushed off the idea of making homemade bread. Why wait when you can easily grab one at the bakery, that’s always the argument. I used to agree to that argument, until I started making my own bread. This is what I can say about it now, the wait is worth it! Absolutely worth it! There’s nothing like a smell of freshly baked bread in my house and a hot and crunchy bread that is fresh out from the oven. The sense of accomplishment is overwhelming and the excitement of seeing the bread when it comes out of the oven is over the top. The feeling of pride and appreciation that I was able to make homemade bread is something that I cannot get from just going to the bakery and buying one.
All those introduction is just to prepare you for what’s coming next, and that’s me giving you the news that this bread needs 18-24 hours of fermentation. Oh yes, you read it right, no less than 18 hours my friend. Are you freeking out now and ready to run away from this recipe? Before you do that, hear me out please, stay with me and spare few more minutes to continue reading. I had the same reaction when I read the recipe and saw 18 hours. In fact, I told myself “No way”! I’m out of here, not going to do that and yet here I am writing this post about this bread. I’m proud to say that I changed my mind and decided to give it a try. I have nothing to lose and I will even gain something in the end, a fresh homemade artisan bread. After thinking through that 18 hours fermentation time, I decided to call this my lazy bread, here’s why. 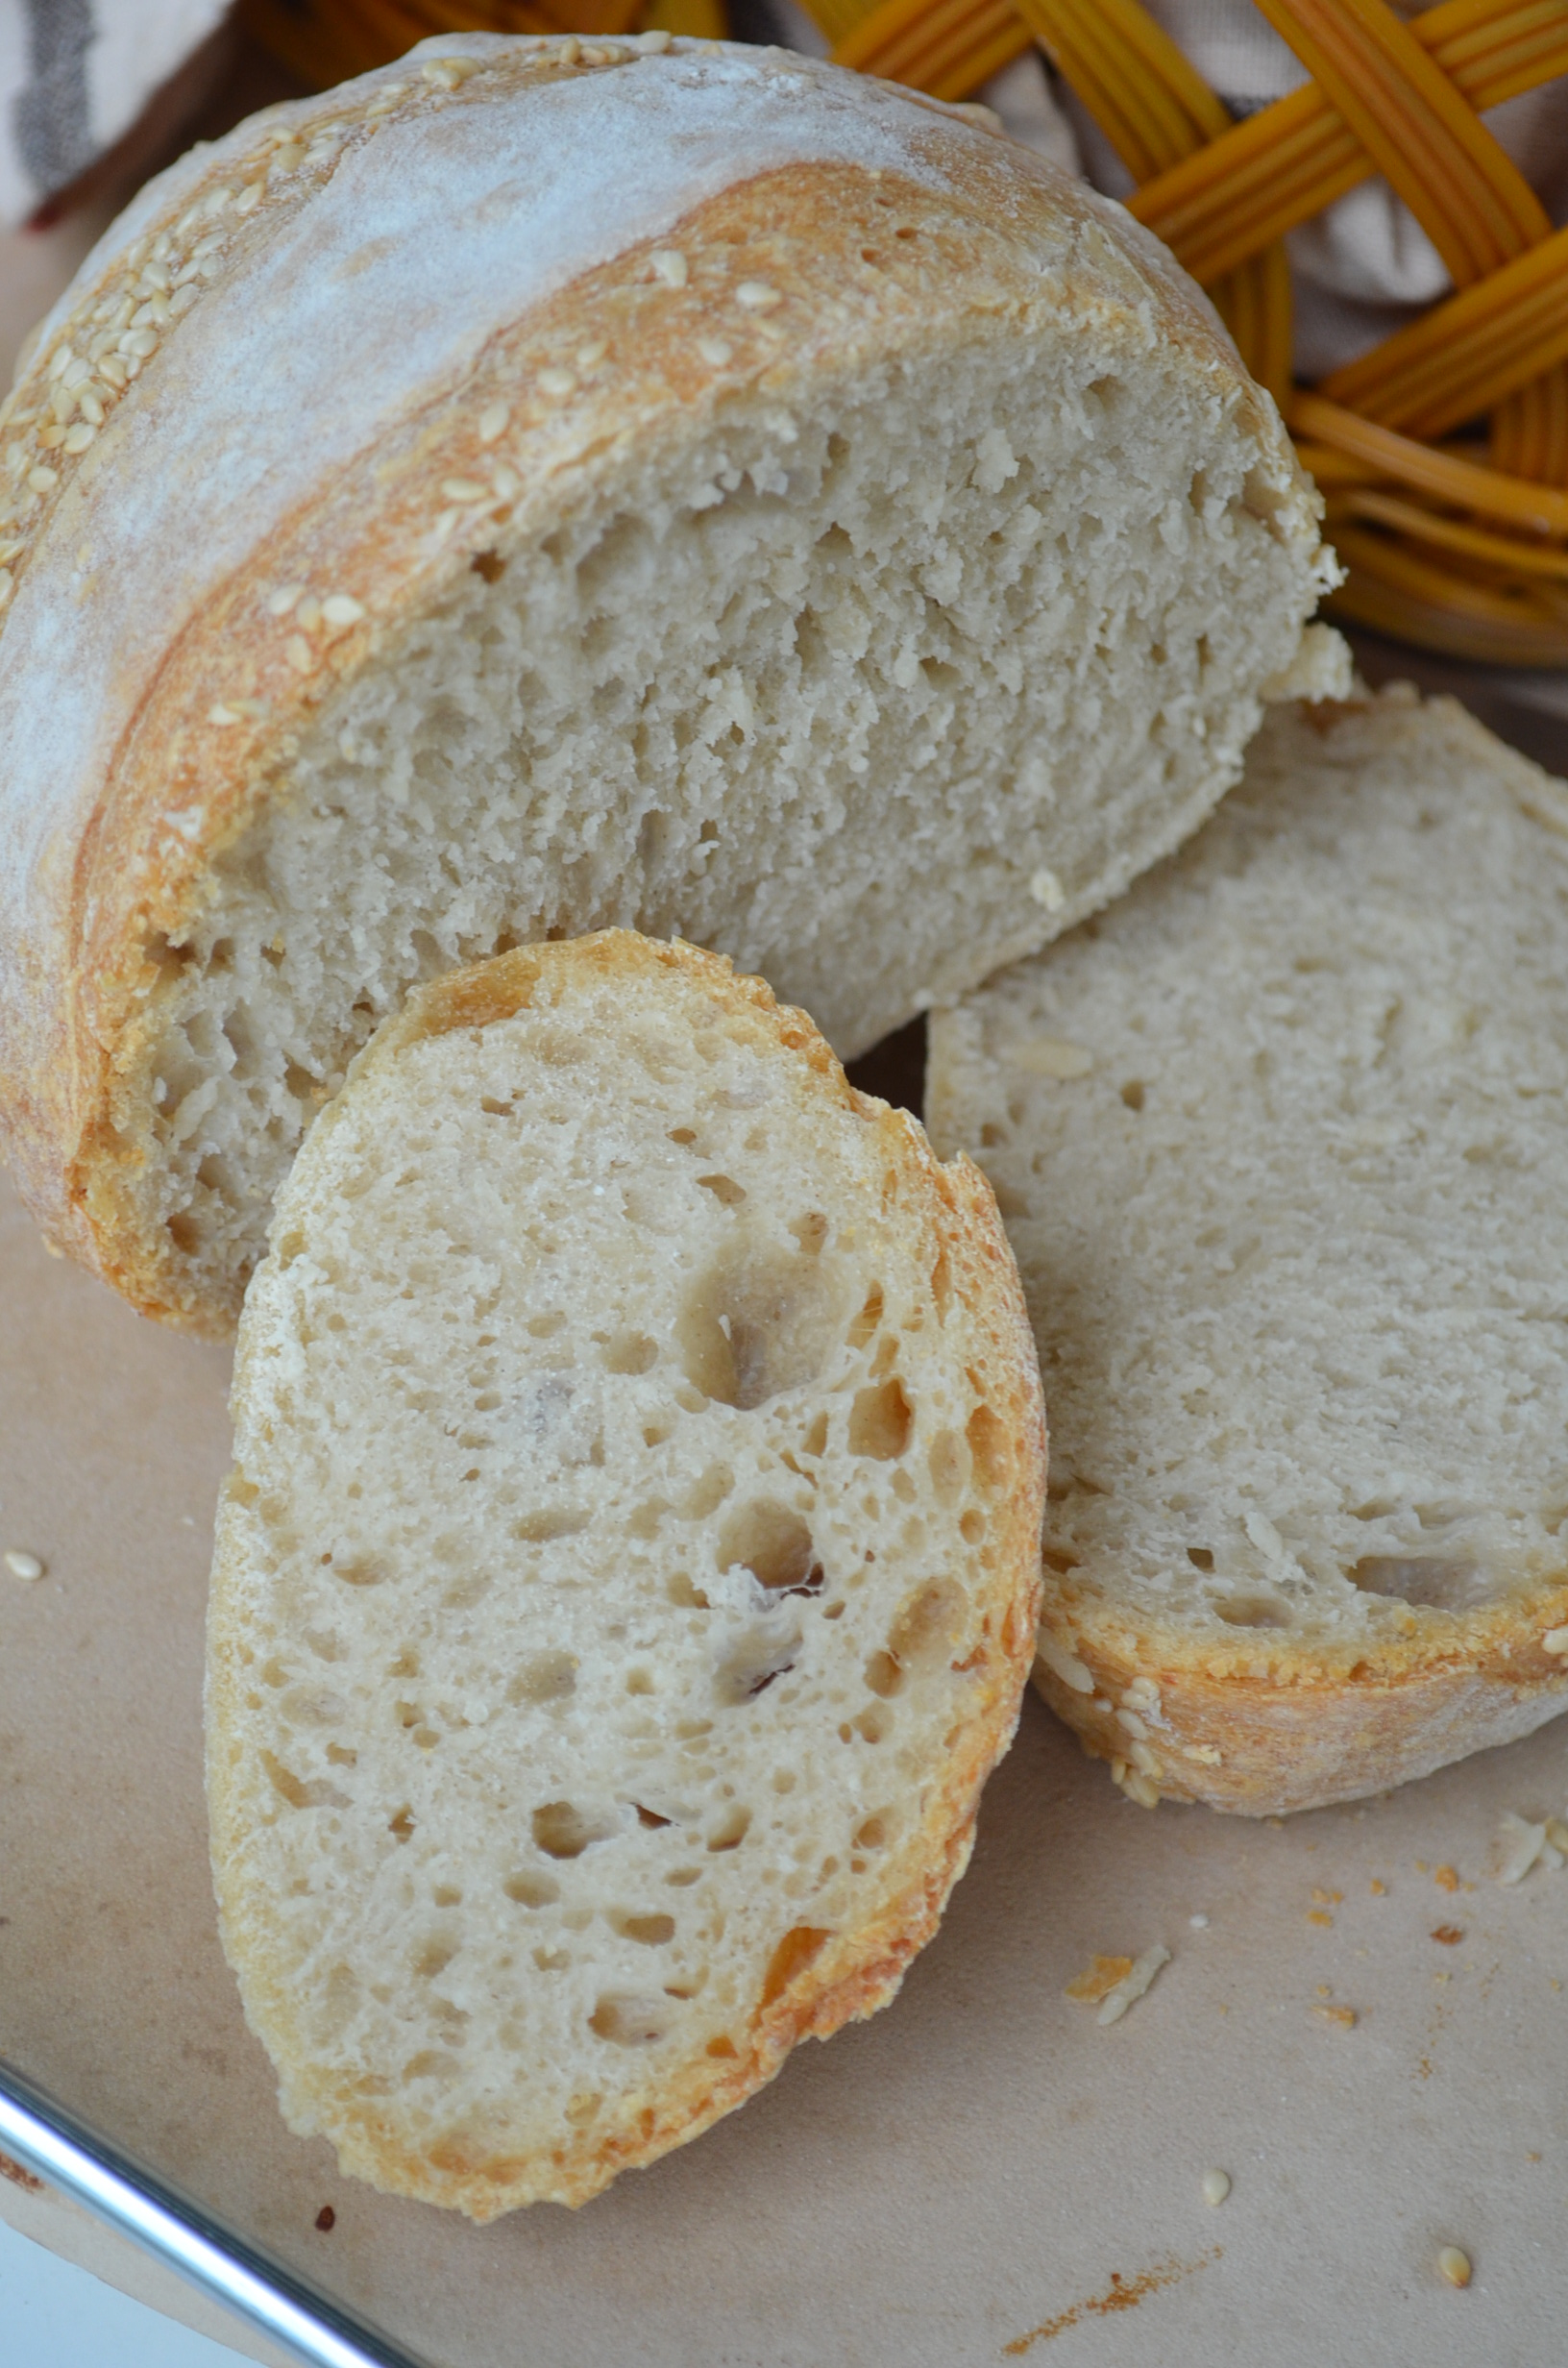
My Lazy Bread
Ever wonder why I call this my lazy bread? Let’s go back to 18-24 hours of fermentation period, that’s a very long wait, and nobody will ague on that. But the good news is you only need 10 minutes to prepare the dough and that is basically the most of the task that you need to do and of course putting it in the oven after shaping it. The rest is just for you to leave it for 18 hours in a warm place. 18 hours maybe long but you don’t actually have to baby sit it, leave it alone as in don’t disturb it at all. I’m pretty sure some space and peace will be greatly appreciated by this lazy bread. As for you, go do your usual routine. Go to bed, make your breakfast, clean the house, run your errands, watch Netflix or go to work. It’s just like making food in slow cooker, although the wait is 3x longer, but you get the idea, right? You just leave it and let it ferment and rise. What I normally do is make this in the evening, and go on with my usual routine. The following day, I’ll grab It out from its happy warm place, shape it, bake it and enjoy it. When I start thinking about it that way, it made me look forward to making it. It’s not that bad at all. Always look at the brighter side people, homemade freshly baked bread. Love it! Let’s get started!
Ingredients:
Big Batch
- 1-1/2 cups of Water that’s been warmed up to about 110F degrees
- 3 cups of Bread Flour
- 1-1/4 teaspoon of Active Dry Yeast (or 3/4 instant yeast)
- 2 teaspoon of Salt
- 1 teaspoon of Sugar
Small Batch
- 1 cup of Water that’s been warmed up to about 110F degrees
- 1 1/2 cups of Bread Flour
- 1/2 teaspoon of Active Dry Yeast
- 1/2 teaspoon of Salt
- 1/2 teaspoon of Sugar
Note: When using instant yeast, no need to activate it. Just mix it with the dry ingredients just don’t add the yeast and salt side by side.


Instructions:
- In a small bowl, mix together the yeast with the sugar and warm water, set aside until the yeast is foamy and activated, about 10 minutes.
- Alternatively, you can skip this if using fast acting/instant yeast and just directly mix the yeast along with other dry ingredients just don’t add it side by side with the salt.
- In a large bowl, add bread flour and salt to the water and yeast mixture, and using a wooden spoon mix everything to mix (you will have to finish by hand because it gets a little hard to mix near the end with the wooden spoon) until the flour is incorporated with the water.
- Cover the bowl with some plastic wrap and leave it somewhere undisturbed for about 18 hours.
- Preheat your oven to 450 degrees, place an iron skillet or pizza stone in the oven to preheat it as well. In the lower level, put a roasting pan with water. The steam will help create a crusty and chewy bread.
- After 18 hours, scrape the dough (which will be very thin and sticky) on a floured surface. Portion the dough as desired. For this recipe, I divided the dough into 2 and shaped it in an oblong shape. The dough will be wet and sticky. Dust with flour as needed for easy handling. Do NOT knead as this will knock out the air inside. Handle carefully. Transfe the shaped dough in a parchment paper more than the size of the bottom of the pan you are using for baking.
- Heat the oven to 400F. Put the dutch oven pan inside for at least 30 minutes.
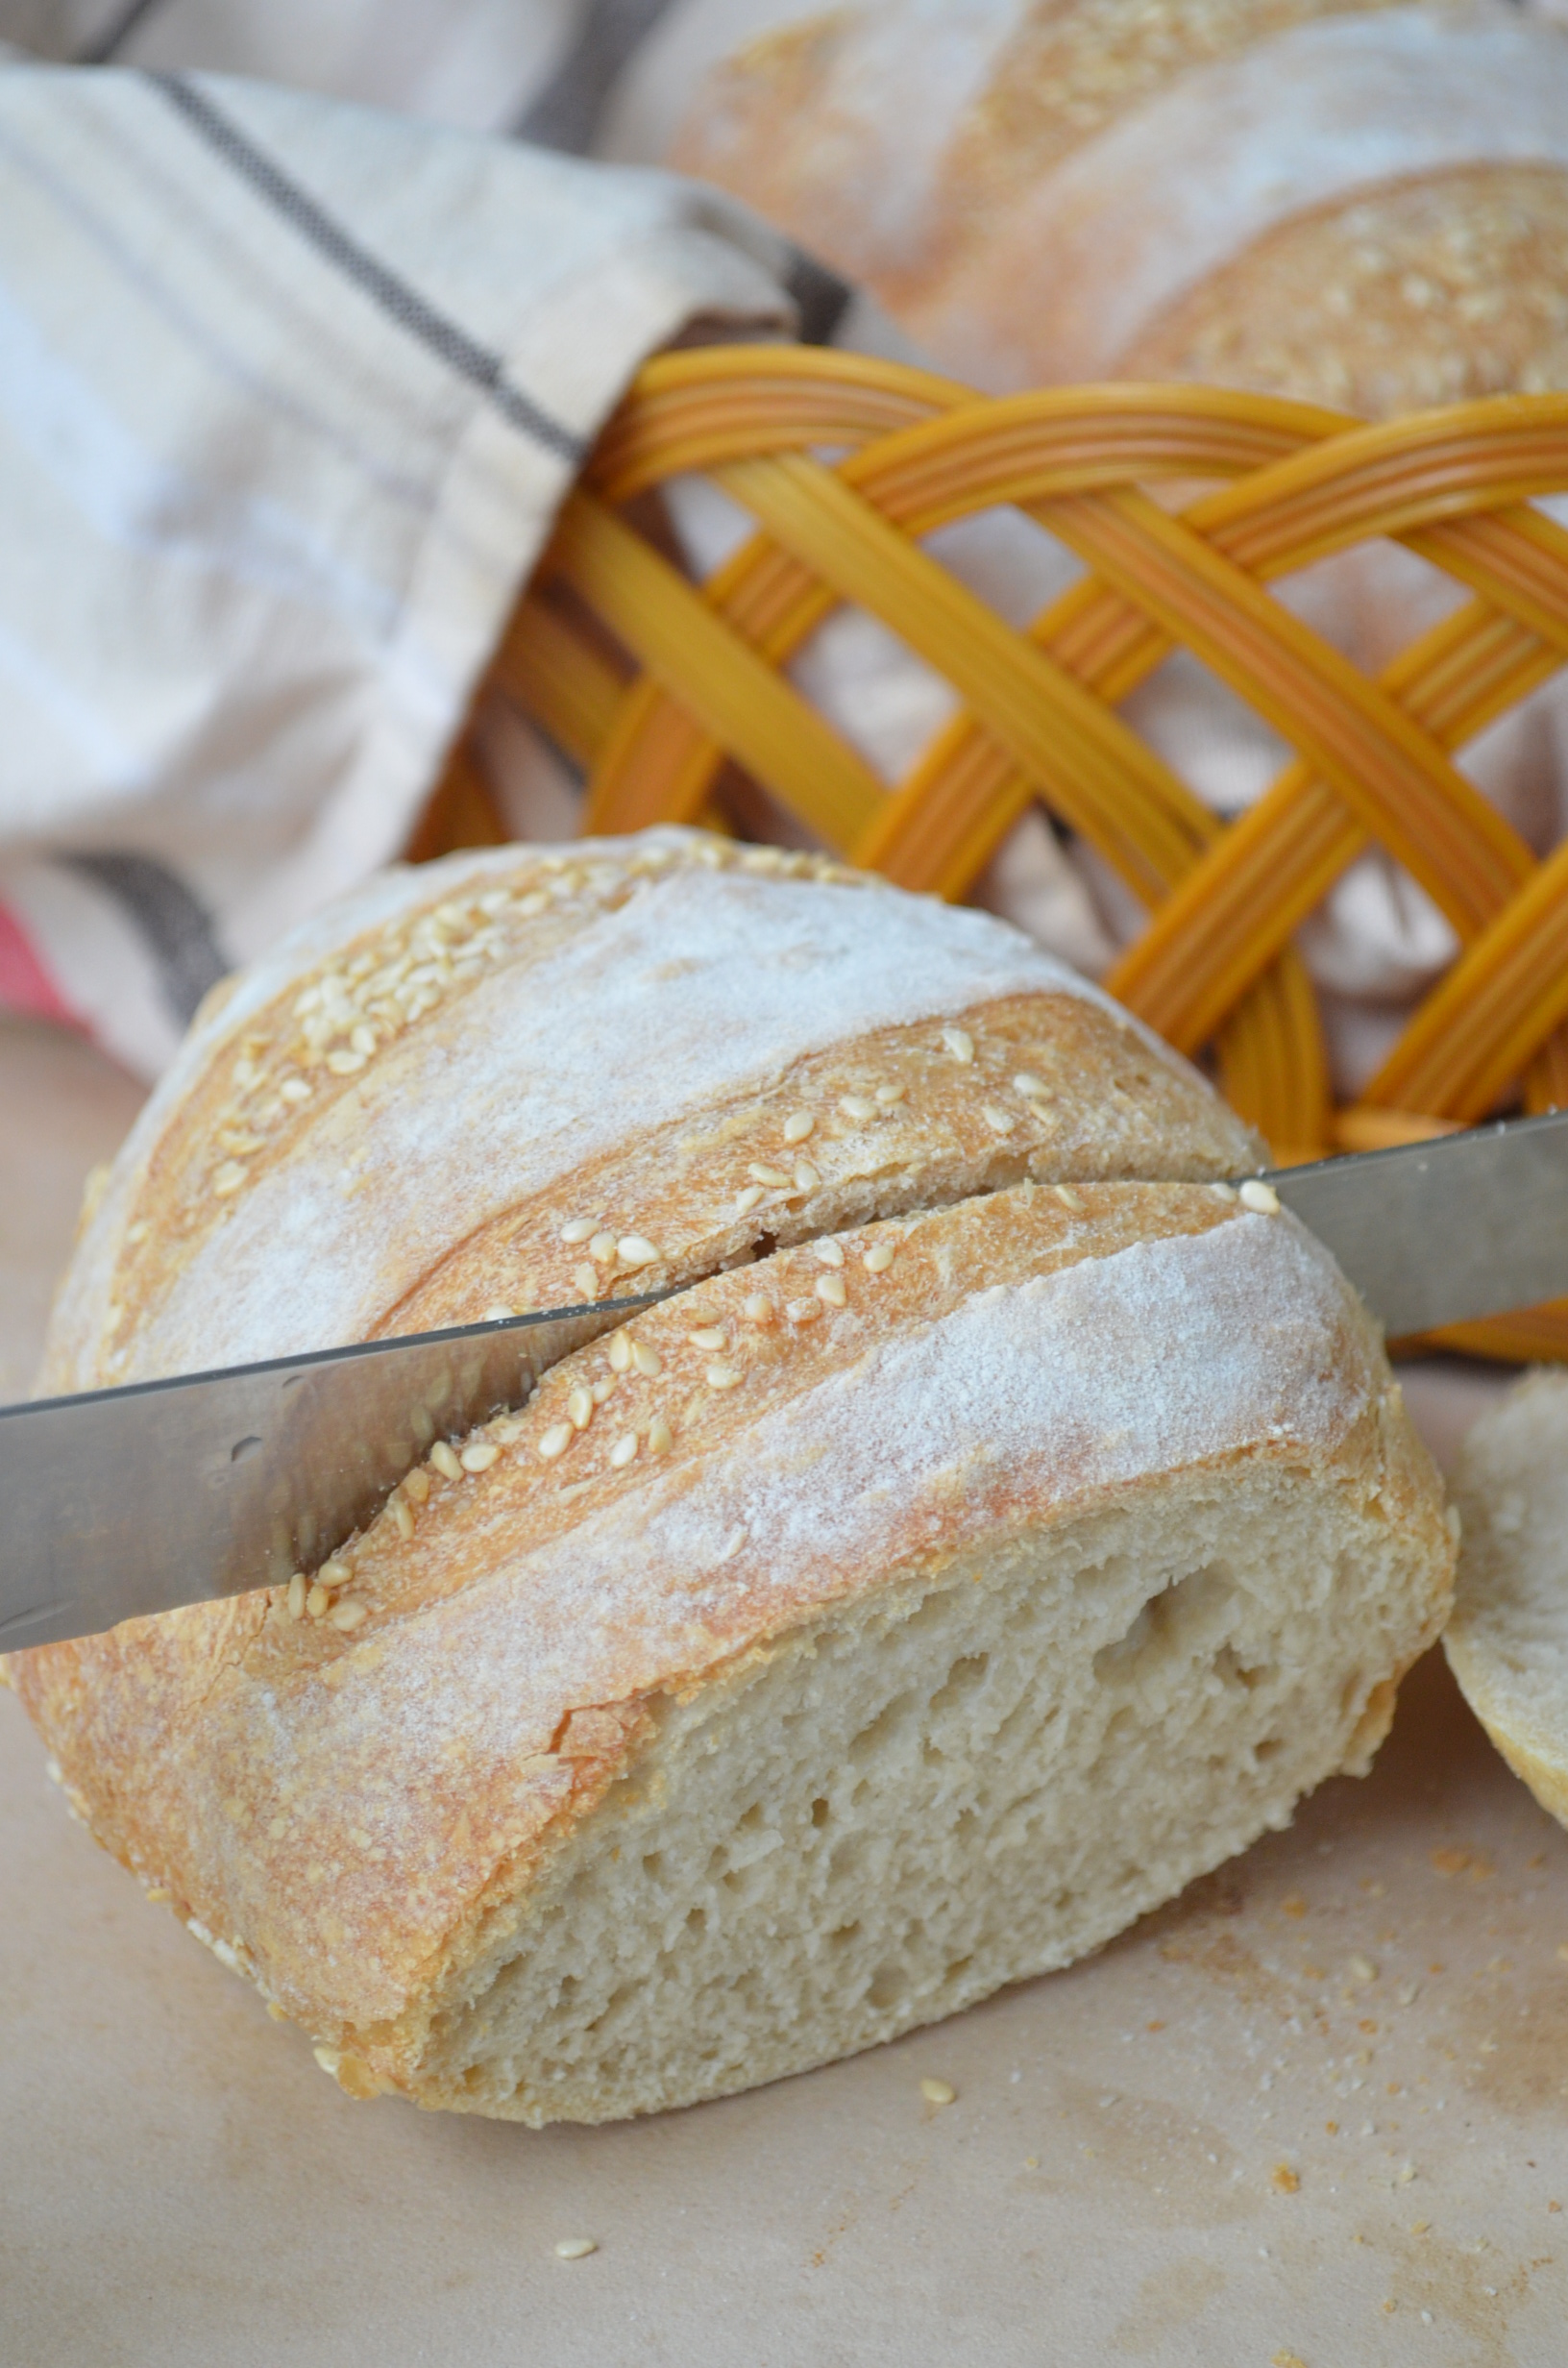
- Make cut on top on the shaped dough.
- Transfer the dough in a heated dutch oven pan. Cover the pan.
- Alternatively: If you do not have cast iron pan, bake the bread in a baking pan. Put a pan with water in the lower rack and spray the oven with water before putting in the bread fro baking.
- Bake at 450F for 30 minutes until bread turns browned.
- Remove the cover and bake for another 15 minutes.

Recipe Adapted from: Laura in the Kitchen
Thank You for visiting my website. Please don’t forget to click the “Like” button below if you like this recipe. Lastly, did you know that I have a YouTube Channel? Please support my channel by clicking on the “Subscribe” button in my video and the “Bell” icon to get notification of new videos.

FOLLOW SWEETNSPICYLIVING ON SOCIAL MEDIA
Facebook | Instagram | Pinterest | Twitter | YouTube


Do you add the dough to the Dutch oven on the parchment? I’m just wondering how difficult it is to transfer the sticky, wet dough without ruining the shape. I know how careful I have to be transferring a regular more firm dough to the Dutch oven.
LikeLike