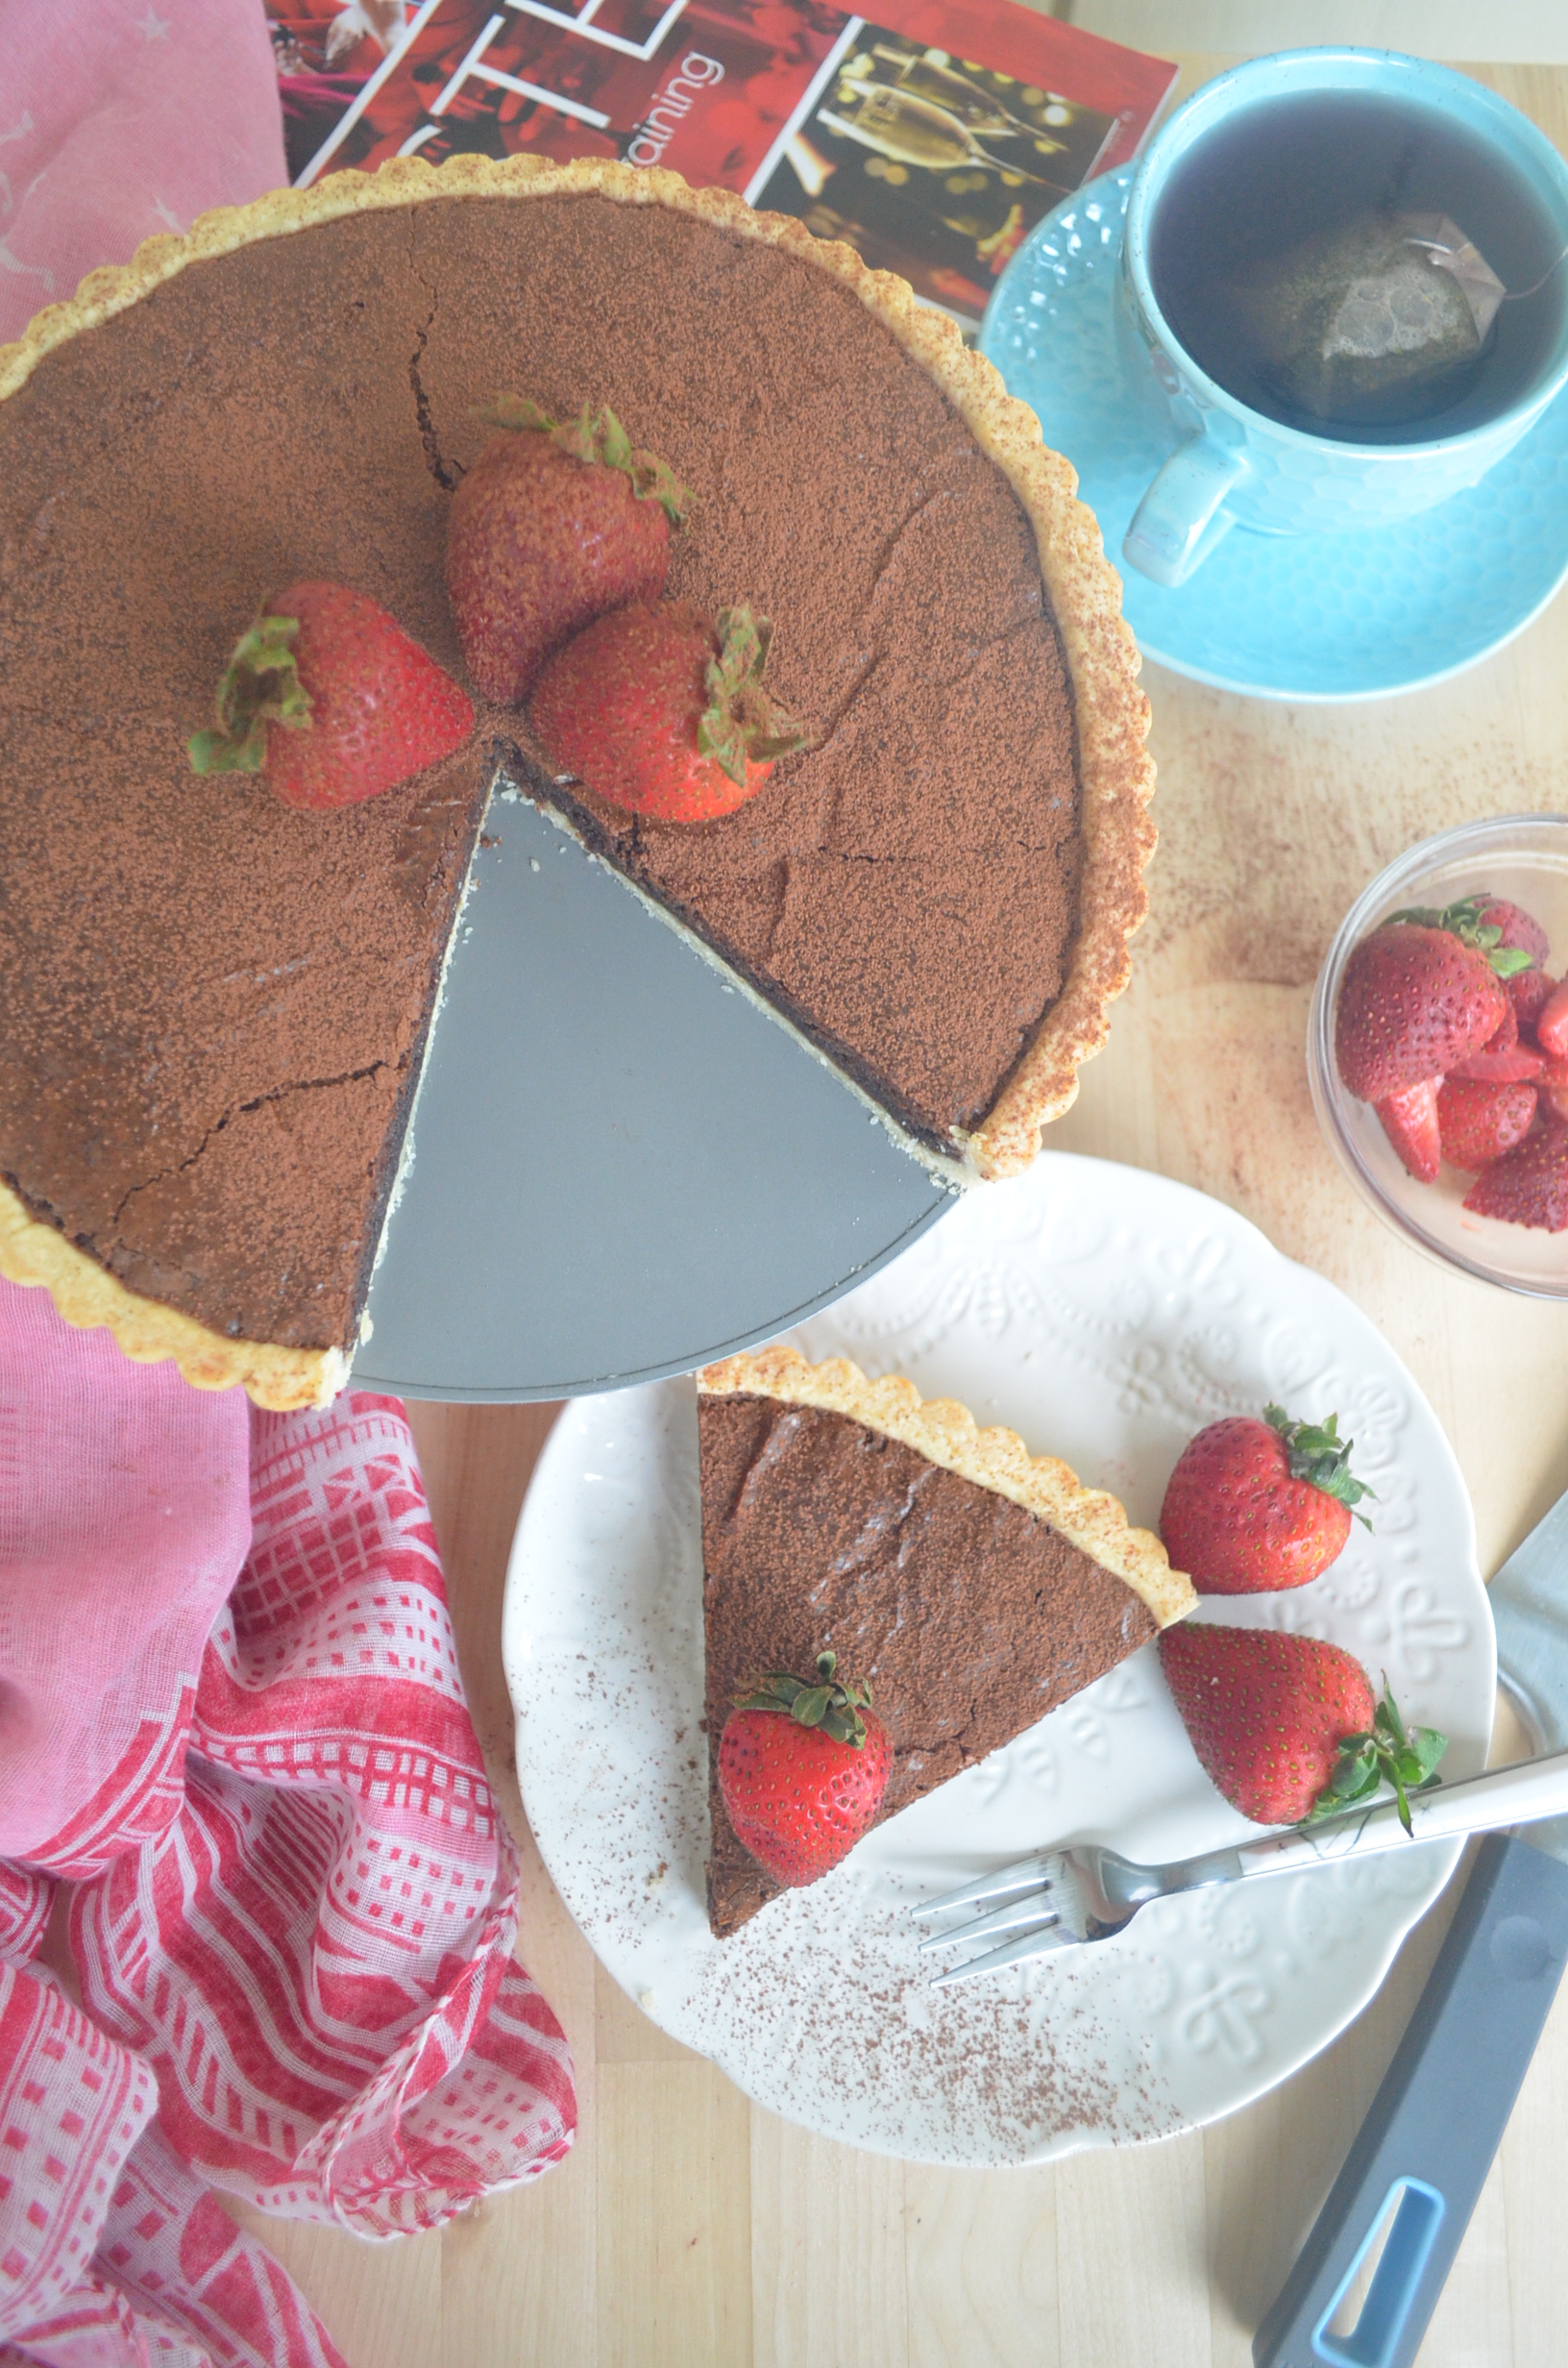
This Chocolate Brownie Tart was made with buttery crust and filled with decadent custard chocolate from real melted chocolate, this tart is to die for. Need I say more?
When it comes to chocolate, the more the merrier. Why would I settle for one chocolate dessert when I can have more, specifically this decadent Chocolate Tart. It’s sinfully delicious, from bottom crust to the chocolate filling. When I was writing this blog, I cannot make up my mind on what to name this. Certainly, it’s a Chocolate Tart but in some ways it’s also like a brownie and tart mash-up. Then the use of more egg yolk to give the chocolate filling a richer thicker texture made it also party like a custard. But then the addition of flour that’s not part of making a custard makes it like a brownie cake. It’s a mashed up of brownie, custard cake and tart. But I guess the quality that stands out is from a brownie.
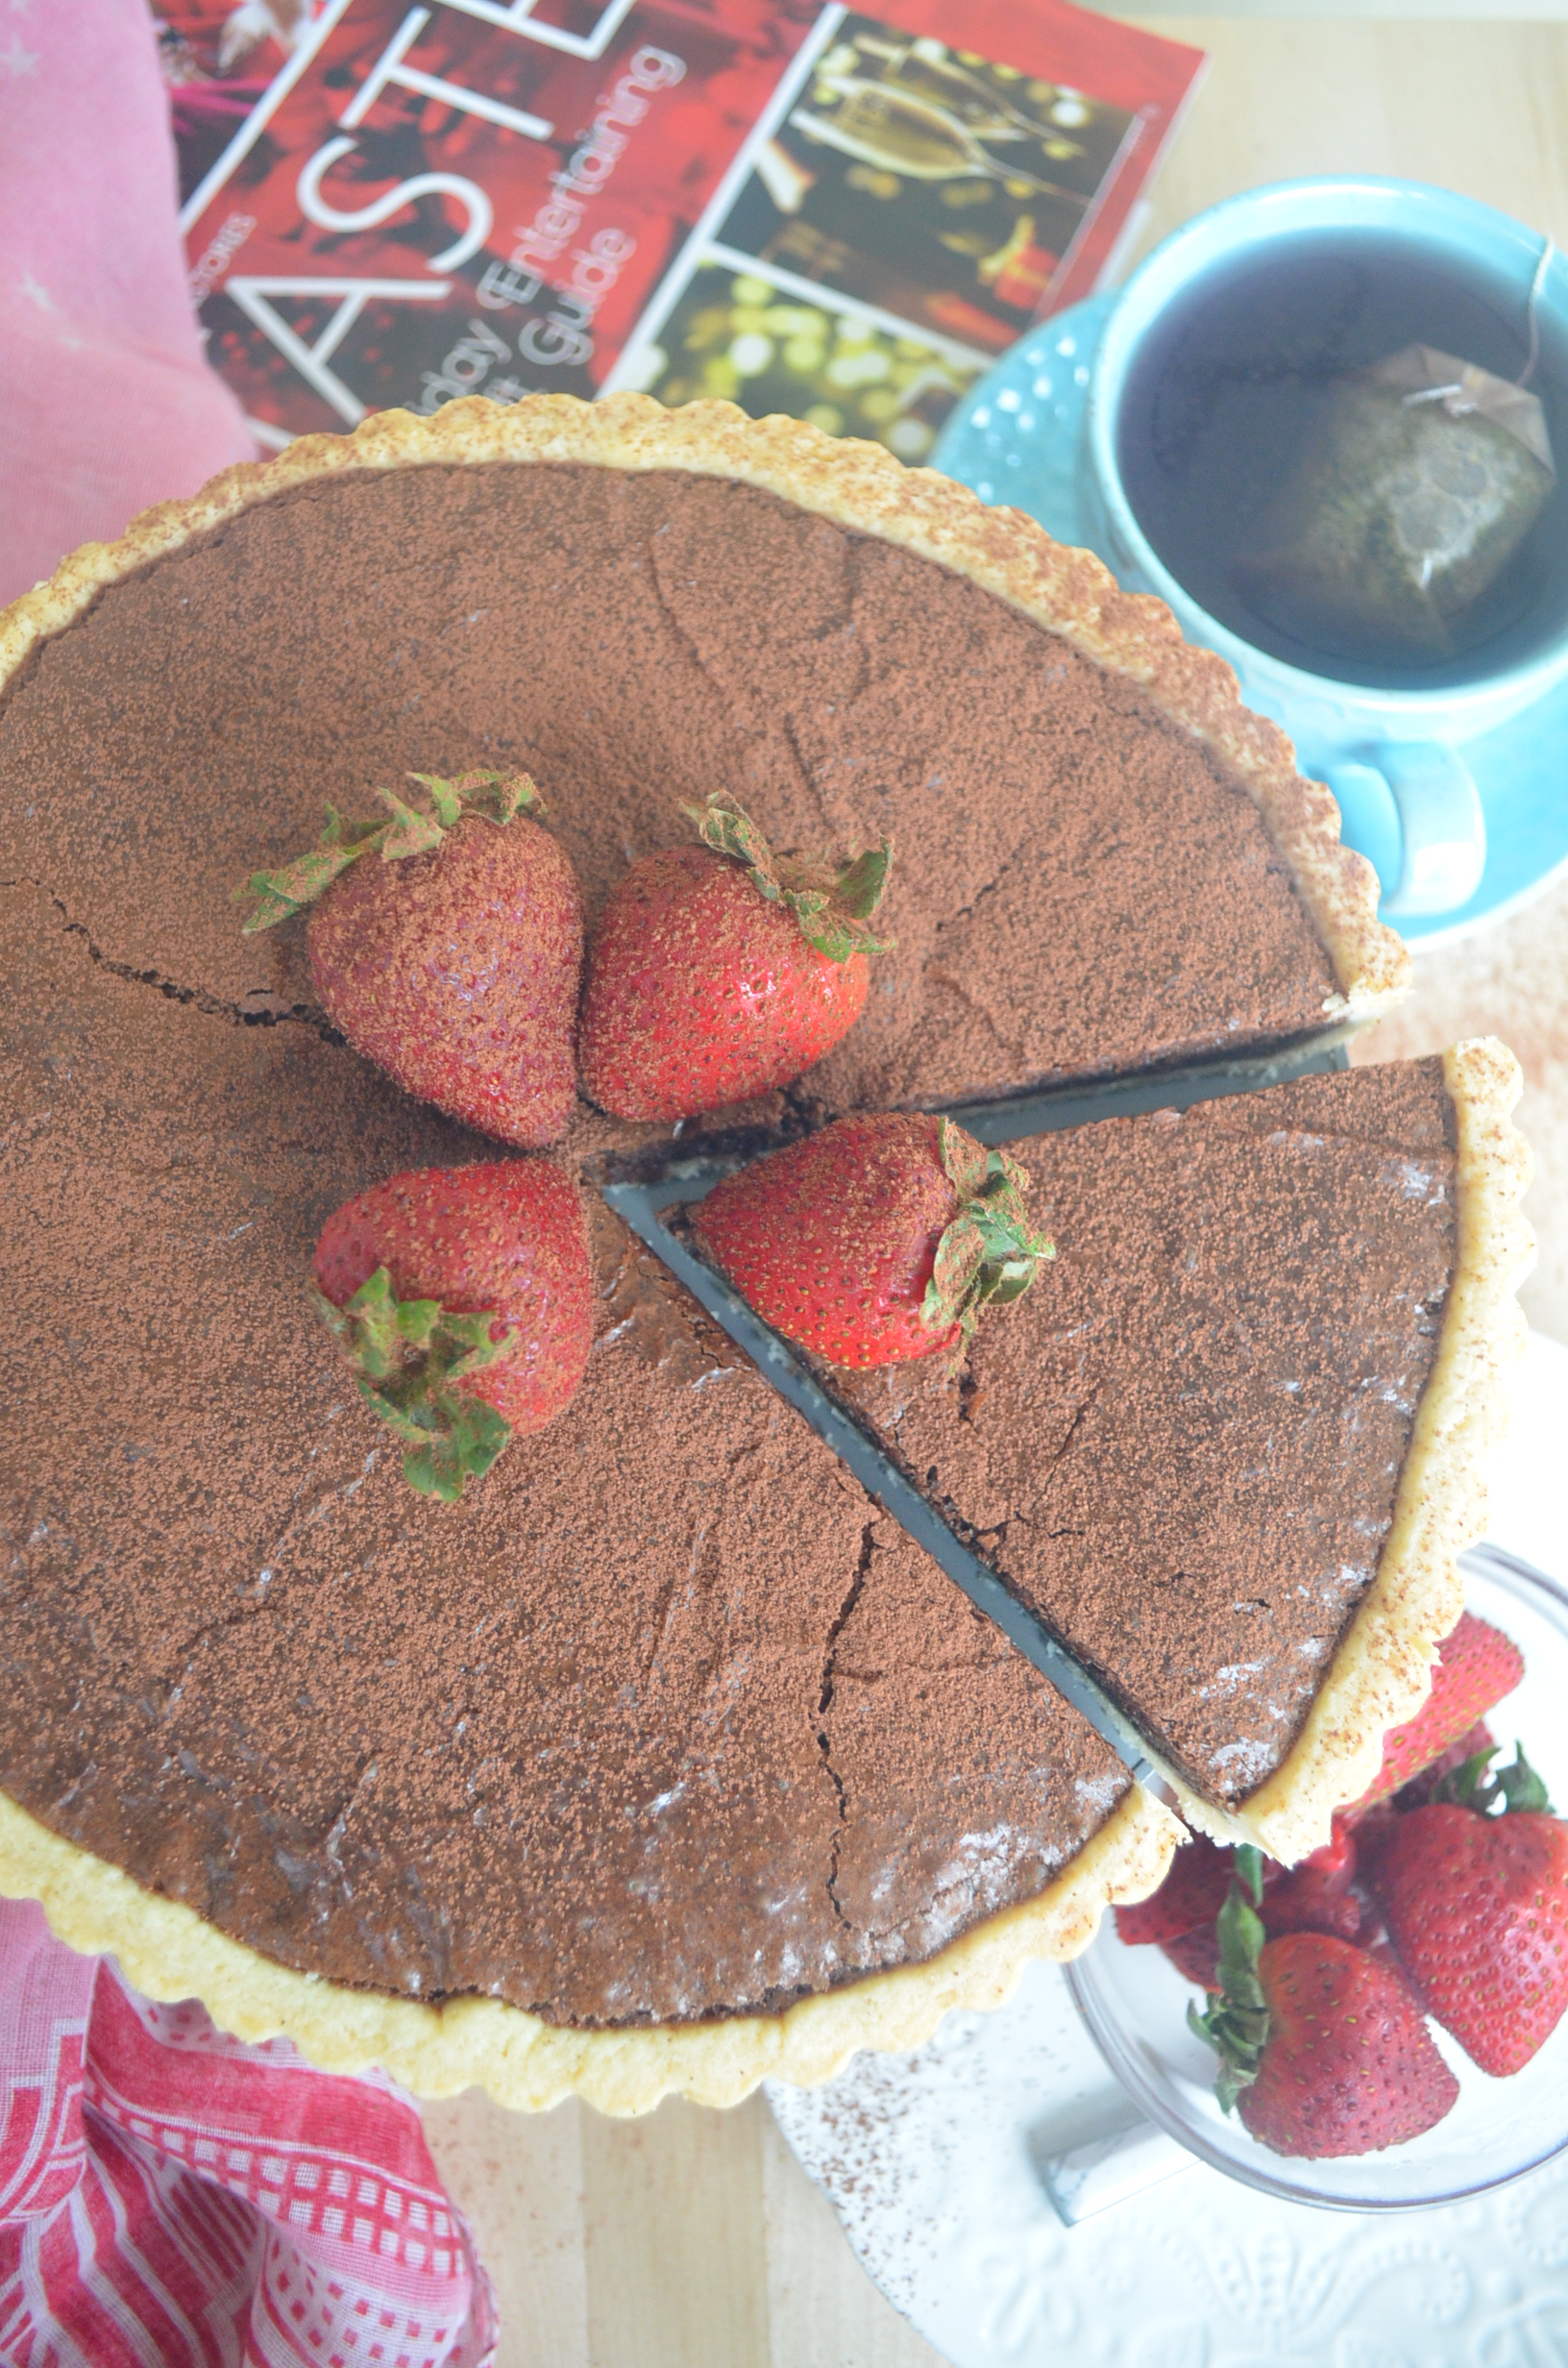
The ingredients and the process is just like making a brownie, although this uses more egg than normal brownie. So in the end, I decided to call it Chocolate Brownie Tart, I had to use “Chocolate” just to stress out how decadent this is, but most brownie are made with chocolate. But you get what I mean, right? It’s a sinfully delicious chocolate tart, just to put it simply.
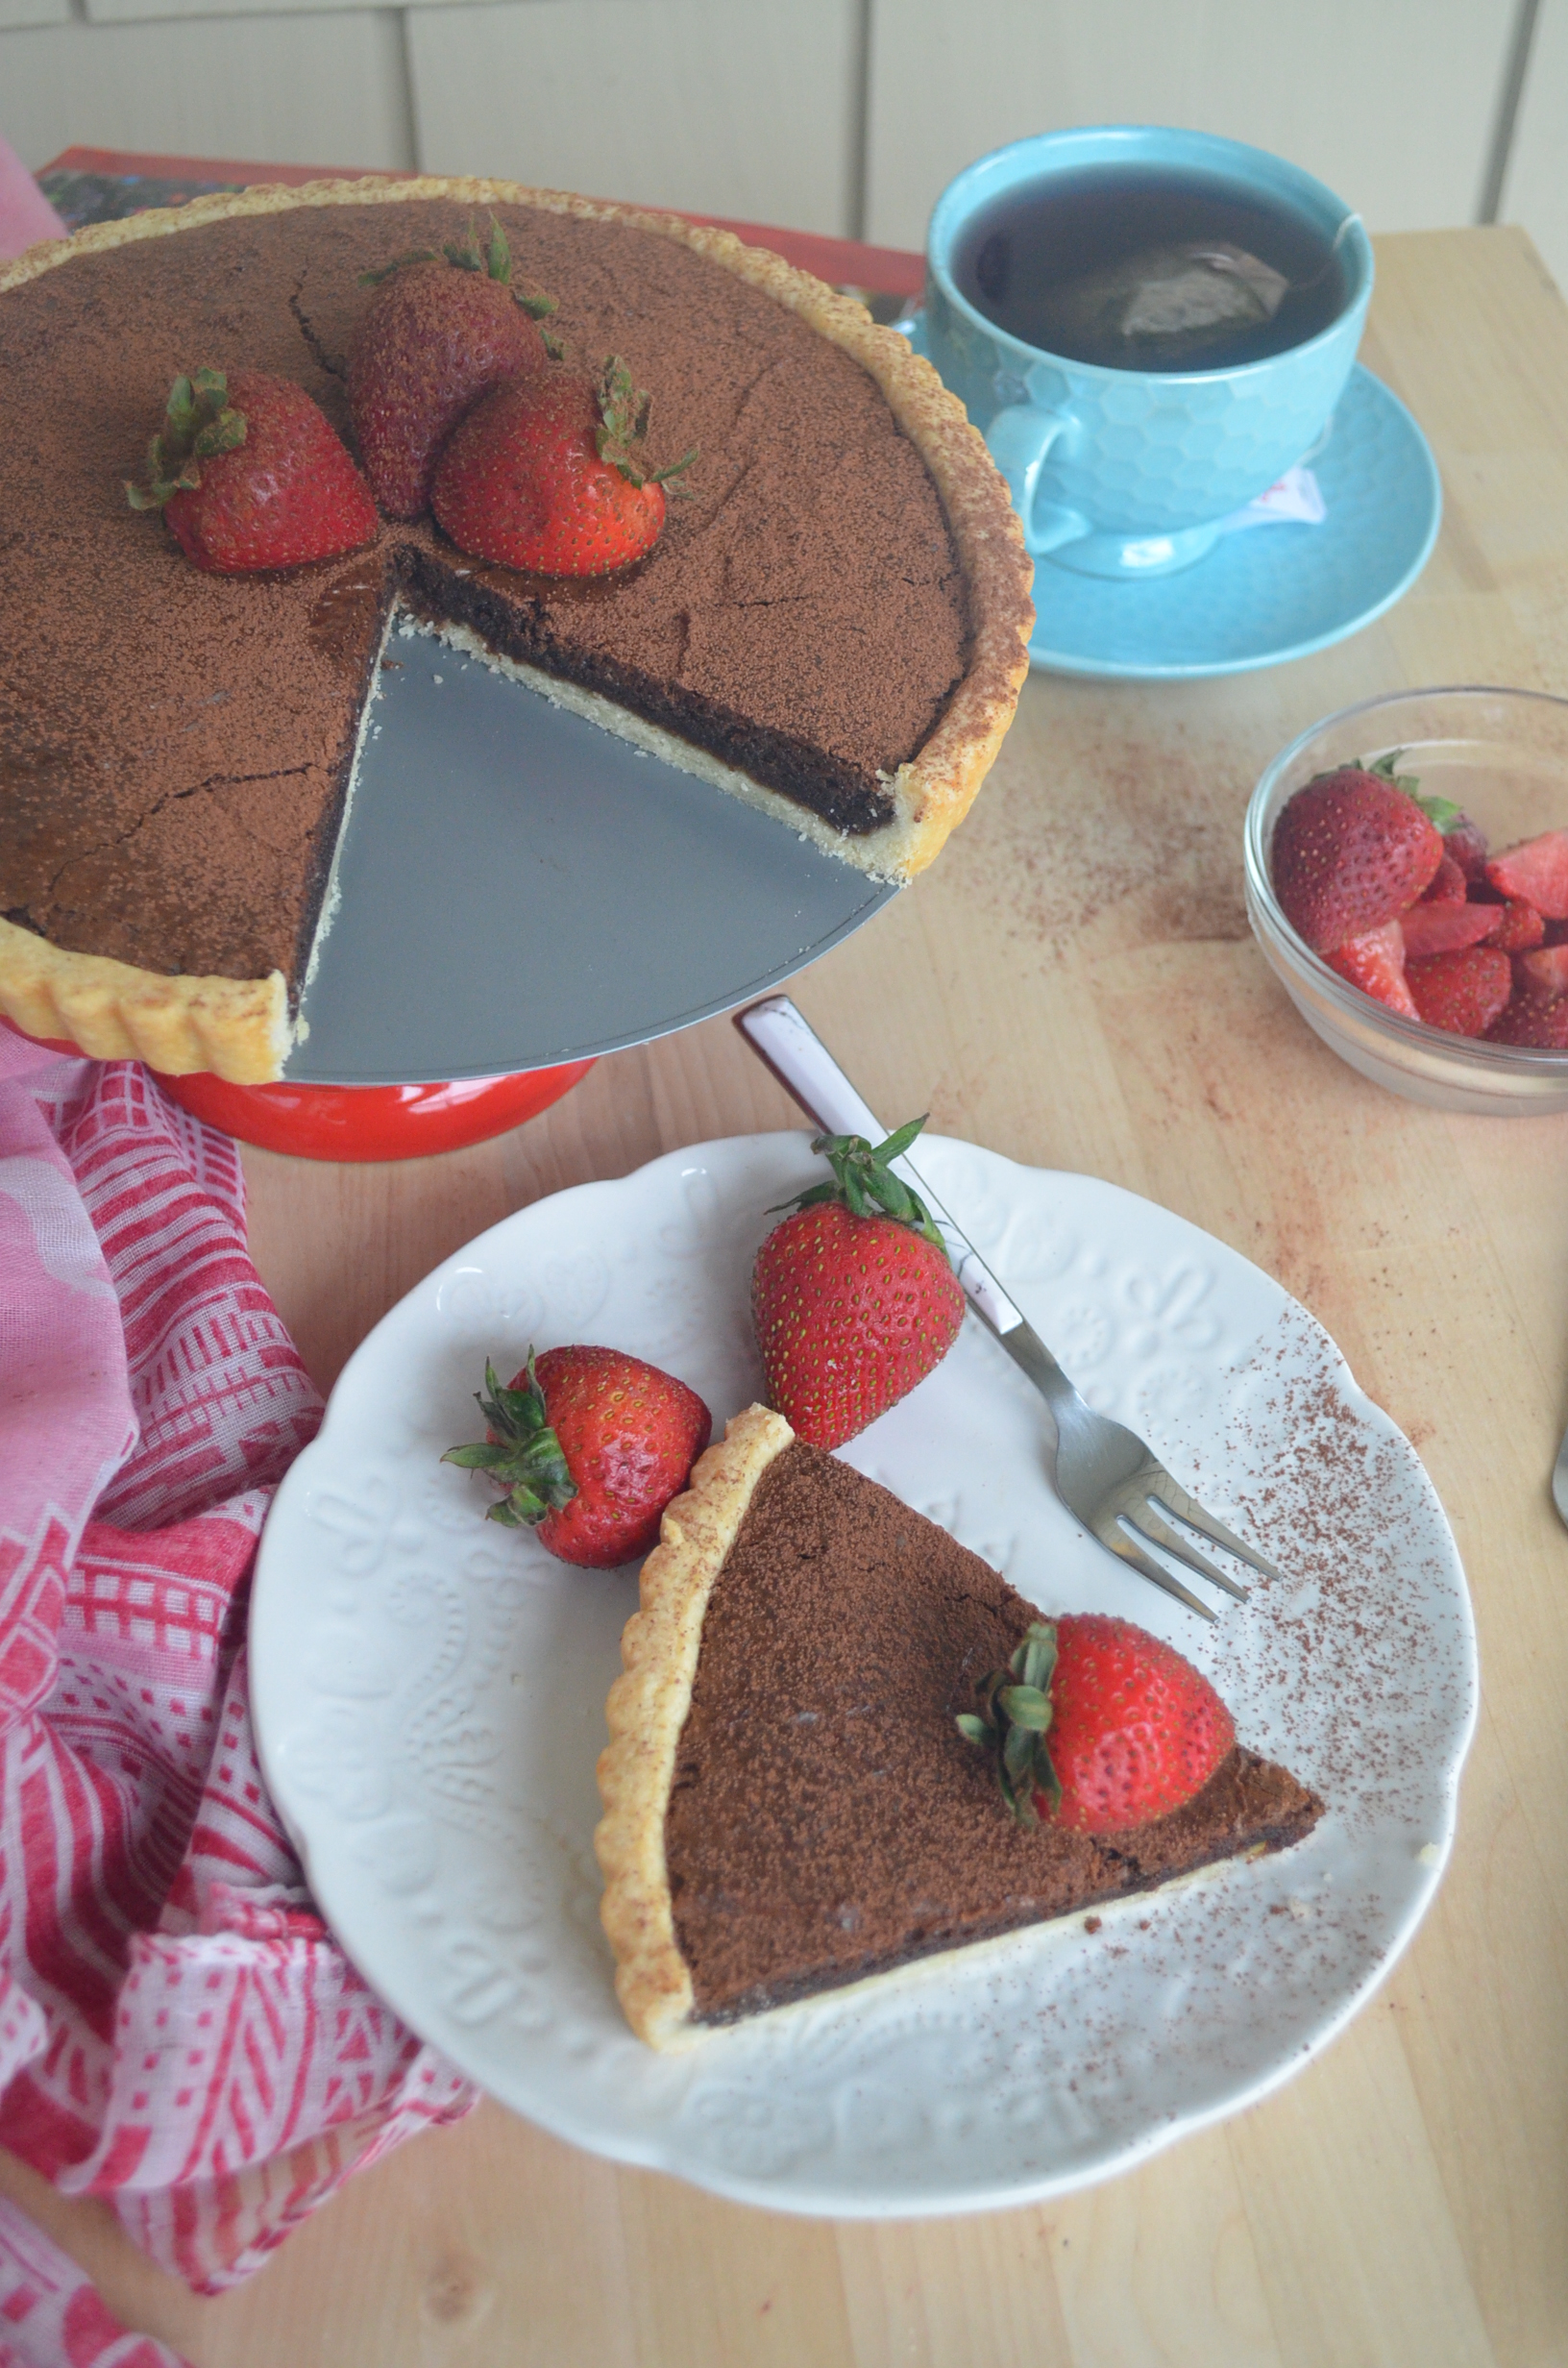
Although most of the time I make small batch recipe, there are times I make the exception. Like when I made this, I was thinking of Thanksgiving or Holiday celebration where we love to invite people over. A celebration where we love to share delicious food, where we love to share our passion for baking and Cooking, a celebration where we just want to celebrate and be thankful. I big bath is probably in order, but don’t worry, the small batch version of this is already in my to do list, because we who are single or leaving alone still needs to treat our self without drowning ourself with a 9-inch tart. Stay tuned for that.
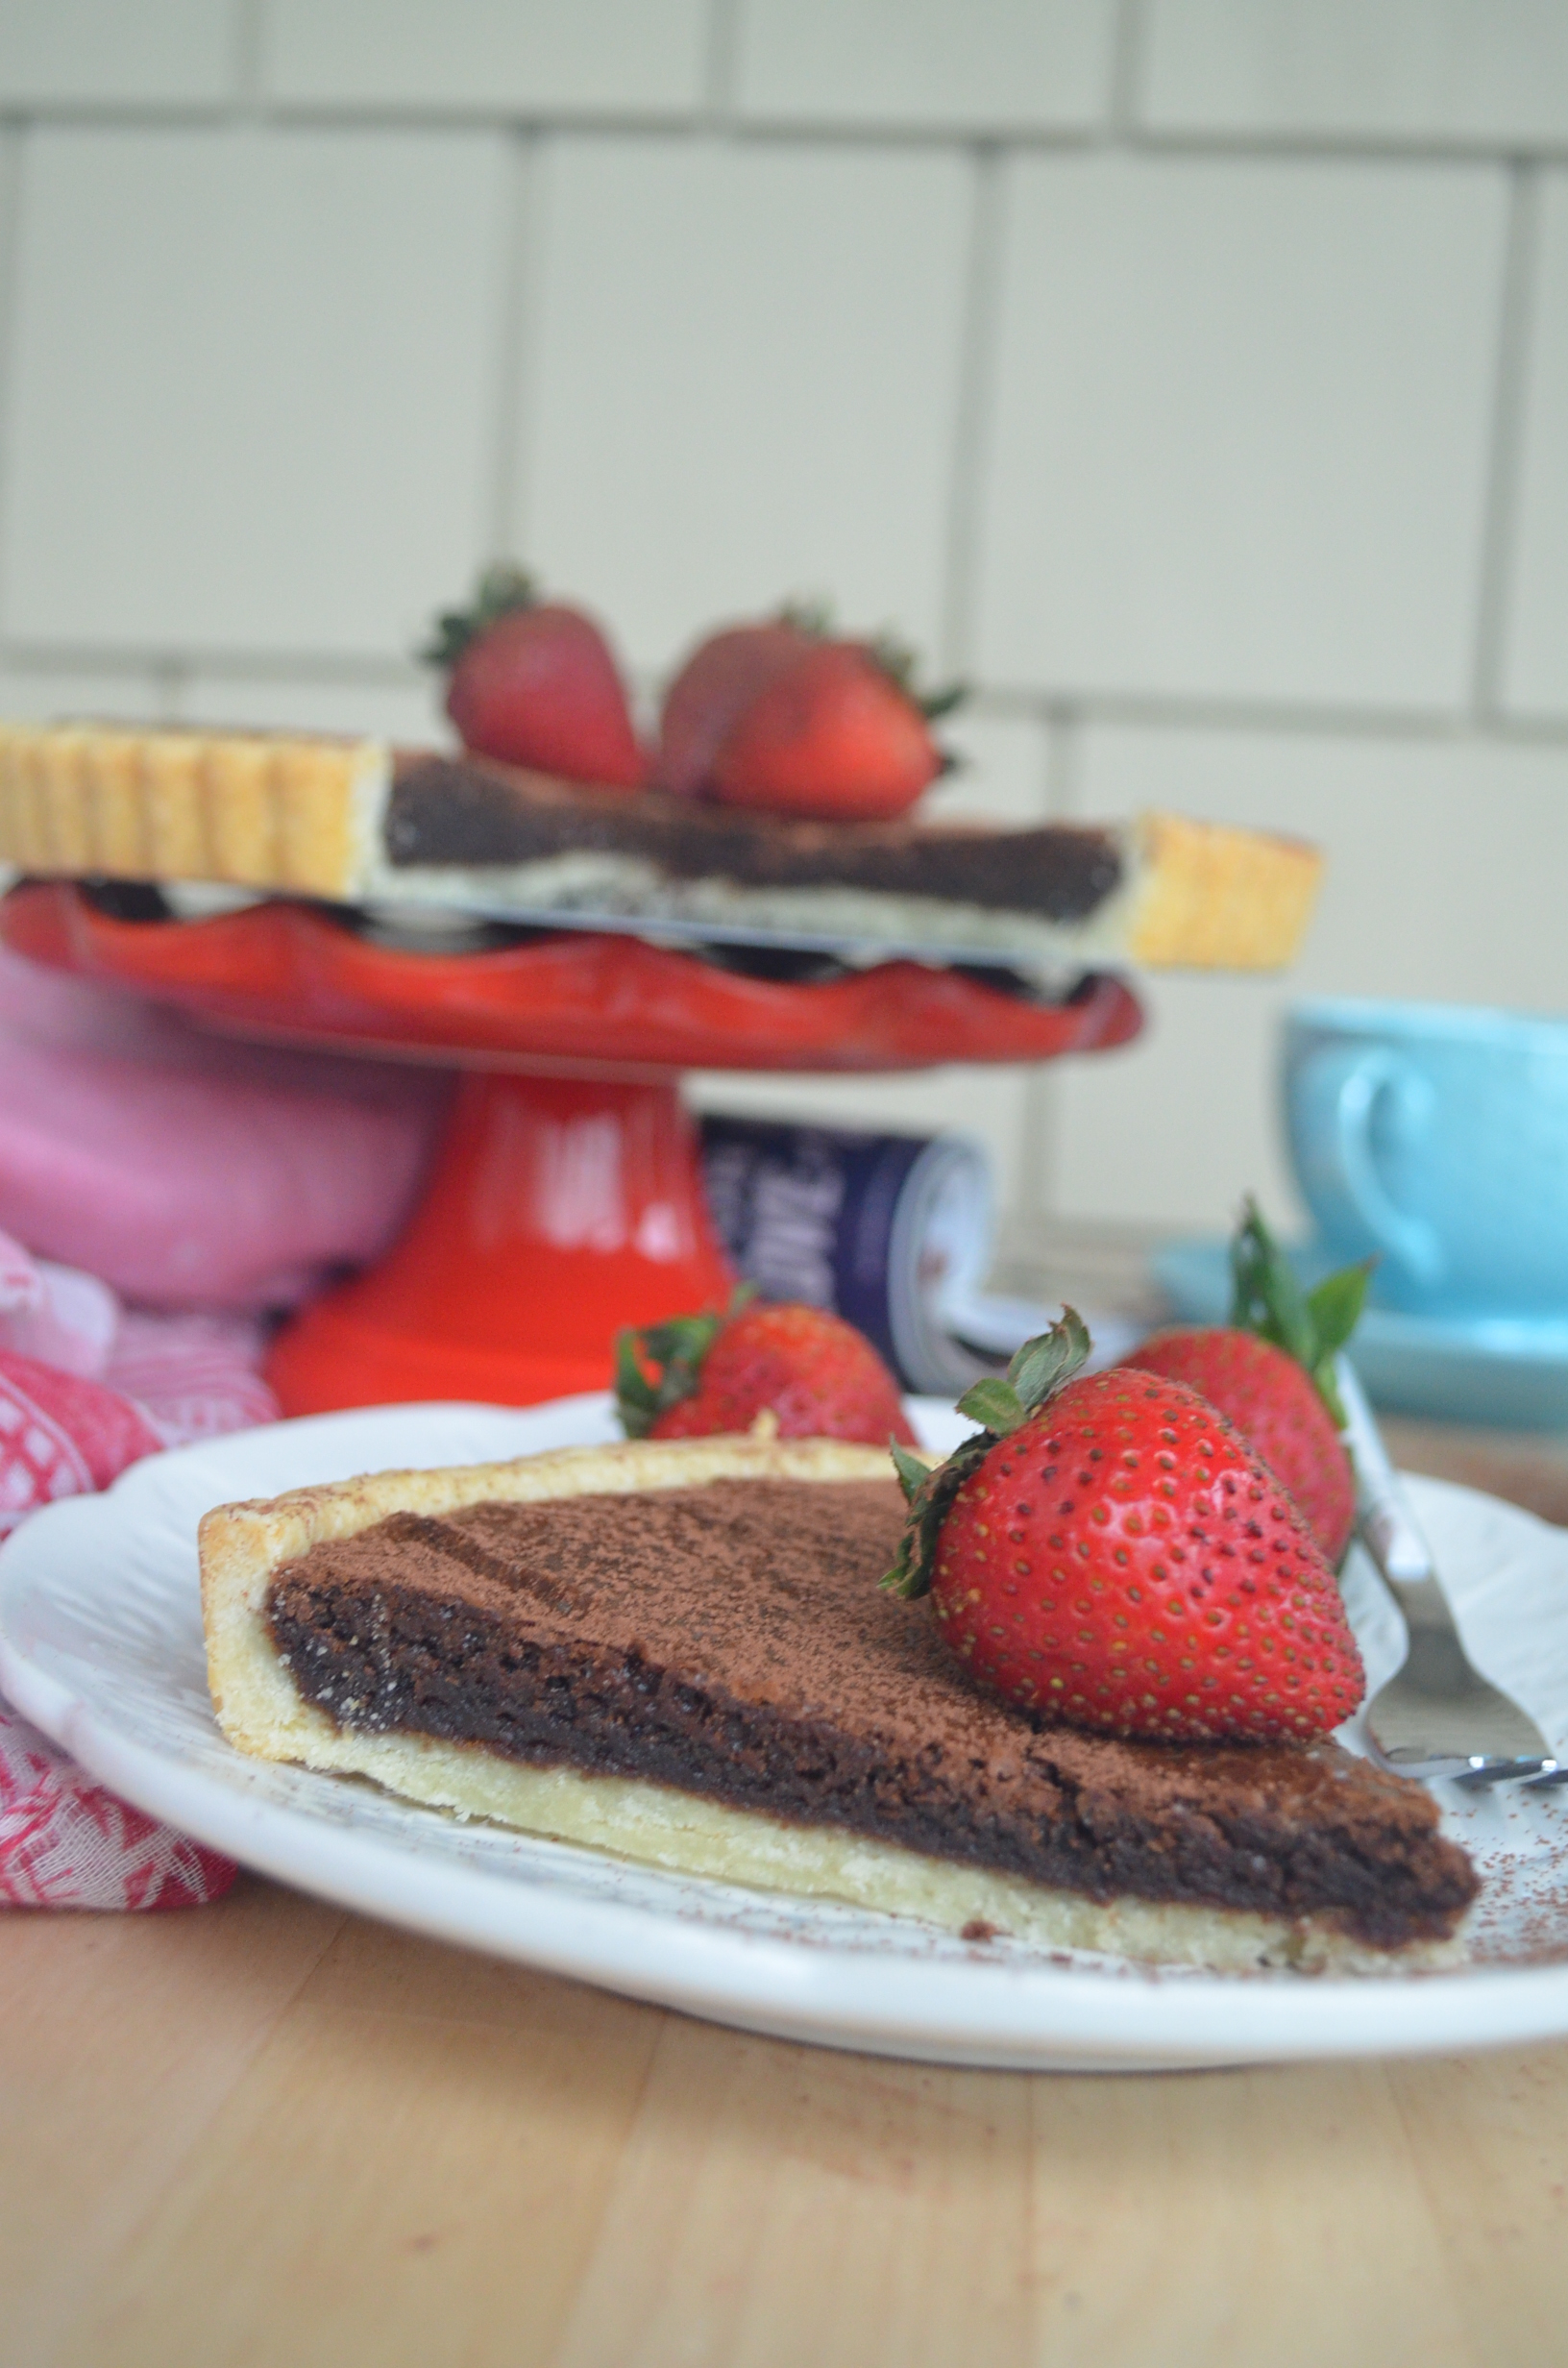
As you can see in the video, this recipe is very easy and simple. And yet, look out how gorgeous it came out, this only proves you don’t have to complicate things to come up with beautiful and delicious dessert like this. Let’s talks more about this cake, how to make it, and substitution that you can do and variations that you can play with.
The Crust
This recipe uses my simple and easy homemade Pie Crust. I left a video below in case you are interested. If you have any favorite pie crust, you can also use that. A Shortbread Almond crust is a nice option too, but I highly recommend the you make your own rather than using a store-bought pie crust. I find that store-bought pie crust are more flaky and soft, and for this tart you want something more stable, almost like a shortbread texture. You want that “snap” when you bite on it o when you slice it. You don’t want it crumbling, a solid smooth cut is what you are looking for.
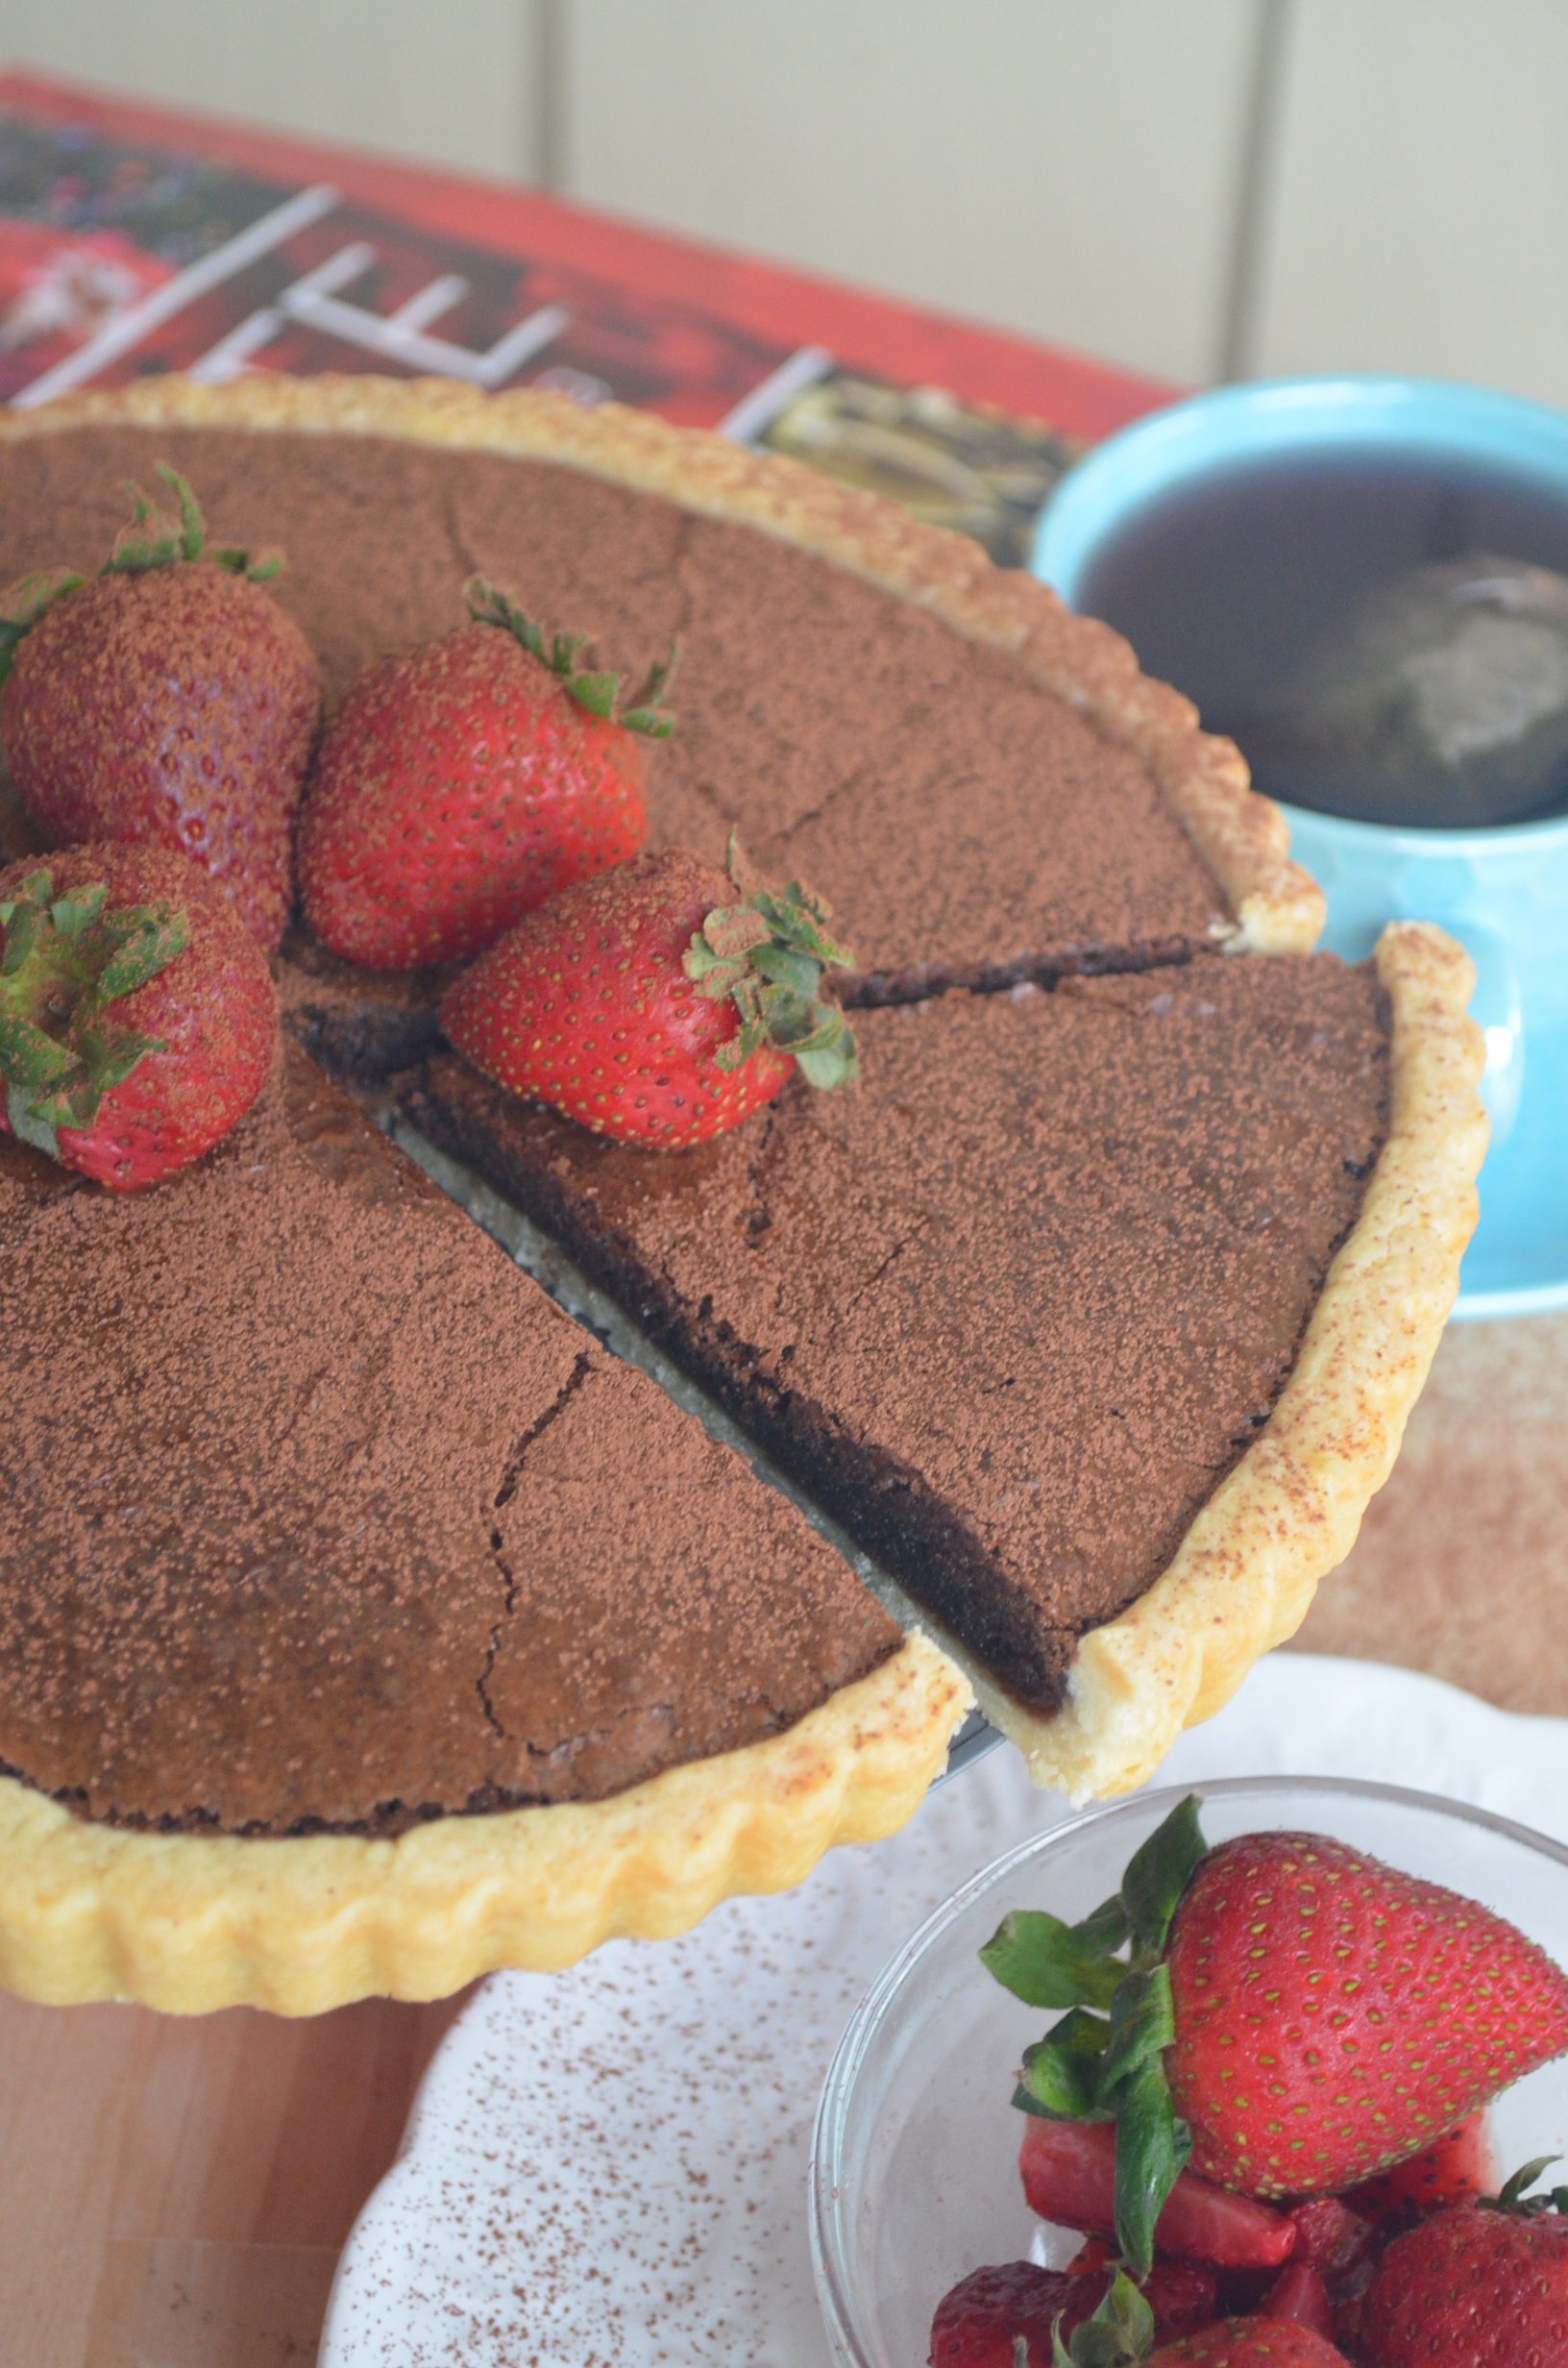
The Chocolate Filling
I used dark chocolate for the filling. You can use milk chocolate, or a mix of both. You can use chocolate chips or a chocolate block just chop it into small pieces. The taste of this tart depends heavily on the quality of chocolate you used, so find a good quality chocolate that you enjoy to eat on its own spending a little bit more is really worth it.
Flavoring
I used vanilla extract, you can also add some orange zest for a nice subtle orange flavor. It’s delicious, trust me.
Variations
This pie is plain and simple, but if you want to fancy it up a little bit more, arrange some whole pecans on top. Arrange it in circular motion and use almost even sizes of pecans for a nicer look. You’ll end up with Chocolate Pecan Tart and I’m sure it will be a crowd pleaser, I know because I’ve tried it.
So, without further a do, let’s make this tart. Let’s get started!
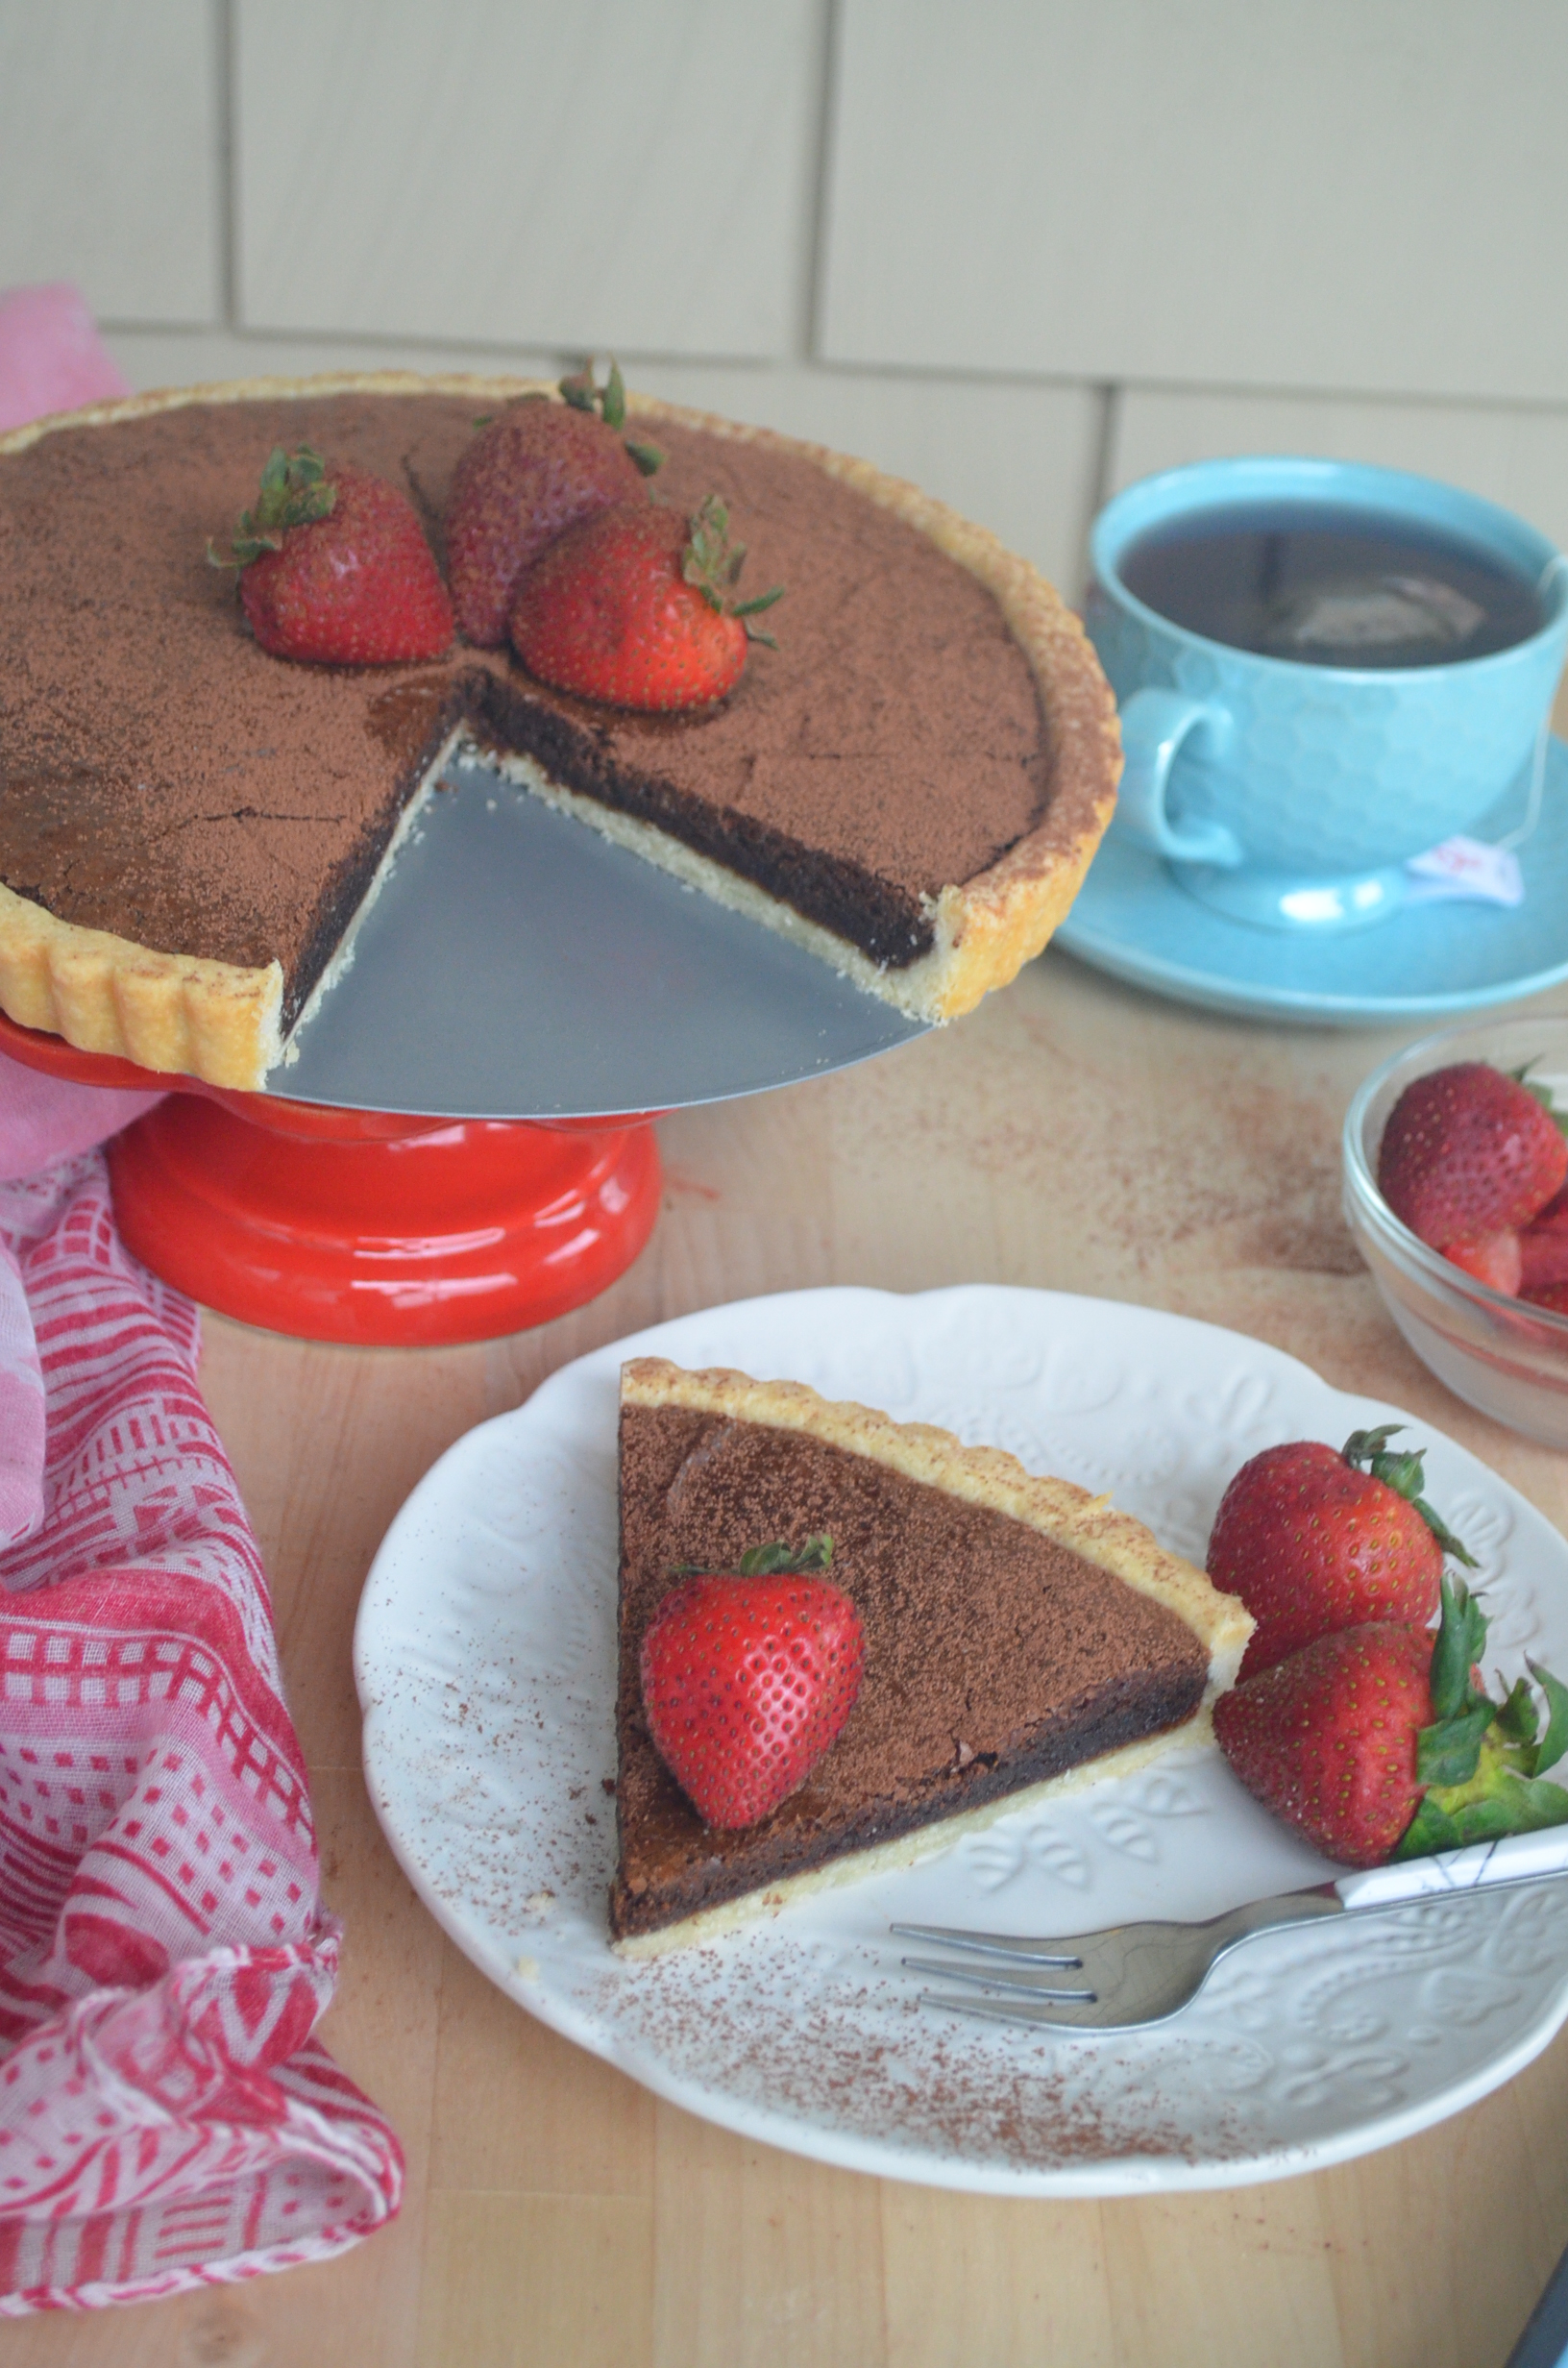
Ingredients:
Pie Crust: I used my Homemade Pie Crust recipe, check it out. The post comes with a short video. For this recipe, I highly suggest you make your own pie crust as homemade pie crust tends to be more stable and this tart needs a stable base because of the heavy chocolate filling.
Chocolate Filling
- 4 oz (113 g) Bittersweet Chocolate
- 1/2 cup (120 g) of unsalted Butter
- 3/4 cup (150 g) of Sugar
- 1 tsp (5 ml) Vanilla Extract
- 1 Egg
- 3 Egg Yolks
- 1/4 cup (30 g) of All-Purpose Flour
- 1/2 tsp (2.5 ml) Salt
Instructions:
- Preheat oven to 350F (176C).
- Make the Pie Crust: I used my Homemade Pie Crust recipe, check it out. The post comes with a short video.
- Make the Chocolate Filling: Melt butter and chocolate over a simmering water OR in the microwave. Stir every 30 seconds until all chocolate are melted. Add sugar, vanilla, egg and yolks. Stir to combine. Add flour and salt, stir to combine.
- Transfer in the Pan: Remove tart pan from the freezer, pour filling into pan. Tap the try to release any bubbles and to even the surface.
- Bake for 45- 50 minutes or until the center is set and no longer wet.
- Serve: Let cool slightly before cutting. This is a great make-ahead dessert and it even taste better when left overnight before serving as it allow the crust to harden and the chocolate custard filling to develop more flavor.
Serve tart with homemade whipped cream, ice cream or strawberry.
Serves 8
Featured Posts:
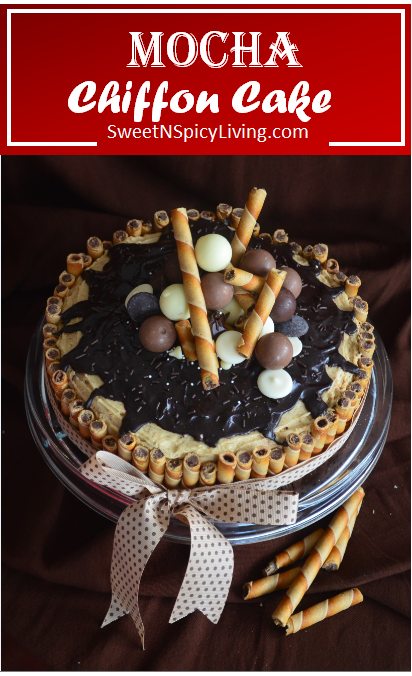
- Mocha Chiffon Cake
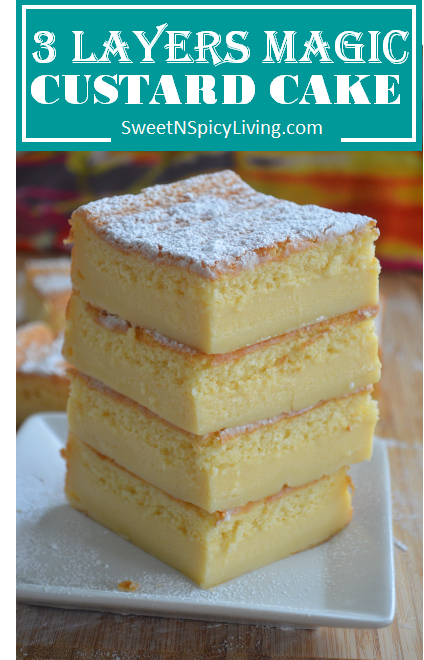
- [VIDEO] Magic Custard Cake: 1 Cake Batter, 3 Cake Layers!
- Chocolate Cupcake with Meringue Frosting
- Small Batch Black Forest Brownie Cake
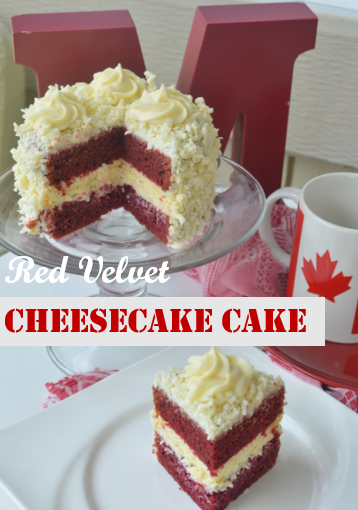
- Small Batch Ultimate Red Velvet Cheesecake Cake
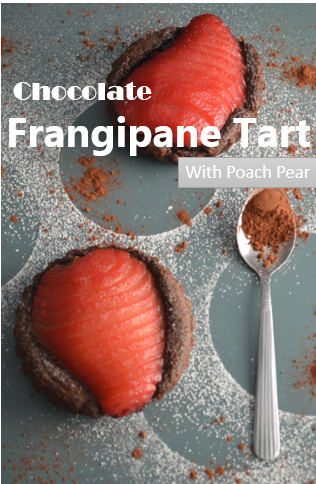
- Chocolate Frangipane Tart with Raspberry Poach Pear
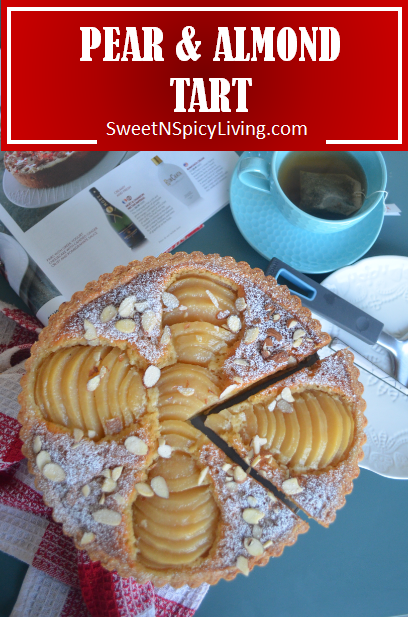
- Pear & Almond Tart
Featured Video: Homemade Pie Crust
Thank You for visiting my website. Please don’t forget to click the “Like” button below if you like this recipe. Lastly, did you know that I have a YouTube Channel? Please support my SweetNSpicyLiving channel by clicking on the “Subscribe” button in any of my videos and the “Bell” icon to get notification of new videos.

FOLLOW SWEETNSPICYLIVING ON SOCIAL MEDIA
Facebook | Instagram | Pinterest | Twitter | YouTube
Categories: Baking, Recipe, Tart, Video, Video Recipes

Oh yes! Looks delicious!
LikeLiked by 1 person