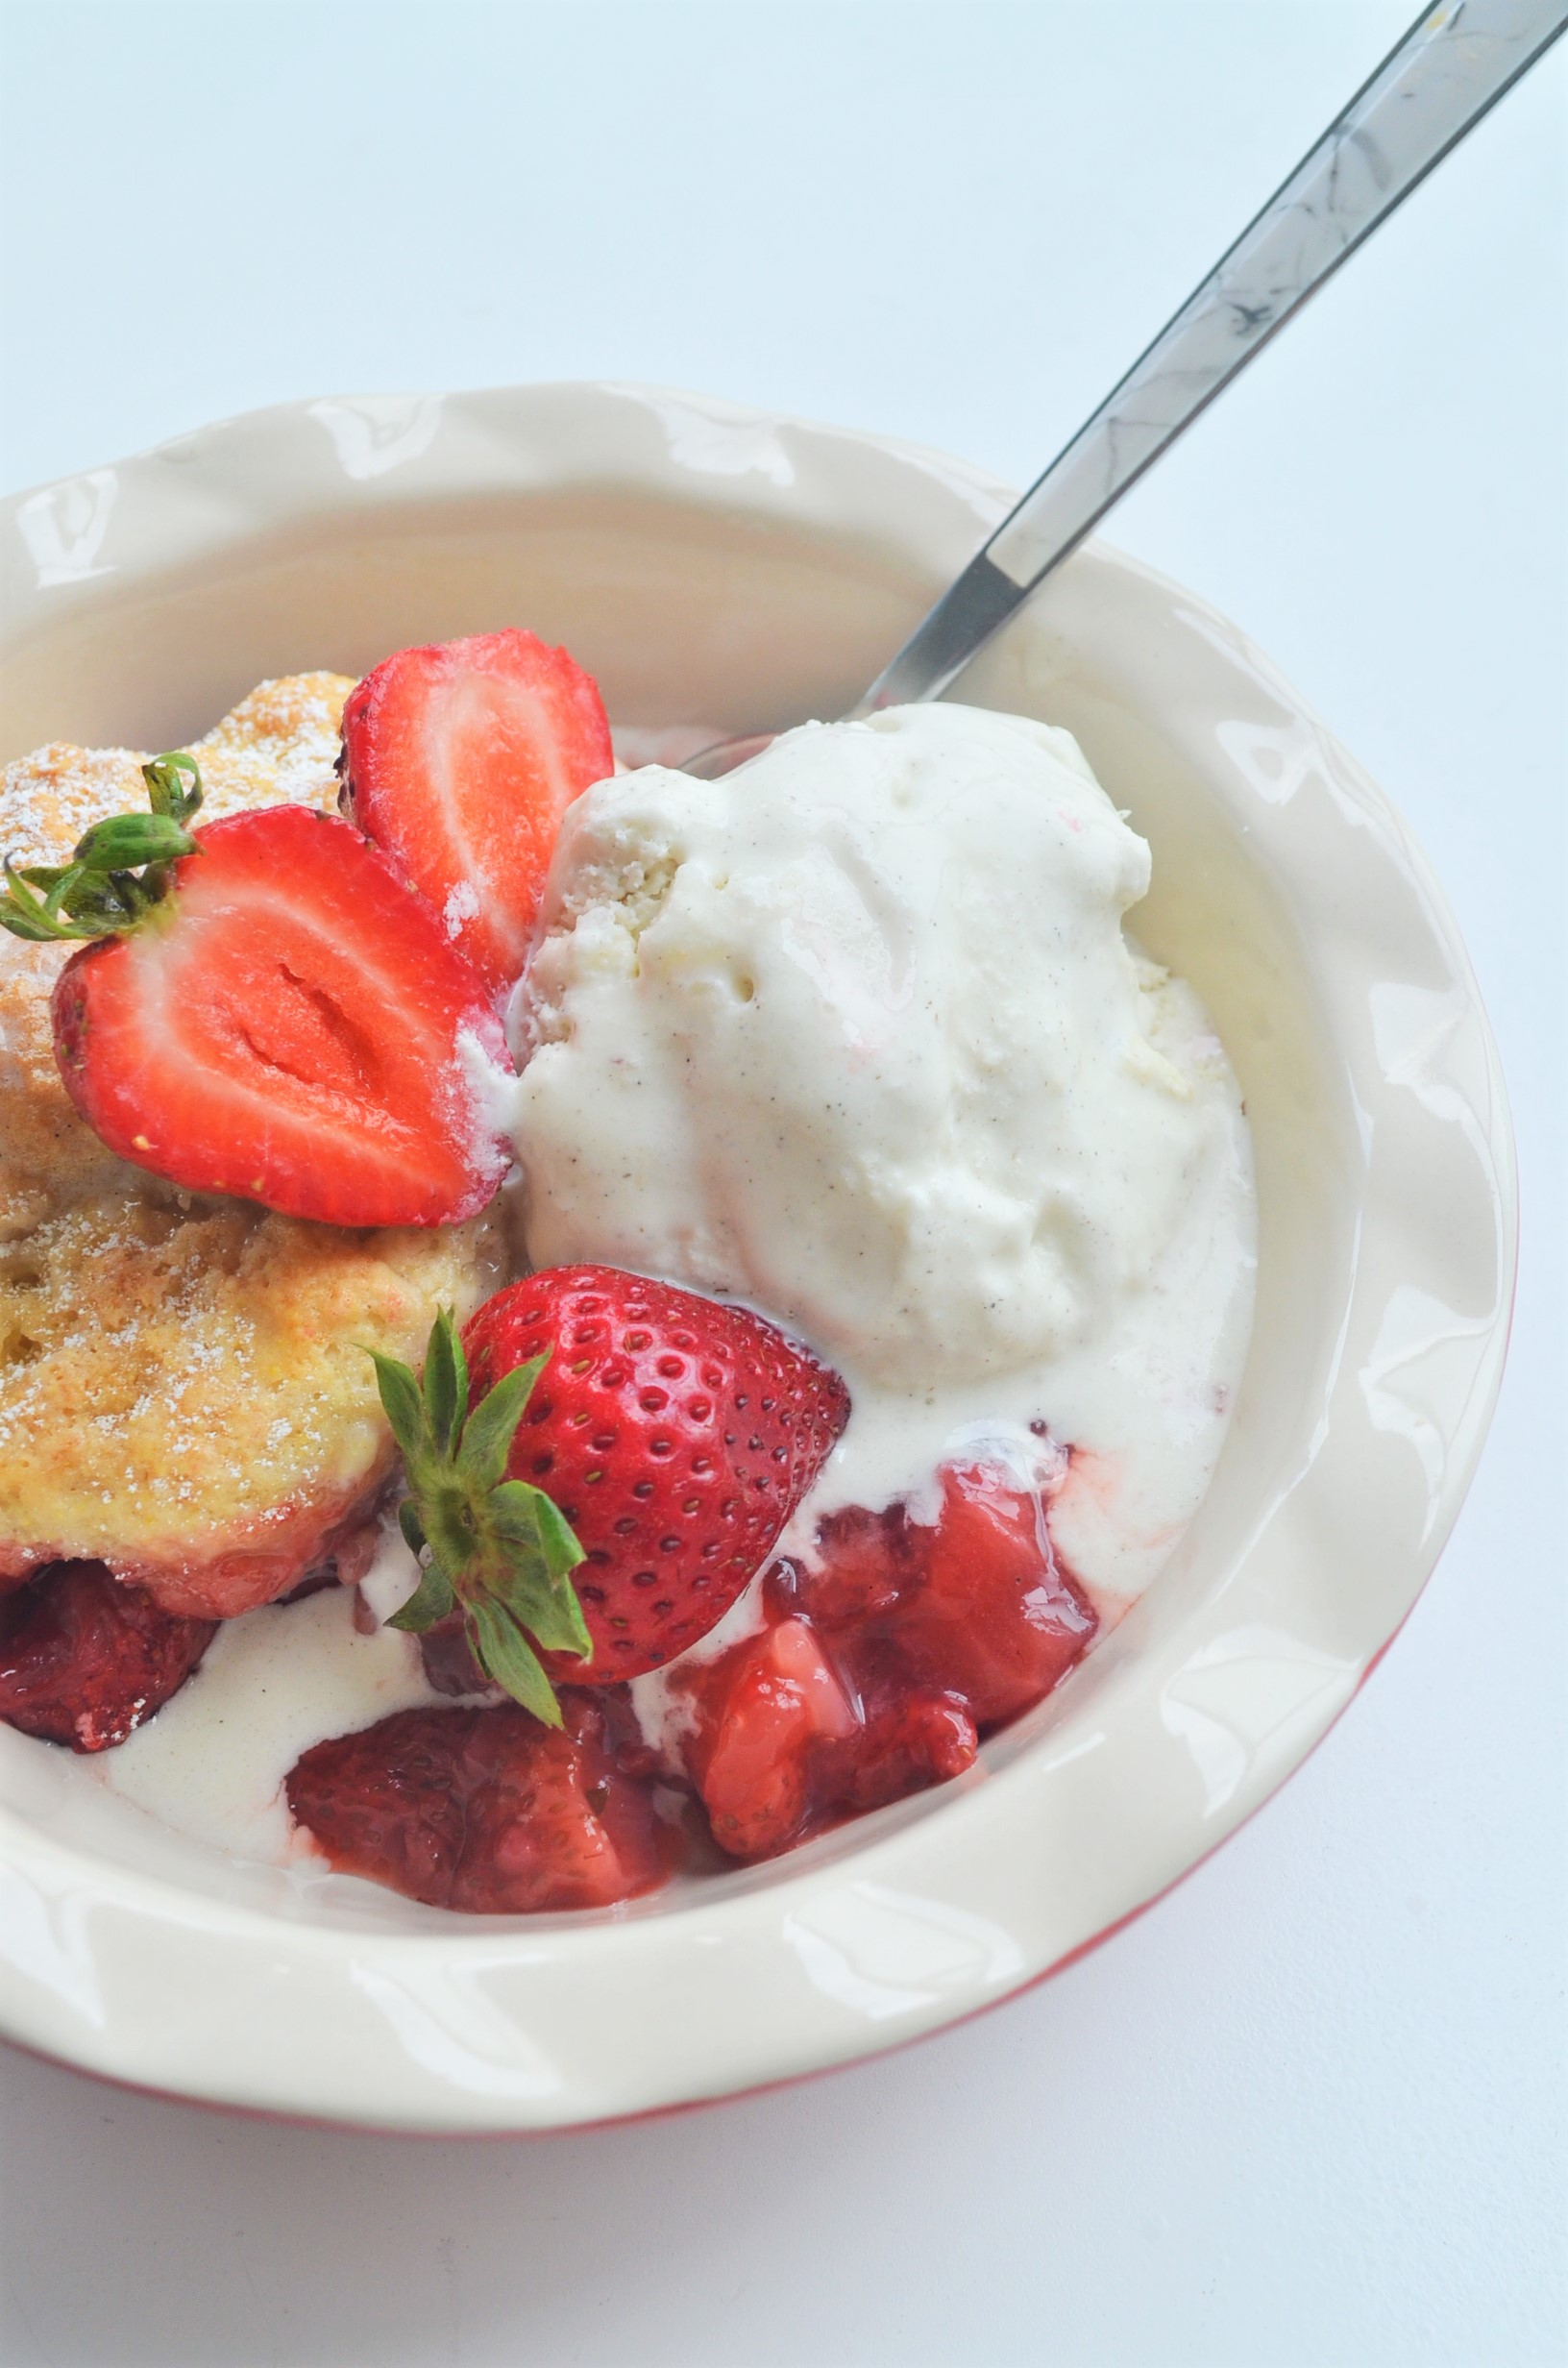
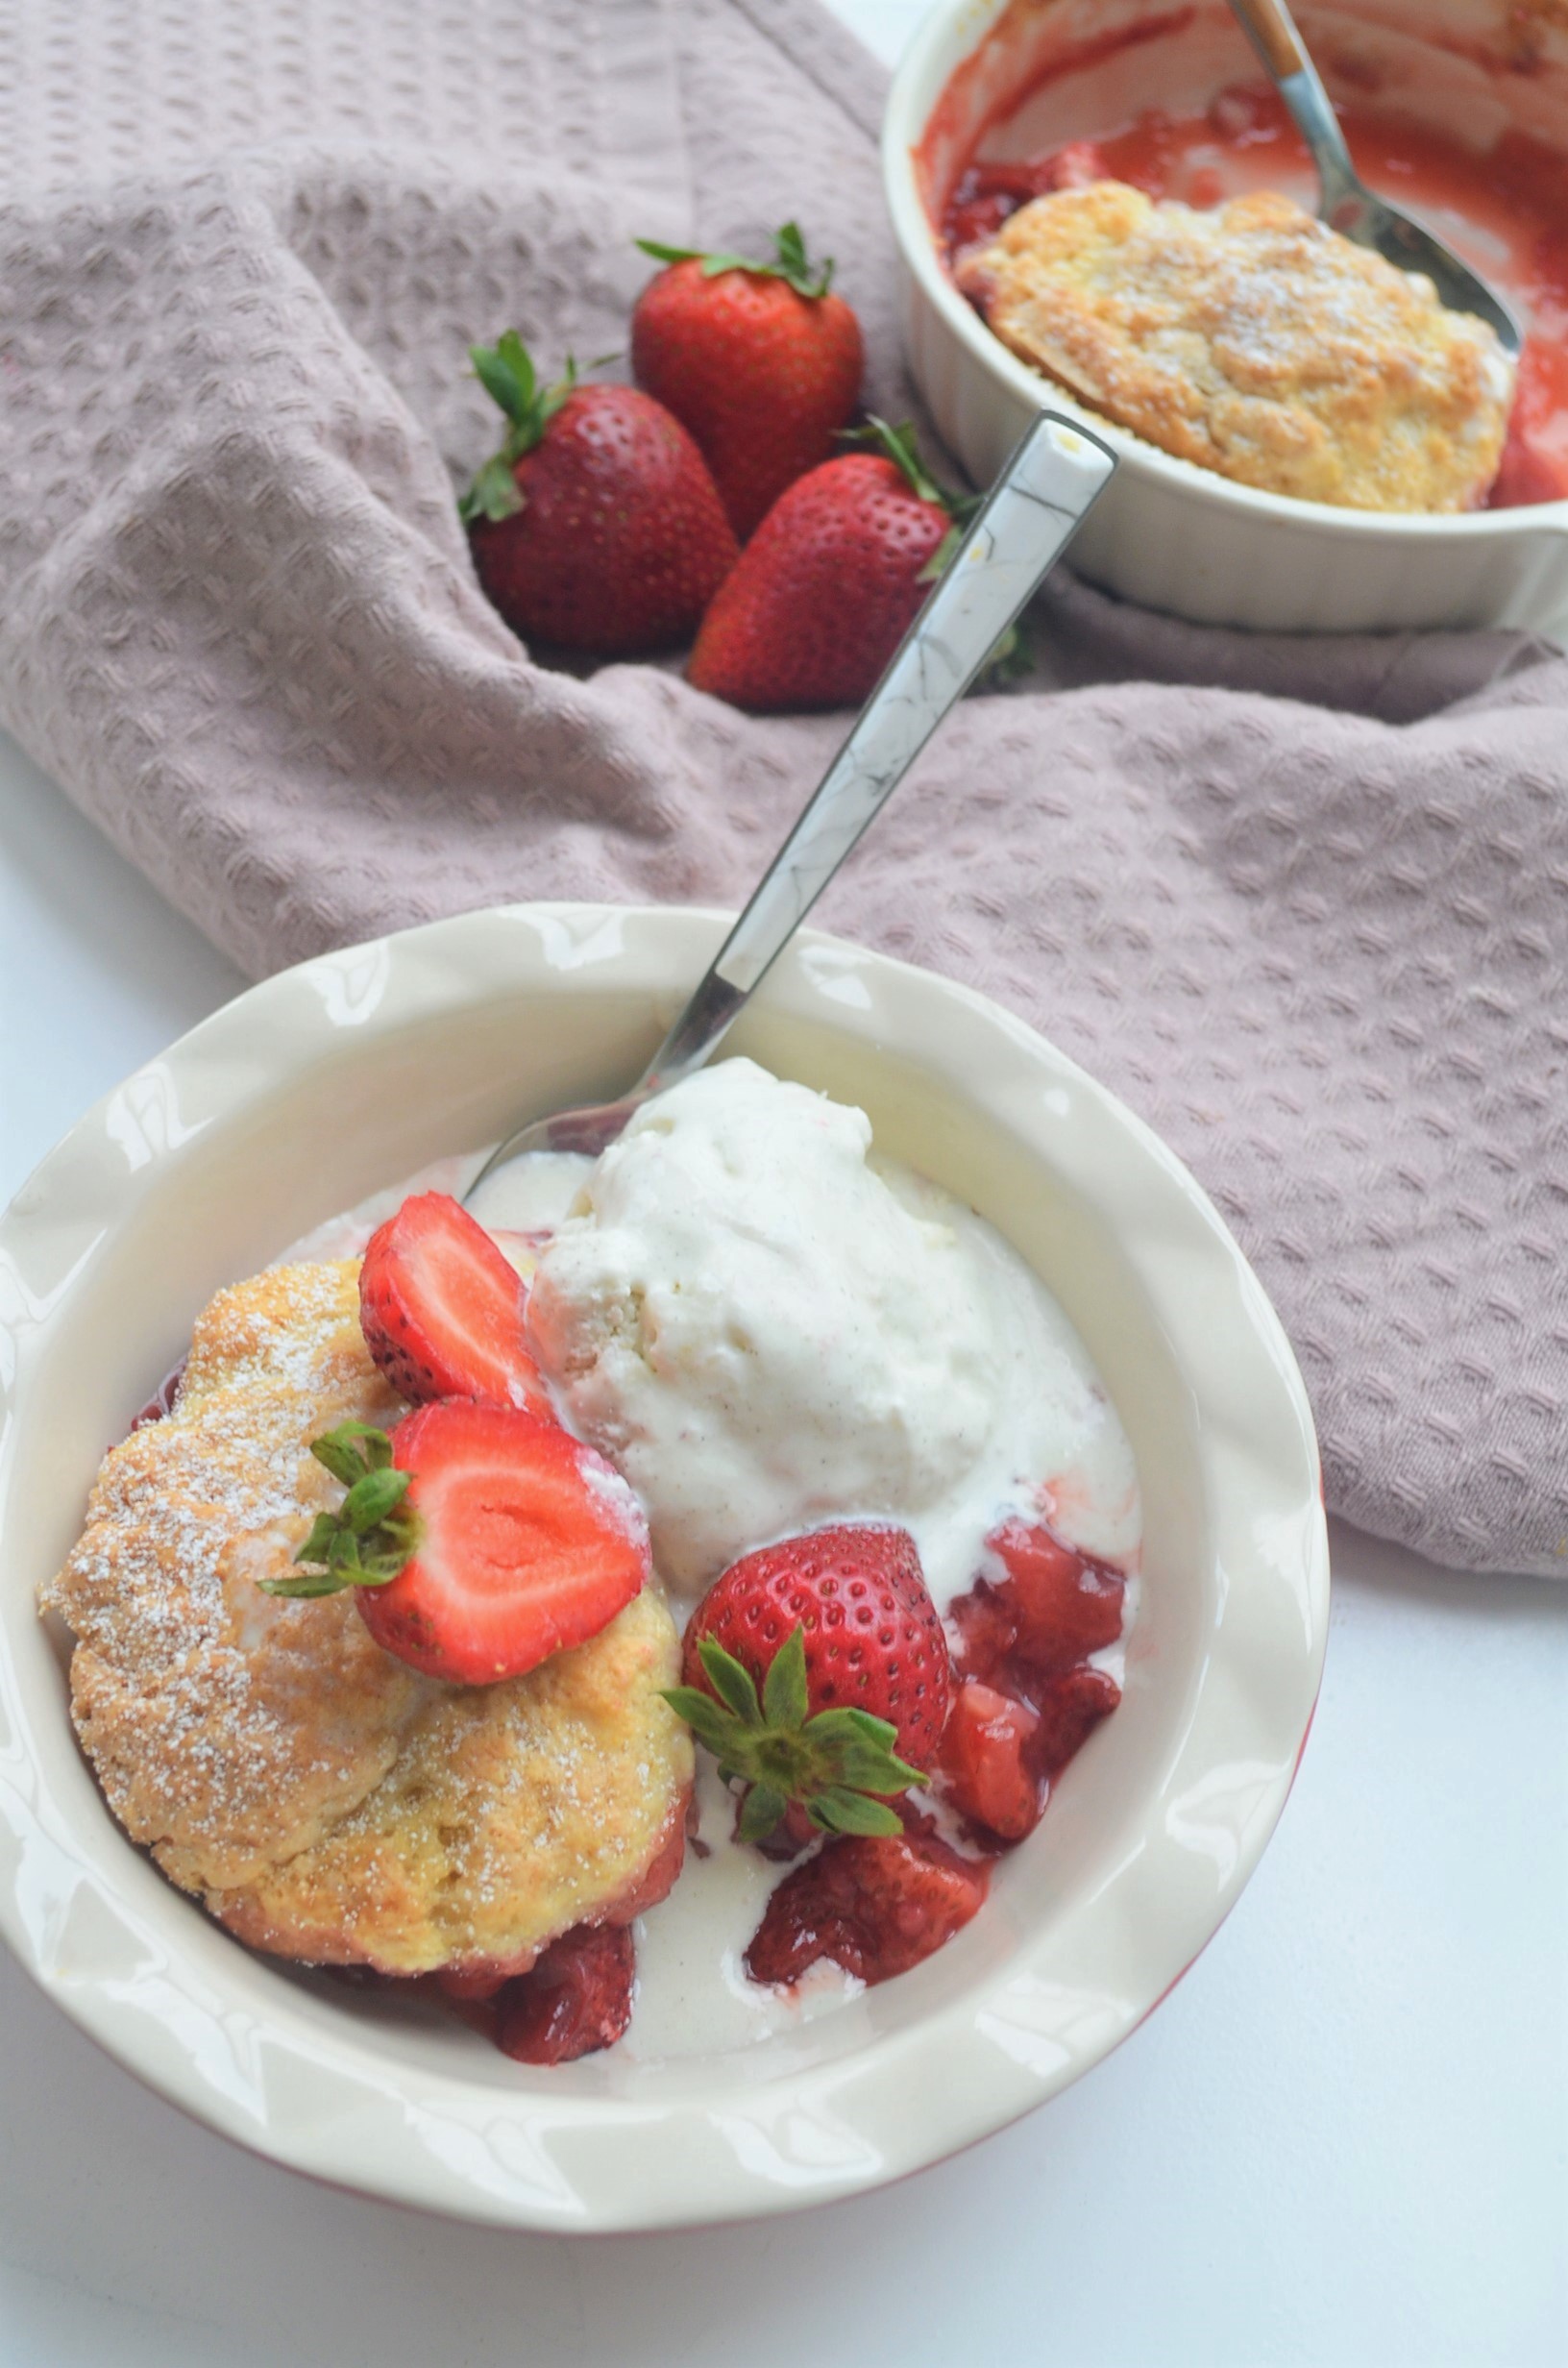
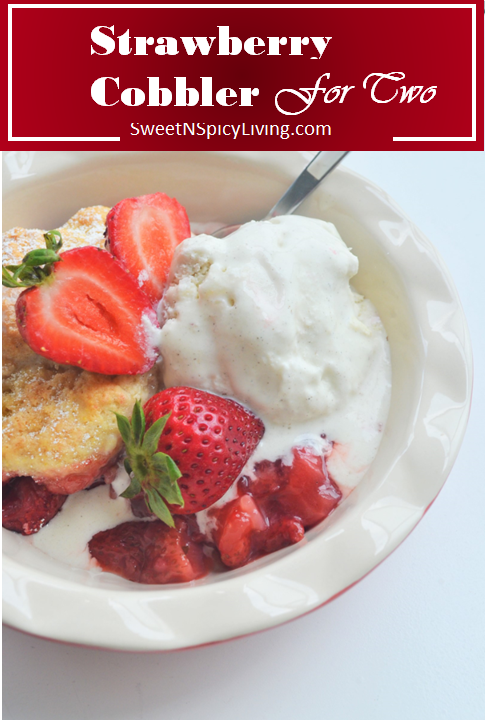
You can never go wrong with crisp and cobblers for Summer. This Strawberry Cobbler is a Summer desert bliss that I never get tired of making. Made from nothing but sweet and fresh Strawberry topped with cake like biscuit batter, baked until thick and bubbly and topped with generous amount of vanilla ice cream for serving. How could you go wrong with something as simple and delicious as this?

While we are enjoying the sweet fruits of Summer, might as well make the Strawberry Cobbler again and again while there’s and abundance of fresh Strawberry in the market. If you are following my blog, you’re probably aware how much I love crisp, cobblers, galette, pie or anything I can load with fresh Summer fruits. The likes of Strawberry Crisp topped with oats or my simply delicious Mango Galette, or the very Blueberry Crisp served with homemade Blueberry Ice Cream. Cobblers are not only delicious, there are easy to prepare too. It’s not as easy as making a fruit crisp, but the amount of extra work to make the biscuit topping is almost the same as making the crisp topping but it’s totally worth it.

What is a Cobbler?
Cobbler is a dish consisting of a fruit or savory filling baked into a large dish and topped or covered with a cake like batter, biscuit, or dumpling before being baked. The more common cobbler recipe looks like deep-dish pie crustless pie topped with browned biscuit topping.
Ingredients for Strawberry Cobbler?
- Strawberry – I always use fresh Strawberry but if Strawberry is not in season, you can use frozen. no need to thaw before baking. Simply mix with the other ingredients and proceed with the rest of the recipe.
- Sugar – To add sweetness to both the fruit mixture and biscuit topping
- Cornstarch – To thicken the sauce, or you can also use white chia seed
- All-Purpose Flour – can be substituted with cake flour for a lighter crumb
- Baking Powder & Baking Soda – To give the biscuit topping a lift and crunchy browned surface
- Salt – To balance the sweetness of the fruit mixture
- Butter – melted
- Buttermilk – for a lighter biscuit, can be substituted with regular milk
Can I Use Other Fruits?
Absolutely. My other favorite are Peach, Blueberry and sometimes a mix of different kind of berries. 
How to Make Strawberry Cobbler
Cobbler is a simple easy recipe to make. It is basically a 2 fold process regardless of what fruit you are using.
Preparing the Fruit
Start with preparing your fruits. You can use frozen or fresh but i you can get hold of fresh fruits in would recommend that you use fresh fruits, nothing beats fresh fruits for cobbler. Wash and clean the fruit and cut small pieces, but not too small. The fruits will breakdown as t cooks and you don’t want to end up with just sauce in your cobbler. It’s nice to have chucks of fruits as well. For Strawberry, I like to cut it in quarters or in half of they are small. Peaches I go for 8 pieces per peach and maybe 10 pieces of the Peach is really big. For Apricots I do quarters as well of half for chunkier pieces. Raspberry, Blueberry and Blackberry I leave them whole. For Apples, since this is harder I cut them slightly thinner again depending on how big the apple. 
Making the Biscuit Topping
Cobbler is not a cobbler without the biscuit or cake like batter covering the top. This is what makes cobbler different from crisp or crumble. It uses a biscuit topping or a cake like batter as opposed to a crisp or crumble topping made with flour, sugar and oats. Making the cobbler topping is as simple as making a biscuit.
- Traditional Biscuit – You can top a cobbler with a traditional flaky biscuit made from flour, batter and sugar, just like any other biscuit. Simply mix the flour and sugar first. I like to add a little bit of baking powder to give it a nice lift. Then add the butter, I like to use a large cheese grater to break the batter into smaller pieces. You can also use a pastry cutter or use your hand to crumble the butter with the flour mixture. Last but not the least, add in the liquid and mix until it all come together. Once you have the batter, simply roll and flatten it into 1-inch thick and cut with a cookie cutter. I recommend freezing for at least 15 minutes before baking.
- Cake like Batter – You can make the topping more like a cake like batter. This kind of topping is more loose and runny and it considerably spreads during baking unlike biscuit which retains the shape. Cake like batter uses almost the same ingredients as biscuit, but it uses more liquid to give it a softer batter than spread during baking.
- Cornmeal Biscuit – This is so far my favorite among these 3 types of topping. Cornmeal biscuit differs in the sense that the biscuit itself contains cornmeal flour. Cornmeal flour are grainy and coarse, so it gave the biscuit a nice crunchy texture that a regular biscuit cannot give. With a little sprinkle of sugar on top of the biscuit, the biscuit turned out to have a crunchy shell and a soft moist center. It was a good combination of a traditional biscuit and a cake like batter, you get both in one biscuit. Once you try this version, you might not even want to go back in the traditional biscuit. Give it a try and let me know what you think.

Can I Freeze Cobbler?
Good news, YES You can. Here are two ways that you can do it, take note of the pros and cons of each of this method.
- Bake the entire cobbler & freeze – This method is applicable for storing leftover cobbler. You can bake the entire cobber (fruit and toppings on top) and let it cool completely then cover tightly with plastic wrap and foil and freeze for up to 1 month. Reheat in a 350-degree oven or until the fruit is bubbly.
- Pros: This is the easiest way and you can simply put it in the oven when ready to serve.
- Cons: The topping could get soggy as it absorb the juice from the fruit mix. So I do not really recommend this method, but it is there in case you have leftover cobbler that you need to store.
- Freeze the Filling, Make the Biscuit and add the topping later: Mix together the filling, place in your baking dish, cover and freeze for up to 3 months. Make the biscuit, wrap and freeze up to 2-3 months. When ready to bake, thaw the biscuit in the refrigerator then top the fruit filling with the biscuit. Bake 35 to 40 minutes, until hot and bubbling and biscuit it nicely browned.
- Pros: This is the best way to get as close to making it fresh. This is almost like making it the same day.
- Cons: The fruit filling could get mushy at times
- Freeze the Filling, Make the Biscuit topping later: If you are making a cake like batter topping as opposed to a biscuit topping, this method is what works best for me. Mix together the filling, place in your baking dish, cover and freeze for up to 3 months. When ready to bake, bake the filling first for 35 to 40 minutes, stirring occasionally, until hot and bubbling. Then mix together your topping, add it, and return to the oven for another 20 to 25 minutes or until the topping is nicely browned.
Since cobbler is such an easy dessert to prepare, I would recommend (if possible for you) make it the same day that you will serve it. Although freezing saves some time in the preparation, using all fresh ingredients and newly made biscuit topping is always the BEST way to go.
Featured Video

Ingredients:
For the Fruit:
- 1 1/4 cup ripe but not overly ripe Strawberry – cut into quarters or half if the Strawberry are small
- 2 tbsp granulated Sugar (Adjust as necessary depending on how sweet the Strawberry)
- 1 tablespoon Cornstarch
For the Biscuit Topping:
- 1/3 cup + 1 tbsp All-Purpose Flour
- 1 tablespoon granulated Sugar
- 1 tablespoon Cornmeal
- 1/2 teaspoon Baking Powder
- 1/8 teaspoon Baking Soda
- 1/8 teaspoon Salt
- 1/4 cup Buttermilk or Fresh Milk
- 1/4 teaspoon pure Vanilla Extract
- 1 Egg
- 1 tablespoon Butter – melted and cooled
- coarse sugar, for sprinkling on top before baking (optional)
Instructions:
- Preheat the oven to 350F.
- Wash and cut strawberries in quarter slices. Transfer into a bowl and sprinkle with sugar and cornstarch. Stir very well, and then set aside in the refrigerator while you make the biscuit
- Dry Ingredients: In a small bowl, whisk together the flour, cornmeal, baking powder, baking soda, sugar and salt.
- Wet Ingredients: In a small bowl, mic buttermilk, beaten egg, vanilla extract and melted butter.
- Wet + Dry Ingredients: Pour the wet ingredients to the dry ingredients mixture, and stir until a wet dough forms. The dough will be very sticky.
- Assemble: Transfer strawberry mixture in a 5-6 inch round or oval baking dish, or 2 regular size ramekins. If you are using 2 ramekins, divide the strawberry mixture between the 2 ramekins. If you are using one baking dish, pour all the strawberry mixture in the dish. Put the biscuit on top the brush the top with milk and sprinkle with coarse sugar. This will give a brown top.
- Bake for 25 – 30 minutes or until the biscuits are golden brown and the fruit mixture is bubbling and thick.
Serves 2 
Make-ahead Tip:
- Biscuit can be made in advance and stored in the freezer. When ready to use, take out from the freezer and leave overnight in the refrigerator or leave at room temperature while you preheat the oven. You might need to adjust baking time 5 minutes at a time, until top tuns crunchy and brown.
Enjoy! If you make this, share and tag me in Instagram #SweetNSpicyLiving. I would like to see your creations too.
Featured Posts:


My Latest Video
What’s New
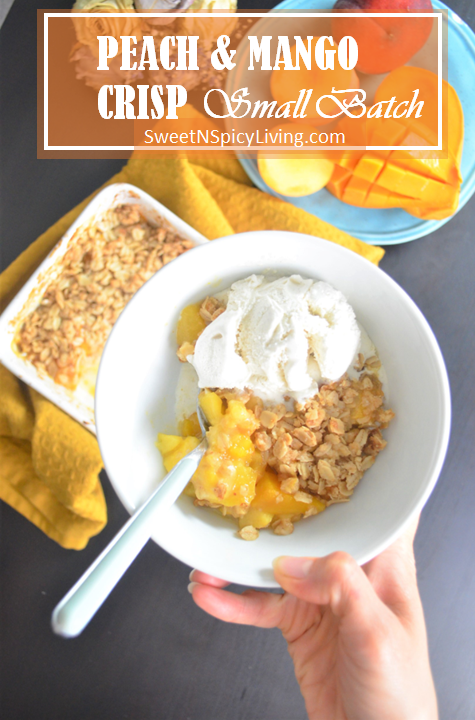
This time around I am sharing with you the recent recipe that I updated, Peach and Mango Crisp. Fresh and sweet Peach and Mango topped with crunchy crisp topping and baked until bubbling, I cannot get enough of this Peach and Mango Crisp. Check it out. GET THE FULL RECIPE.

Thank You for visiting my website. Please don’t forget to click the “Like” button below if you like this recipe. Lastly, did you know that I have a YouTube Channel? Please support my channel by clicking on the “Subscribe” button in my videos and the “Bell” icon to get notification of new videos.

FOLLOW SWEETNSPICYLIVING ON SOCIAL MEDIA
Facebook | Instagram | Pinterest | Twitter | YouTube
Categories: Baking, Crisp & Cobbler, Recipe, Small Batch Recipes

Those biscuits look divine!
LikeLiked by 1 person
Thanks Dorothy. They are crunchy, and I love that they are small batch too
LikeLiked by 1 person