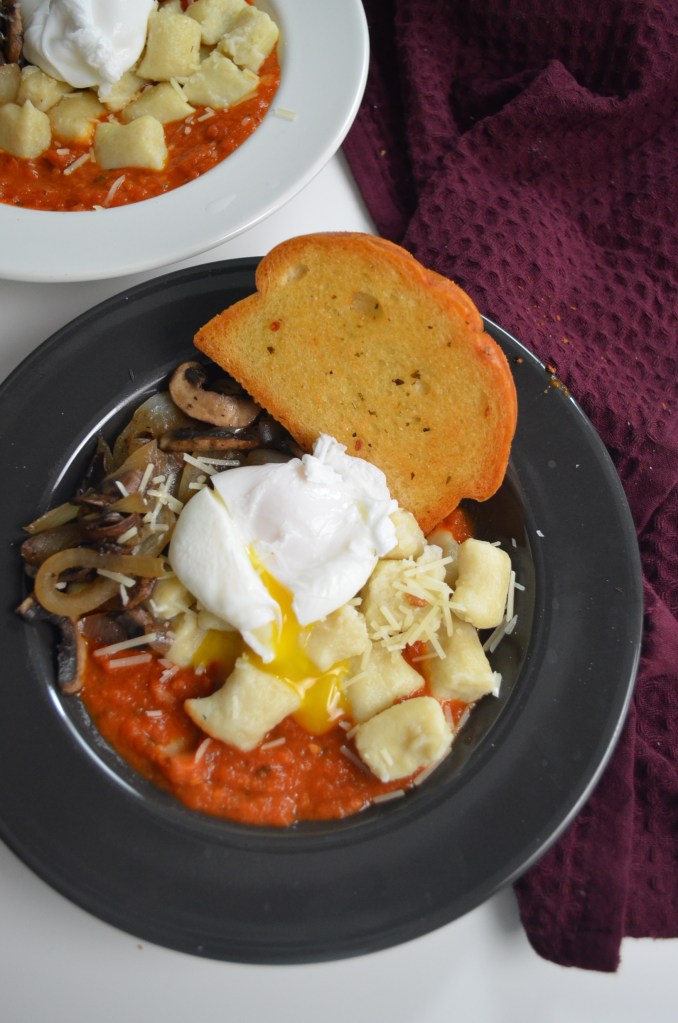
This Homemade Gnocchi are like small pillow of softness in every bite. With only 3 basic ingredients you can have this made at the comfort of your own home. Let me show you how. Let’s watch the video.
Before we go any further, let us get to know Gnocchi (pronounce as nyawk-kee)
What is Gnocchi?
Gnocchi are small soft dumplings made from flour, egg, cheese, potato, or similar ingredients. The dough is rolled out into a long string and cut into small pieces then pressed with a fork or rolled in a Gnocchi board to create ridges. It is normally served with tomato sauce, pesto sauce, and any other pasta sauce.

How Do I Serve Gnocchi ?
I always treat Gnocchi as a pasta (more than a dumpling), and so I serve it as a pasta. Gnocchi goes well with any tomato based sauce, tomato sauce, Alfredo sauce or pesto sauce. Toss it in the sauce, or pour the sauce on top, or mix the sauce and bake it.

Tips for a Soft Gnocchi
- Start with Yukon Gold potatoes. Russets will do, but Yukon Golds have more of the nutty flavor of the yellow-fleshed boiling potatoes used by the Italian and Provençal cooks who have mastered gnocchi.
- Bake the potatoes, don’t boil them. Water is the enemy of good gnocchi dough. I cook my potatoes by piercing each of them several times with a fork, then baking them on a bed of coarse salt to draw out excess moisture as they cook.
- Rice the potatoes with a fine potato ricer or, better yet, a drum sieve or tamis. Avoid mashers and food mills, which compress the potatoes. You want to produce tiny crumbles that will release yet more moisture, producing extra-light gnocchi.
- Use two-thirds all-purpose flour to one-third cake flour. Ordinary all-purpose flour is all right, but it isn’t milled finely enough to be fully absorbed into the potato crumbles. Plus, it has too much protein: High-protein wheat results in chewy gnocchi, same idea in bread making. More protein, more gluten, a more chewy bread. If you want to be truly Italian, look for imported Italian flour marked 00, which is milled from soft wheat with a low protein content.
- Correct ratio of flour to potato: To calculate how much flour to use, weigh the potatoes after you’ve baked and riced them, not before; after baking and ricing, the potatoes will have lost almost half their weight. You’ll need about 1 cup of flour for every pound of riced potato—more if the potatoes are very young, or if it’s quite humid out.
- Use a bench scraper or fork to incorporate the potatoes and the flour. Most books instruct you to knead the dough until smooth, but kneading is too harsh for gnocchi especially those made without eggs (although this recipe have egg). Over kneading can make the dough tough. I use either fork or bench scraper to blend in and mix the flour. Then I used my hands gather it up to shape it into a long rope.
Once you have followed these six steps to perfect potato-gnocchi dough, the rest is fairly straightforward. You can shape the gnocchi according to your preference. This is the fun part, where you get to flip, curve and press the dough to shape and size that you like.

How to Cook Gnocchi?
Cooking gnocchi is as simple as cooking any regular pasta, in fact it is more simple as it cooks in less time. This is one good thing about homemade pasta, they cook fairly fast because they are fresh and not dried. Here’s how to cook Gnocchi
- Pour water into a large pan, add salt and bring to a boil. The amount of water depends on how much Gnocchi you are cooking. Basically, you want the Gnocchi fully submerge.
- Drop about half the gnocchi into the boiling water a few at a time, stirring gently and continuously with a wooden spoon. Do not dump everything in one go especially if you have a small pan. You need as much room so that the gnocchi doesn’t stick to each other
- Cook the gnocchi, stirring gently, until tender, about 1 minute after they rise to the surface. The key sign that it is done is when it start to float.
- Remove from the pan and drain the water. Toss into a sauce or pour sauce on top, or add into a soup.

How to Freeze Gnocchi?
If you want to make a big batch for future use, freeze the rest with the simple steps. It is best to freeze the Gnocchi uncooked, just right after shaping it.
- Arrange the gnocchi in a single layer on a baking pan and place the pan in a level position in the freezer.
- Freeze until solid, about 3 hours.
- Transfer the frozen gnocchi into resealable freezer bags.
When ready to use, cook them frozen, do NOT thaw as it will stick together. You might need to add few minutes in the cooking, just watch for when it starts to float so know when it is done.

How to Make Potato Gnocchi?
- Bake the potato – To keep the potato not watery, bake it rather than boiling it
- Mash the potato – Ricer is the best option, other options are potato masher or large cheese grater
- Add flour – A combination of all-purpose flour and cake flour makes a soft and lighter potato gnocchi. Also, do not over mix to avoid having a tough gnocchi, mix just enough to combine the ingredients
- Mix in Beaten Egg – Use a fork to mix the egg with the flour, or if you do not mind getting sticky, use your hands to mix
- Form into a Dough – Gather to form into a dough
- Divide into 4 portion – You can divide it by 2 or 3 but it is easier to roll and form it into a rope when working with smaller portion
- Cut into small pieces – Cut about 1/2-inch size. You can roll the piece on top of the fork to create ridges (line marks) on the gnocchi

Ingredients:
- 1 medium size Yukon Gold (217g or 1 cup cooked potato)
- 1 Egg
- 1/3 cup + 2 tablespoon All-Purpose Flour
- 1/3 cup Cake Flour
- 1/4 tsp Salt
- 6 cups of Water (for cooking)
Instructions:
- Preheat oven to 350F
- Bake the potato: Generously salt the potato and transfer In a baking sheet . Bake for 1 hr 15 minutes or until cook through. To test, insert a knife in the center, if it pass through all the way, the potato is done.
- Mashed the Potato: there are couple of ways you can do this, but using a potato “Ricer” is the best way to go. Ricer produces a fine, soft as smooth potato. Mashed the potato while still hot. You can also use a fine cheese grater or a potato masher.
- Add Flour: Transfer the mashed in a working surface. Sift the flour and salt over the mashed potato.
- Add Beaten Egg: Create a well in the center and pour beaten egg. Mix until it forms into a dough. Do not overwork the though as it can make the Gnocchi tough and gummy. Use a fork to start mixing the bench scarper to get it to come together.
- Portion the Dough: Divide into 4 portion and make a rope with length 12-inch. then cut into 10 pieces. Repeat for the other 3 portion of the dough. If you want to make ridges on the Gnocchi, use a fork and roll it on top to leave a mark.
- Cook: Add 6 cups of water and salt in a large pan. Bring to a boil and cook the Gnocchi in 2 or 3 batches (depending on how big is the pan), do not over crowd to avoid the Gnocchi from sticking to each other. Cook for 1-3 minutes or until the Gnocchi starts to float, that’s a sign that it is already cook.
- Serve: Drain the water and transfer in a plate or bowl and pour pasta sauce of your choice. Toss to combine or pour on top.
Serves 2
Enjoy! If you make this, share and tag me in Instagram #SweetNSpicyLiving. I would like to see your creations too.
My Latest Video
Featured Posts:
- Mushroom and Spinach Potato Gnocchi
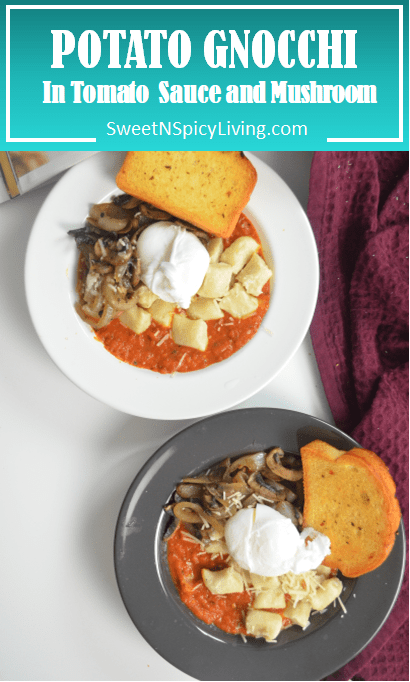
- Potato Gnocchi in Tomato Sauce and Mushroom
- 3 Ingredients Vegan Pasta
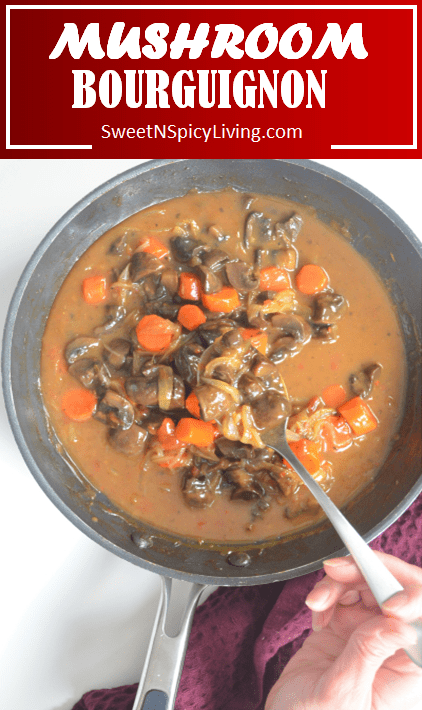
- Mushroom Bourguignon
- Mushroom Bourguignon Pasta
Thank You for visiting my website. Please don’t forget to click the “Like” button below if you like this recipe. Lastly, did you know that I have a YouTube Channel? Please support my channel by clicking on the “Subscribe” button in my video and the “Bell” icon to get notification of new videos.

FOLLOW SWEETNSPICYLIVING ON SOCIAL MEDIA


