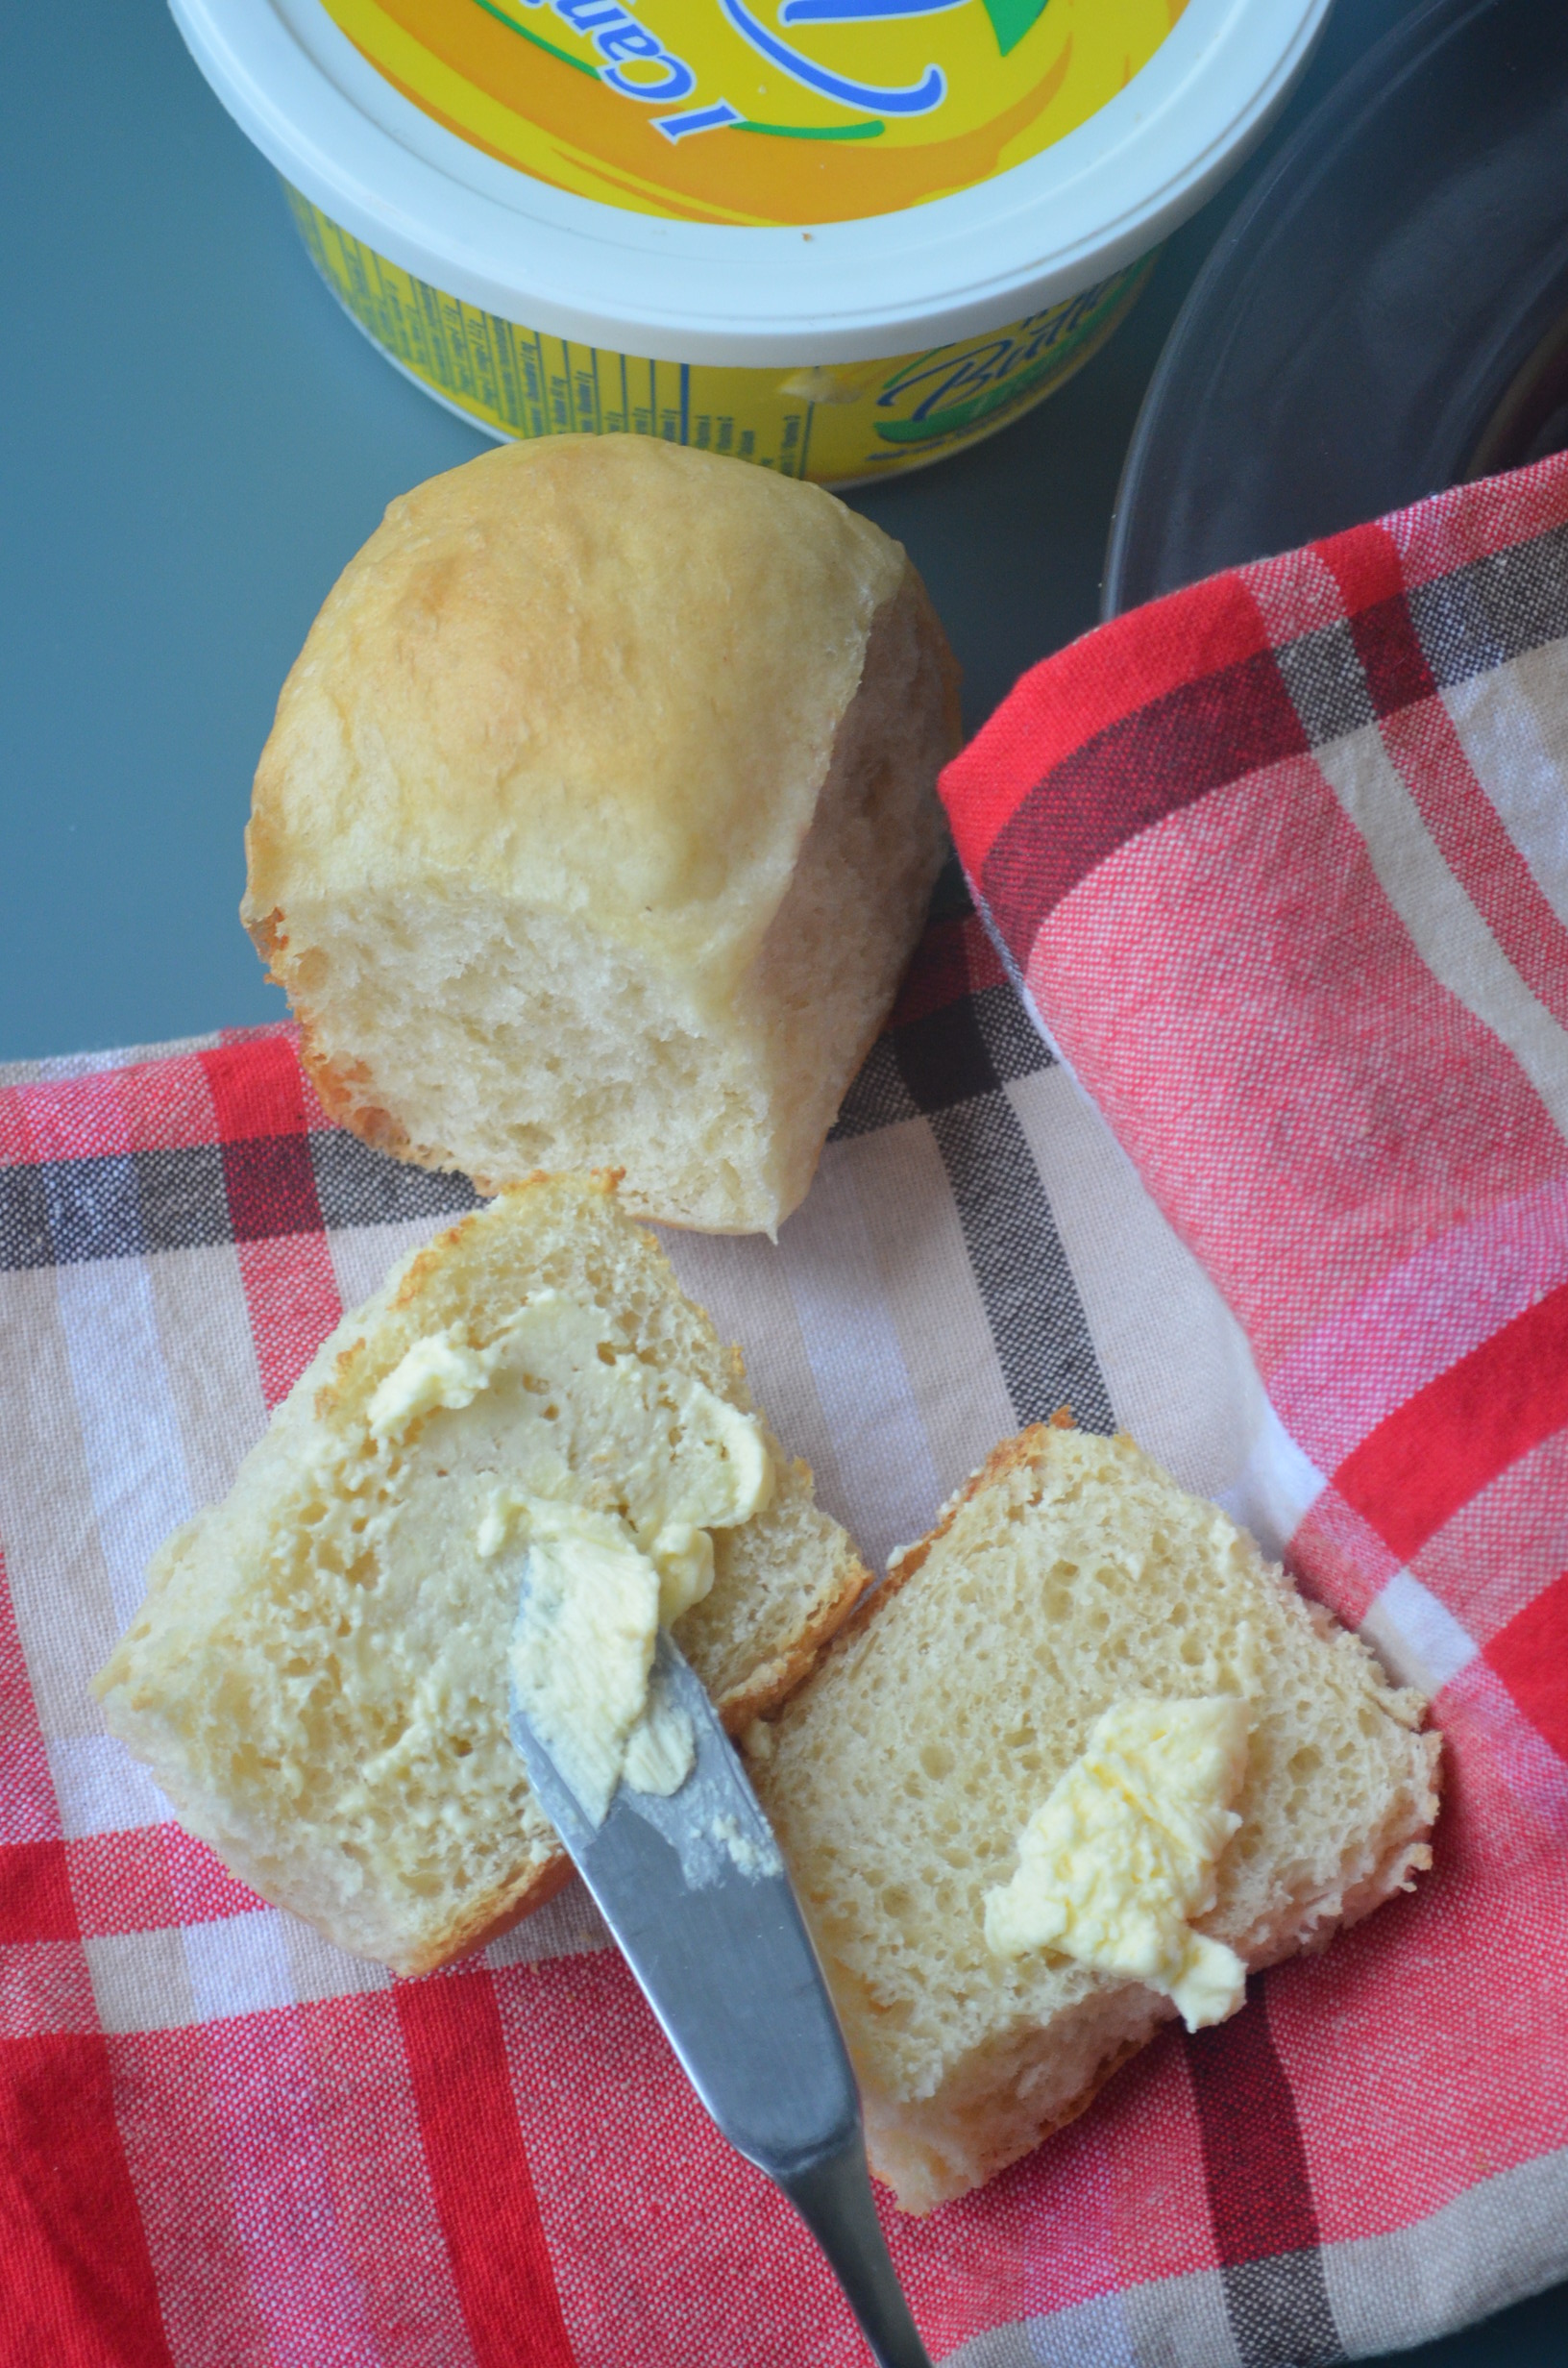
You will only need one bread dough recipe once you try this one. This recipe is my all around bread dough recipe which I basically used in all my Purple Yam Bread posts, as well as for my Jalapeno Cheese Pullapart post. This is so versatile that you can use this for both savory and sweet bread, or just plain like this dinner rolls.

4 Methods To Make This Dough
There are 4 ways that you can choose from in how you make this bread. Choose whichever works for you.
- Stand Mixer – This is what I always use when I make this dough. It’s the fastest and easiest method and less manual handling. This is the step outlined below in the instruction.

- Hand Mixer – It’s doable but I never used it because I don’t have a dough attachment. Important point to remember, use DOUGH attachment, a regular hook attachment will not work as it will be jammed with dough. Also, it’s going to be too heavy for the hook attachment to mix the dough.
- Manually – If you don’t have any electronic baking equipment for making the dough, you can do it manually. Simply follow the same instructions, do the mixing in a large bowl and transfer in counter top and knead manually. It will take a lot of arm exercise, but I’m telling you, it’s worth it.
- Bread Machine – If you happen to have one, use the dough setting. Add all the wet ingredients first, followed by all dry ingredients. Remove the dough after the 3rd rise and shape and fill then bake in the oven. Do not forget to remove the dough otherwise it will continue into the bake stage.
I have to basic dinner roll recipe in my website, this one and the One Hour Rosemary Dinner Rolls. Depending on the ingredients that I have and the amount of wait time I can afford, I swap between those two. I normally use this recipe if I don’t have egg on hand but if I have egg, I used the One Hour Rosemary Dinner Rolls. In terms of texture, this bread is fluffier because it has longer rest period, while the rosemary has a soft, slight compact but with creamy taste. Let me show you how I made this dinner rolls. Let’s get started!
Tips for a Successful Soft Homemade Bread
- Check Yeast Expiry a Date – you might be wondering how come the bread did not rise when you followed exactly the recipe. Well, first thing first, make sure the yeast is not yet expired.
- Liquid Temperature – Yeast grows in temperature between 110 – 115F, so it is important to have the water that you are using to “proof” it in this range. If you go lower or higher, the yeast might not proof properly. That means the bread will not rise as much, resulting to a flat and tough bread. If you do not have kitchen thermometer, microwave the water (from the faucet) about 15 – 20 seconds. Feel it with your fingers, it sound be lukewarm not hot.
- Amount of Yeast – Just because you want a tall fully bread doesn’t mean you have to put as much yeast in the mixture. Sometimes if you add too much, it will have a tendency to collapse. Just imagine putting more air than what is needed in a balloon, the balloon will explode. The same case with bread.
- Right Type of Yeast – We’ve discussed the 3 types of yeast above. Make sure to use the right one for your recipe, and make necessary adjustments if you want to swap one from another.
- Flour Measurement is not exact all the time, but with only minimal difference. Sometimes it could be plus 2 – 4 tbsp more, this is why I always set aside about 1/4 cup in case I need to add more. If you measure the liquid properly, and still the dough turn out dry, then it could be that the flour moisture is either dryer than usual. Dry flour requires more liquid, and lighter flour requires less liquid. This could depend on the brand of the flour and the age of the flour, and of course flour could vary from country to country. The nearer the flour gets to expiry date, the more that it gets dryer. If you are like me who doesn’t monitor the expiry date, then you just have to feel the dough if it needs additional flour. You want it to be still soft and moist but not too sticky. Moist but enough to form the dough into a ball. My test is a bowl with clean side, while the dough still slightly stick at the bottom. This gives a soft dough.
- Rest Period – Yeast bread needs time to rise. There are bread that uses less yeast but requires more rest time, the likes of No Knead Bread or Artisan Bread which usually require 8- 16 hours rest period to get the volume and to develop the flavor. There are 1 hour bread like my Rosemary Dinner Rolls which used this same bread dough. Resting the dough is imperative to allow the gluten to relax and to allow the dough to rise. A well rested dough will rise better, will created pockets or air, and will make a light and soft bread. Remember, 2 rest period. First at least 1 hour and another 1 hour for the second rest period. It’s worth the wait, promise.

Big Batch Ingredients (Makes 24 pieces)
- 3 1/2 cups All-Purpose Flour
- 2/3 cups lukewarm Water (110F)
- 2/3 cups lukewarm Milk (110F)
- 1/4 cup granulated white Sugar
- 1/4 cup unsalted Butter – softened
- 2 teaspoon Active Dry Yeast (I used Fleischmann’s brand)
- 1 1/2 teaspoon Salt
Makes 24 pieces rolls of about 37grams each or 16 pieces for a bigger size
Small Batch Ingredients (Makes 6 Pieces)
- 3/4 cup + 1 tablespoon All-Purpose Flour
- 3 tablespoon lukewarm Water (110F)
- 3 tablespoon lukewarm Milk (110F)
- 1 tablespoon granulated white Sugar
- 1 tablespoon unsalted Butter – softened
- 3/4 teaspoon fast active dry yeast (I used Fleischmann’s brand)
- 1/4 tsp Salt
Makes 6 pieces rolls of about 37 grams each or 4 pieces for a bigger size
Note: This recipe can be done without a stand mixer. Mix all ingredients in a large bowl and using your hand, manually mix and knead the dough in a flat surface.


nstructions:
- Activate the Yeast: Pour the warm water in a bowl. Add the sugar and active dry yeast and stir. Let sit for 10 minutes until bubbly.
- For Big Batch: 1 tablespoon sugar
- Small Batch: 1 teaspoon sugar
- Dry Ingredients: Add the flour, remaining sugar and salt . Mix until fully combined.
- Wet Ingredients: Gradually add the milk. The liquid temperature should be between 110F – 115F. If you do not have a thermometer, microwave the liquid for 10-15 seconds. If you are using water from the fridge, microwave 15 – 20 seconds. Temperature is important to activate the yeast.
- Knead: Mix and knead the dough until combined (7 minutes).
- Butter: Add butter. The dough will break apart when you add the butter, this is expected. Continue kneading until the dough coms together again.
- For Big Batch: 25 minutes
- For Small Batch: 12 – 15 minutes
- Rest Period 1: Form into a ball and transfer to a large oiled bowl, cover with a warm, damp towel and let rise for 1 hour. (It’s best to let the dough rise in a warmer area of your kitchen).
- To help the dough rise better, I put it inside the oven which I pre-heated to 110F. Once it reached the 110F, I stopped/canceled it. DO NOT forget to stop it, you only want the oven to warm up for the dough to rise, you do not want to dough to be baked. Some oven has a proofing setting, mine doesn’t, so this is my trick.
- Shape: Take the dough out from the bowl, and manually knead it for 1-2 minutes just to remove the air. Then divide into 16 equal portions. I used a kitchen weighing scale, you can eye-ball it too. Form the dough into a ball and arrange in a pan.
- For Small Batch: Divide the dough into 6
- Rest Period 2: Leave for 1 hour in a warm place before baking.
- Bake: Brush with egg wash or milk (optional). Bake at pre-heated oven at 350F, for 25 – 30 minutes or until the top turns golden brown.
Reminder: The larger portions of individual dough, the longer the baking time. Adjust baking time as necessary
Makes 16 pieces dinner roll size or 2 Loaf Bread (Pan size 9.5 x 5.5 inches)

Looking for more homemade bread recipes? I got you covered! I have here 10 of my favorite homemade bread recipes, all with Video or MORE bread recipes HERE

Featured Posts:
- [VIDEO] Small Batch Dinner Rolls for Two (Makes 4)
- Small Batch Homemade Brioche Buns
- Meat Free Monday: Black Bean Quinoa Burger
- Egg FREE All Around Bread Dough: Small Batch Slider Burger Buns
- Small Batch Hot Cross Buns
- Small Batch Strawberry ‘N’ Cream Roll
- [VIDEO]Small Batch Homemade Bagel: Simplified and Ready in 1 Hour!


My Latest Video
Thank You for visiting my website. Please don’t forget to click the “Like” button below if you like this recipe. Lastly, did you know that I have a YouTube Channel? Please support my channel by clicking on the “Subscribe” button in my video and the “Bell” icon to get notification of new videos.

FOLLOW SWEETNSPICYLIVING ON SOCIAL MEDIA
Facebook | Instagram | Pinterest | Twitter | YouTube

